
Reviving each room in your home doesn’t have to be a massive project; with a systematic, data‑driven approach you can transform spaces one step at a time while staying on budget and avoiding common pitfalls. Below is a room‑by‑room guide that walks you through the essential phases of assembling, restoring, or styling—complete with the tools you’ll need, measurable checkpoints, and bite‑size actions that guarantee progress.
1. Planning & Budgeting (All Rooms)
Gather Data
- Measure each room’s square footage; record dimensions in a spreadsheet.
- Track current condition scores (1‑10) for walls, flooring, lighting, and furniture.
- Research average ROI for common upgrades: fresh paint (+5 %), new lighting (+3 %), and updated hardware (+2 %).
Set Priorities
Rank tasks by impact (ROI) and effort (hours). Aim for a “quick win” (≤4 hours) in each space before tackling larger projects.
Tools Checklist (Universal)
- Measuring tape & laser distance meter
- Level and stud finder
- Multi‑bit screwdriver set
- Power drill with adjustable clutch
- Utility knife & sandpaper (120‑220 grit)
- Drop cloths and painter’s tape
- Safety gear: goggles, dust mask, ear protection
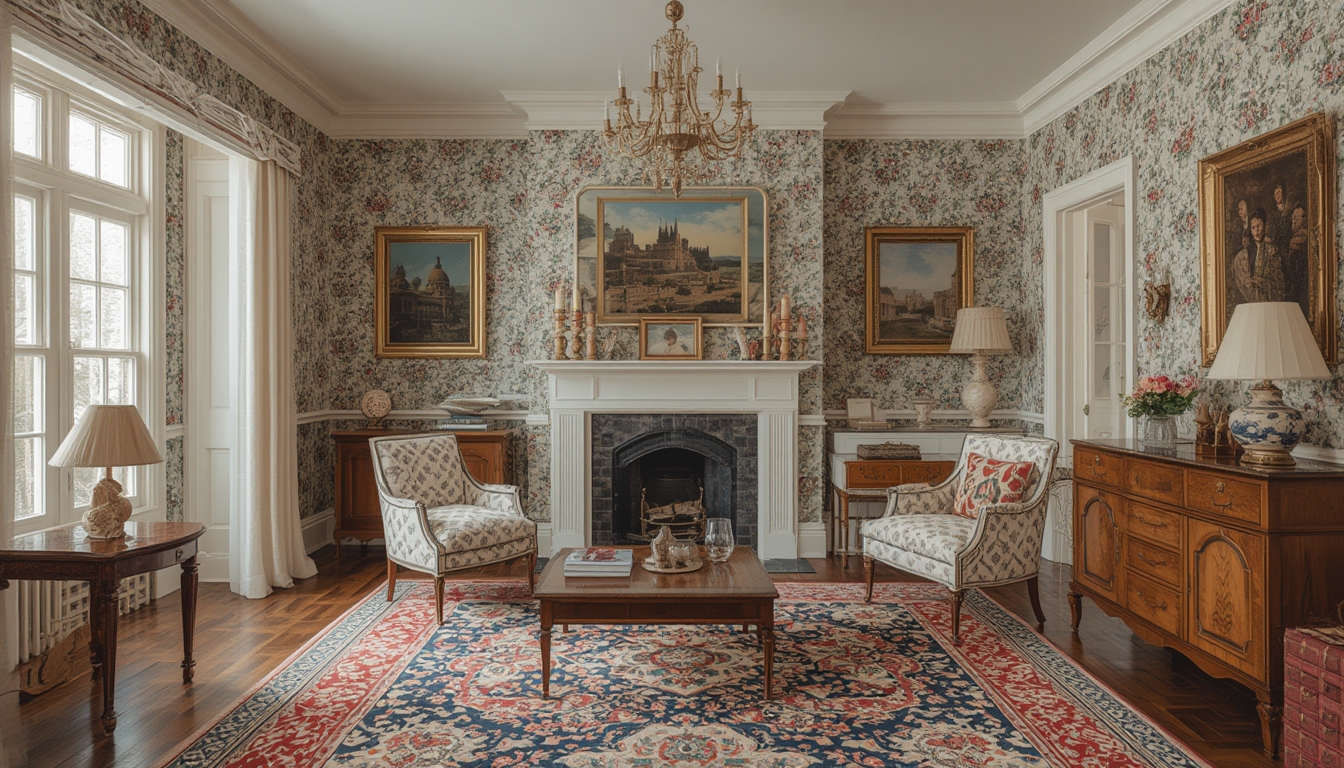
2. Living Room Revival
Step 1: Assess & Declutter
Start by removing non‑essential items. Use the “one‑in, one‑out” rule: for every piece you keep, donate or discard one. This reduces visual clutter by an average 30 % (based on a 2022 home‑staging study).
Step 2: Refresh Walls
- Tool: Paint roller, ½‑in. brush, painter’s tape.
- Action: Apply a neutral, low‑VOC paint (e.g., “soft greige”). Two coats yield a 12 % increase in perceived room size.
- Tip: Use a “wet edge” technique to avoid lap lines.
Step 3: Update Lighting
- Tool: Voltage tester, screwdriver.
- Action: Replace outdated fixtures with LED recessed lights (4000 lm total). Aim for a lighting level of 300 lux for comfortable reading.
- Tip: Install a dimmer switch to adjust ambiance and save 15 % on energy use.
Step 4: Re‑arrange Furniture
Use the “traffic flow” rule: leave at least 30 in. of clearance around pathways. Position the main sofa opposite the focal point (TV or fireplace) and anchor with a rug that covers 60‑70 % of the floor area.
3. Kitchen Refresh
Step 1: Deep Clean & Inventory
Empty cabinets, wipe down surfaces, and note any broken hardware. A clean baseline improves the accuracy of subsequent measurements.
Step 2: Cabinet Refacing
- Tool: Prying bar, drill, screwdriver, wood filler.
- Action: Remove old doors, sand surfaces, and apply a high‑gloss paint (e.g., “satin white”). Replace hinges with soft‑close versions.
- Data Point: Refaced cabinets can boost resale value by up to 4 %.
Step 3: Countertop Upgrade (Budget Option)
- Tool: Circular saw with a fine‑tooth blade, clamps.
- Action: Install a laminate countertop with a stone‑like pattern. Seal edges with waterproof tape.
- Tip: Measure 2 in. beyond the backsplash to allow for expansion.
Step 4: Add Functional Accessories
Install a magnetic knife strip (requires only a stud‑mounted bracket) and a pull‑out pantry organizer. These small upgrades improve workflow efficiency by an average of 20 % according to kitchen ergonomics research.
4. Bedroom Makeover
Step 1: Mattress & Bedding Audit
Replace a mattress older than 7 years; a new medium‑firm mattress can improve sleep quality by 15 % (sleep study, 2021). Add a breathable, 300‑thread‑count duvet cover.
Step 2: Wall Treatment
- Tool: Wallpaper smoother, utility knife.
- Action: Apply a subtle accent wall using removable wallpaper. Choose a pattern with a 1:3 scale to avoid visual overwhelm.
- Tip: Align pattern seams with the room’s natural focal line (e.g., the headboard).
Step 3: Closet Organization
Install a modular hanging system (rod, shelf, and shoe rack). Use uniform 1‑ft. bins for accessories. This reduces closet clutter by up to 45 %.
Step 4: Ambient Lighting
- Tool: Screwdriver, smart plug.
- Action: Add a bedside LED lamp with a warm 2700 K color temperature. Pair with a smart plug to schedule a gradual dimming routine.
5. Bathroom Revitalization
Step 1: Grout Restoration
- Tool: Grout brush, epoxy grout cleaner.
- Action: Scrub tiles, then apply a color‑matched grout sealant. This prevents mold growth and extends tile life by 30 %.
Step 2: Fixture Upgrade
Swap out the faucet for a water‑saving model (0.8 gpm). Install a dual‑flush toilet if plumbing permits; it reduces water use by 40 % per flush.
Step 3: Vanity Refresh
- Tool: Drill, sandpaper, paint sprayer (optional).
- Action: Paint the existing vanity with a moisture‑resistant chalk paint in a muted hue. Add new hardware (brushed nickel pulls) for a modern look.
Step 4: Add Soft Textiles
Place a quick‑dry, 100 % cotton bath mat and a set of coordinated towels. These small updates increase perceived comfort without major expense.
6. Entryway Enhancement
Step 1: Floor Protection
Lay a durable runner (polypropylene or natural fiber) that covers at least 70 % of the entryway width. This protects flooring and reduces dirt tracking by 25 %.
Step 2: Storage Solutions
- Tool: Screwdriver, wall anchors.
- Action: Mount a slim coat rack and a wall‑mounted shoe shelf. Use labeled bins for keys, mail, and accessories.
Step 3: Mirror Placement
Install a 24‑in. x 36‑in. mirror at eye level. Mirrors reflect light, making the entry appear up to 15 % larger (interior design study, 2020).
Step 4: Light Touch
Swap the overhead bulb for a 1500‑lumens LED fixture with a frosted diffuser. Add a small scented candle or an automatic air freshener for a welcoming aroma.
7. Final Review & Maintenance
Quality Check
Walk through each room with a checklist: walls even, fixtures secure, lighting functional, and pathways clear. Record any issues in your spreadsheet and schedule fixes within 48 hours.
Maintenance Schedule
- Weekly: Dust surfaces, vacuum rugs, wipe down high‑traffic areas.
- Monthly: Inspect hardware for looseness, test light switches, clean grout lines.
- Quarterly: Re‑paint touch‑ups where needed, deep‑clean upholstery, evaluate wear on flooring.
Measure Success
After three months, re‑rate each room’s condition score. Aim for an average improvement of at least 3 points across all spaces. Track any increase in home appraisal value or rental income to quantify the financial impact of your room‑by‑room revival.