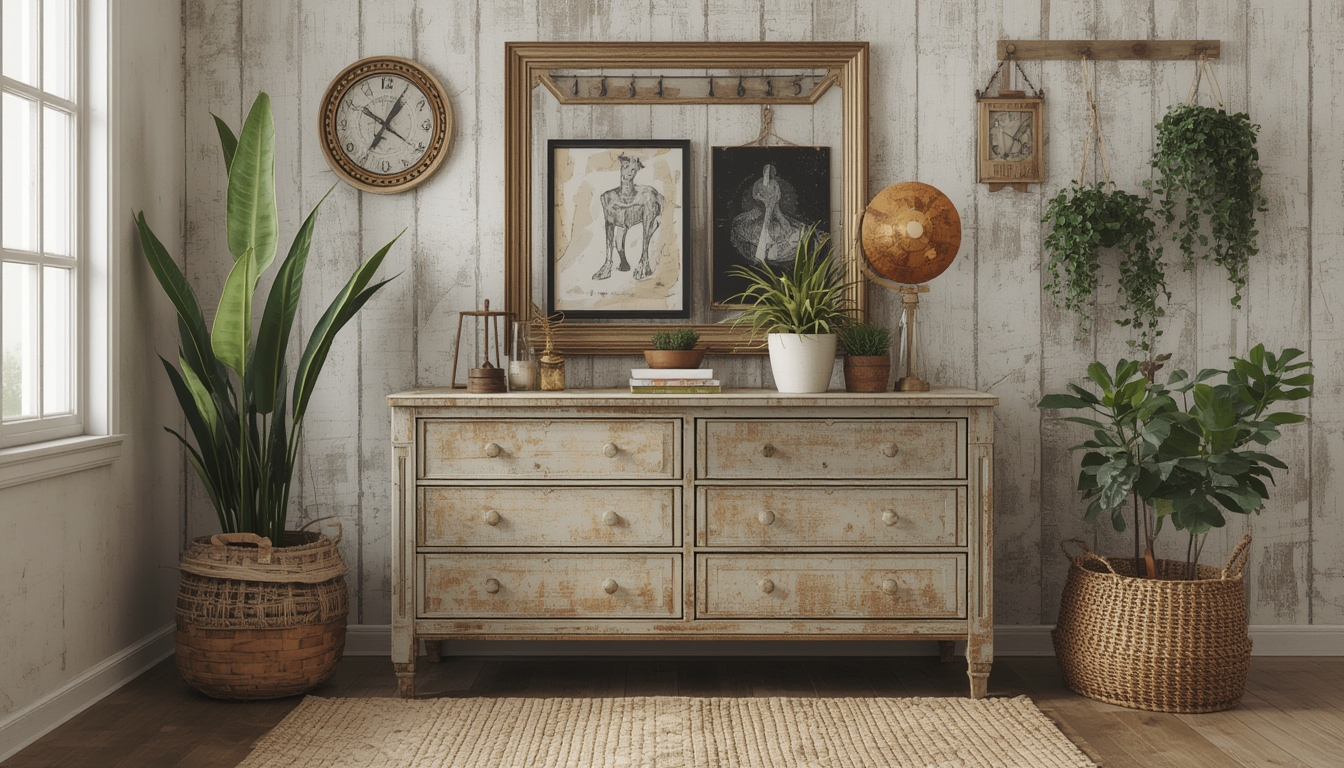
Welcome to your next creative adventure! Below you’ll find three fun, data‑driven DIY & upcycle projects that transform everyday items into stylish, functional pieces for your home. Each project includes a concise list of tools, step‑by‑step instructions, and practical tips to help you achieve professional results without the hassle.
Project 1: Rustic Pallet Coffee Table
Materials & Tools Needed
- 1–2 reclaimed wooden pallets (standard 48″ × 40″)
- Sandpaper (80‑grit, 120‑grit, 220‑grit)
- Orbital sander or hand block
- Measuring tape & carpenter’s square
- Saw (circular or hand saw)
- Power drill with 1/4‑inch drill bit
- Wood screws (2½‑inch) and metal brackets
- Wood stain or paint of choice
- Polyurethane clear coat (matte or satin)
- Clamps (optional but helpful)
Step‑by‑Step Assembly
- Disassemble the pallet. Use the drill to remove all nails, then pry apart the slats. Keep the slats intact for the tabletop and legs.
- Measure and cut. Determine your desired table dimensions (e.g., 36″ × 24″). Cut the slats to length using a circular saw, ensuring each piece is the same size for a uniform surface.
- Sand the wood. Begin with 80‑grit to remove rough edges, progress to 120‑grit for smoothing, and finish with 220‑grit for a silky feel. Wipe away dust with a tack cloth after each pass.
- Assemble the tabletop. Lay the slats side‑by‑side on a flat surface. Apply wood glue sparingly between each slat, then clamp them together. Secure with 2½‑inch screws every 8‑10 inches for added strength.
- Build the legs. Stack three slats for each leg, aligning them flush. Drill pilot holes through the center of each stack, then screw them together. Add metal brackets at each corner for extra stability.
- Attach legs to the tabletop. Position each leg at the corners, ensuring they are square using a carpenter’s square. Secure with long wood screws through the tabletop into the leg tops.
- Finish the surface. Apply your chosen stain or paint with a brush or rag, following the grain direction. Let it dry 24 hours, then sand lightly with 220‑grit to remove any raised grain.
- Seal the table. Coat with two coats of polyurethane, sanding lightly between coats. This protects the wood from spills and wear.
Practical Tips for Success
- Work in a well‑ventilated area when applying stain or polyurethane.
- Use a scrap piece of wood to test stain color before committing to the whole tabletop.
- Clamp the tabletop while the glue dries to prevent slats from shifting.
- If the pallet wood is uneven, plane the surface before sanding for a flatter finish.
Project 2: Restored Vintage Wooden Chair
Materials & Tools Needed
- One vintage wooden chair (any style)
- Paint stripper or gel remover
- Scraper and steel wool
- Fine‑grade sandpaper (150‑grit, 220‑grit)
- Wood filler (for dents or cracks)
- Paintbrushes and foam rollers
- Chalk paint or latex paint (your color choice)
- Protective gloves and goggles
- Drop cloth or old newspapers
Step‑by‑Step Restoration
- Strip the old finish. Apply paint stripper according to the product instructions. Let it sit, then scrape away the softened coating with a putty knife. Use steel wool for stubborn spots.
- Clean and sand. Wipe the chair with a damp cloth to remove residue. Sand the entire surface with 150‑grit paper to smooth out remaining imperfections, then finish with 220‑grit for a silky base.
- Repair damage. Fill any cracks or holes with wood filler. Press the filler into the voids, let it cure, then sand smooth with 220‑grit.
- Prime (optional). If you’re using a light‑colored paint over a dark wood, apply a thin coat of primer. This helps the final color appear true and reduces the number of paint coats needed.
- Paint the chair. Using a brush, apply paint to the carved details and crevices first. Follow with a foam roller for the flat surfaces to achieve an even finish. Allow each coat to dry 2–3 hours before applying the next.
- Seal for durability. Once the final paint coat is dry, protect the chair with a clear matte polyurethane. This step is especially important for chairs that will see frequent use.
- Re‑assemble any hardware. If you removed screws or decorative brackets, reinstall them now. Tighten gently to avoid cracking the fresh paint.
Practical Tips for Success
- Work in a well‑ventilated space and wear gloves when handling chemical strippers.
- Test paint color on a hidden area of the chair before committing to the whole piece.
- Apply thin paint layers; thick coats can lead to drips and uneven drying.
- Use a soft‑bristled brush for intricate carvings to avoid damaging delicate details.
Project 3: Mason Jar Lantern with Reclaimed Wood Base
Materials & Tools Needed
- 4–6 large mason jars (16‑oz or larger)
- Reclaimed wood plank (12″ × 12″ × 1‑inch)
- LED tealight candles or battery‑operated LED lights
- Drill with 1‑inch spade bit
- Sandpaper (120‑grit, 220‑grit)
- Wood stain or paint (optional)
- Clear coat (spray polyurethane)
- Measuring tape and pencil
- Safety glasses
Step‑by‑Step Construction
- Prepare the wood base. Sand the reclaimed plank with 120‑grit, then finish with 220‑grit for a smooth surface. Wipe away dust.
- Mark the jar positions. Arrange the mason jars on the plank in your desired layout (grid or staggered). Use a pencil to mark the center of each jar.
- Drill mounting holes. Wearing safety glasses, drill a 1‑inch spade bit at each marked point, cutting through the wood to a depth of about ¾‑inch. This creates a snug pocket for each jar’s rim.
- Finish the wood. Apply stain or paint if desired, then seal with a spray polyurethane. Allow to dry completely (minimum 4 hours).
- Insert the jars. Place each mason jar into its drilled pocket, ensuring the rim sits flush with the wood surface. The fit should be snug; if the hole is slightly loose, add a thin strip of felt around the rim for a tighter seal.
- Add lighting. Place an LED tealight or battery‑operated LED light inside each jar. LED lights stay cool, making the lantern safe for indoor use.
- Secure the base (optional). If you plan to move the lantern frequently, attach small rubber feet to the bottom of the wood plank for extra grip.
Practical Tips for Success
- Choose LED lights with a warm hue for a cozy ambiance.
- If the wood is very rough, sand with a hand‑held orbital sander before finishing.
- Test the jar fit before applying the final finish; adjustments are easier on raw wood.
- For outdoor use, select weather‑resistant paint and a UV‑protective clear coat.
These three DIY & upcycle projects demonstrate how simple tools, a bit of patience, and creative thinking can transform ordinary items into standout pieces. By following the clear steps and practical tips above, you’ll not only save money but also add a personal, handcrafted touch to your living space. Happy building!