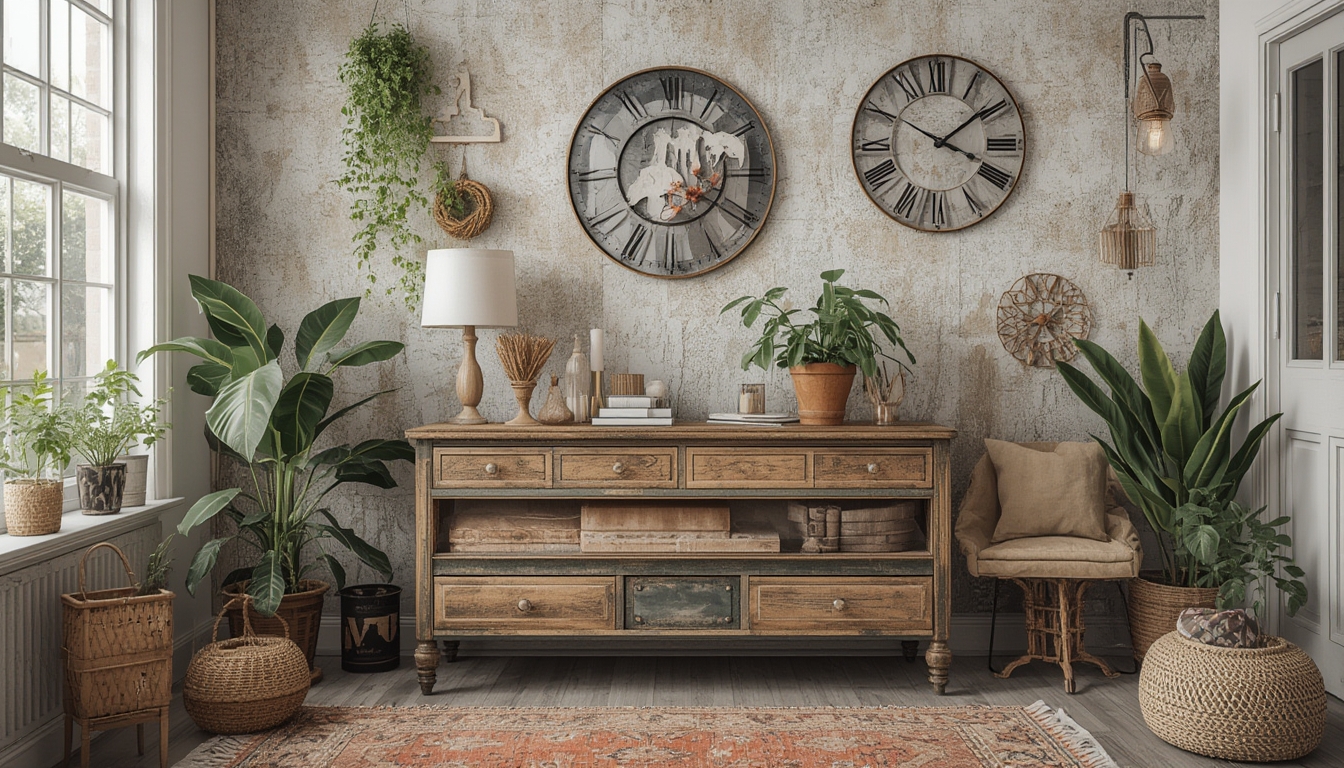
Welcome to your next creative adventure! Whether you’re looking to breathe new life into old furniture, add a personal touch to your home décor, or simply enjoy the satisfaction of a hands‑on project, DIY and upcycling are perfect ways to combine style, sustainability, and savings. Below you’ll find three detailed projects that are beginner‑friendly yet impressive enough to showcase in any room. Each project includes a clear list of tools, step‑by‑step instructions, and practical tips to help you avoid common pitfalls and achieve a polished finish.
Project 1: Rustic Pallet Coffee Table
Transform reclaimed wooden pallets into a sturdy, rustic coffee table that becomes the centerpiece of your living room. This project requires minimal tools and can be completed in an afternoon.
Tools & Materials
- 2–3 standard wooden pallets (cleaned and sanded)
- Measuring tape
- Carpenter’s square
- Circular saw or hand saw
- Power drill with 1/4‑inch drill bit
- Wood screws (2½‑inch)
- Sandpaper (120‑grit and 220‑grit)
- Wood filler (optional for nail holes)
- Stain or paint of your choice
- Polyurethane sealant
- Clamps
Step‑by‑Step Assembly
- Prepare the pallets: Lay each pallet on a flat surface. Use a screwdriver to remove any remaining nails. Sand the entire surface with 120‑grit sandpaper to smooth rough edges and splinters.
- Cut to size: Measure the desired tabletop dimensions (e.g., 48″ × 24″). Mark the top pallet and cut it using a circular saw. For a sturdier look, you can keep the full pallet width and trim only the length.
- Build the frame: Stack the remaining pallets horizontally to form the table’s legs and support beams. Align the edges and secure them with wood screws, pre‑drilling holes to prevent splitting.
- Attach the tabletop: Center the cut pallet on the frame. Use clamps to hold it in place, then drill pilot holes through the tabletop into the frame. Secure with 2½‑inch screws, ensuring they are evenly spaced (about every 8‑10 inches).
- Finishing touches: Fill any screw holes with wood filler, let dry, then sand smooth with 220‑grit sandpaper. Apply a coat of stain or paint, let it dry completely, and finish with a polyurethane sealant for durability.
Practical Tips
- Work in a well‑ventilated area when applying stain or sealant.
- Use a dust mask while sanding to protect your lungs.
- If you prefer a lighter look, paint the pallets white and distress the edges with sandpaper for a shabby‑chic vibe.
Project 2: Upcycled Mason Jar Herb Garden
Turn simple mason jars into a charming indoor herb garden that adds fresh flavor to your kitchen and a splash of green to your décor. This project is perfect for renters or anyone with limited space.
Tools & Materials
- 4–6 wide‑mouth mason jars (16‑oz)
- Small drill with a ½‑inch spade bit
- Silicone sealant
- Potting soil
- Herb seedlings or seeds (basil, mint, thyme, etc.)
- Watering can or spray bottle
- Labels or chalkboard stickers (optional)
- Wooden board or metal rack for mounting
- Hooks or brackets
Step‑by‑Step Assembly
- Drill drainage holes: Using the spade bit, drill two small holes near the bottom of each jar. This prevents water buildup and root rot.
- Seal the lid: Apply a thin line of silicone sealant around the inside edge of the jar lid. This creates a shallow reservoir for excess water while keeping the soil from spilling out.
- Fill with soil: Add a layer of small stones or gravel (about ½‑inch) for extra drainage, then fill each jar with potting soil, leaving about 1‑inch from the rim.
- Plant the herbs: Gently press the seedlings into the soil, ensuring the roots are covered. If using seeds, sprinkle them lightly and cover with a thin layer of soil.
- Mount the jars: Arrange the jars on a wooden board or metal rack. Secure each jar with hooks or brackets, spacing them at least 2‑inches apart for airflow.
- Label and care: Attach labels to identify each herb. Water lightly with a spray bottle, keeping the soil moist but not soggy. Place the garden near a sunny window (6‑8 hours of light).
Practical Tips
- Rotate the jars weekly to ensure even light exposure.
- Harvest herbs regularly to encourage new growth and prevent flowering.
- If the jars get too hot in direct sunlight, move them to a spot with indirect light to avoid leaf scorch.
Project 3: Refinished Dresser Drawer Pulls
Give an old dresser a fresh, modern look by swapping out the drawer pulls. This quick update can dramatically change the aesthetic of any bedroom or living space without the need for a full reupholster.
Tools & Materials
- Old dresser with existing drawer pulls
- New drawer pulls (brass, matte black, or vintage style)
- Phillips screwdriver
- Flat‑head screwdriver (optional)
- Measuring tape or ruler
- Pencil for marking
- Wood filler (if holes need repair)
- Sandpaper (220‑grit)
- Paint or finish (optional)
Step‑by‑Step Replacement
- Remove old pulls: Using a Phillips screwdriver, unscrew each pull from the drawer front. Keep the screws in a small container in case you need them later.
- Assess the holes: If the old holes are damaged or oversized, fill them with wood filler. Allow the filler to dry according to the manufacturer’s instructions, then sand smooth.
- Measure and mark: Place a new pull on the drawer front to determine the ideal placement. Use a ruler to ensure the distance from the edge is consistent across all drawers. Mark the screw holes lightly with a pencil.
- Pre‑drill pilot holes: Using a drill bit slightly smaller than the new screw diameter, drill pilot holes at the marked points. This prevents the wood from splitting.
- Attach new pulls: Align the new pull with the pilot holes and secure it with the supplied screws. Tighten until snug, but avoid over‑tightening, which can strip the wood.
- Finish (optional): If you want to change the drawer front color, lightly sand the surface, wipe clean, and apply a coat of paint or stain. Allow to dry fully before re‑installing the drawers.
Practical Tips
- Choose pulls that match the overall style of the room—sleek metal for modern spaces, brass for a vintage feel.
- When drilling pilot holes, keep the drill perpendicular to avoid angled holes that can cause misalignment.
- If you’re painting the drawer fronts, use a low‑odor, water‑based paint for faster drying and easier cleanup.
These three DIY & upcycle projects demonstrate how a few tools, a bit of creativity, and some patience can transform everyday items into standout pieces. By following the clear steps and practical tips provided, you’ll not only save money but also enjoy the rewarding feeling of creating something uniquely yours. Happy building!