Creating the perfect home cinema room is a blend of art, science, and smart budgeting. By following a data‑driven approach, you can design a space that delivers immersive sound, crystal‑clear visuals, and lasting comfort—all while boosting your property’s SEO‑friendly appeal for future resale or rental listings.
1. Assess the Space and Define Your Goals
Measure accurately
- Use a laser measure or a reliable tape to record length, width, and ceiling height.
- Note any irregularities such as sloped ceilings, windows, or built‑in closets.
- Document door swing direction and any ventilation ducts that may affect speaker placement.
Set clear objectives
- Determine the primary use: movie nights, gaming, or a multi‑purpose media hub.
- Decide on seating capacity (e.g., 4‑6 people) and whether you’ll use recliners, theater seats, or a sectional sofa.
- Identify budget tiers (budget, mid‑range, premium) to guide equipment choices.
2. Optimize Acoustic Treatment
Control reflections
- Install broadband acoustic panels (2‑4 inches thick) on the side walls at the first reflection points—use a mirror trick: have a friend slide a mirror along the wall while you sit in the listening position; wherever you see the speaker in the mirror, place a panel there.
- Cover 20‑30% of wall surface with fabric‑wrapped panels for balanced absorption.
Manage bass buildup
- Place bass traps in each corner (both floor‑wall and wall‑ceiling) to tame low‑frequency resonances.
- Use a calibrated room‑mode calculator (e.g., Room EQ Wizard) to identify problematic frequencies and adjust trap placement accordingly.
Seal gaps
- Apply acoustic caulk around door frames, windows, and any penetrations to prevent sound leakage.
- Install a solid core door with a weather‑strip seal for optimal isolation.
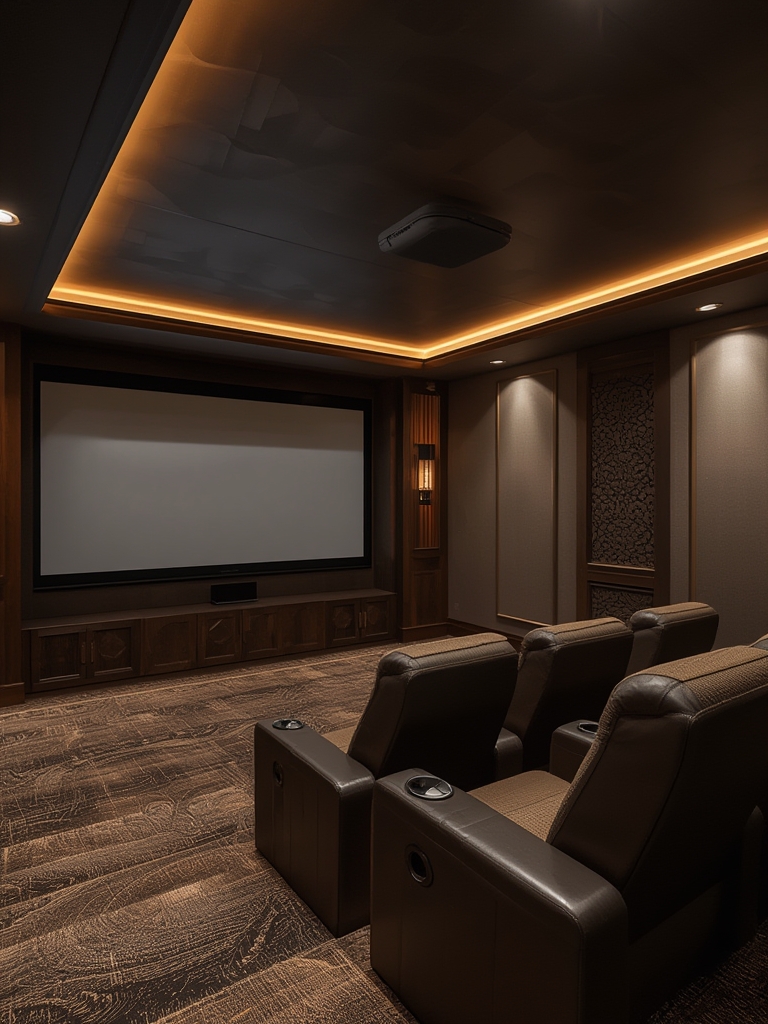
3. Choose the Right Display Technology
Screen vs. projector
- For rooms under 12 ft deep, a 4K OLED TV (65‑75 in) offers superior brightness and contrast without ambient light concerns.
- If you have a dedicated dark room and want a cinematic feel, opt for a 4K laser projector paired with a 120‑150 in fixed‑frame screen (gain 0.8‑1.0).
Resolution and HDR
- Prioritize HDR10+ or Dolby Vision support to future‑proof your setup.
- Check that the source device (streamer, Blu‑ray player) can output 4K @ 60 Hz with HDR.
4. Design a Powerful Audio System
Speaker layout
- Follow the ITU‑R BT.500‑13 standard for a 5.1 or 7.1 surround configuration.
- Place front left/right speakers at ear level, angled 22‑30° toward the listening spot.
- Mount center channel directly below or above the screen, aligned with the picture’s midpoint.
- Position surround speakers 1‑2 ft above ear height, slightly behind the listener, and angled toward the seating area.
- For 7.1, add rear surround speakers at the back wall, mirroring the side surrounds.
Subwoofer placement
- Use the “subwoofer crawl” method: place the sub at the main listening position, play a bass‑heavy track, then crawl around the perimeter to find where the bass sounds strongest—this spot becomes your sub’s location.
- Consider dual subwoofers placed symmetrically for smoother low‑frequency response.
Calibration and processing
- Invest in a room‑calibration microphone (e.g., MiniDSP UMIK‑1) and software (Room EQ Wizard or Audyssey) to fine‑tune speaker levels, distances, and EQ.
- Enable Dolby Atmos or DTS:X if your receiver supports object‑based audio for an immersive height channel experience.
5. Lighting and Ambiance
Control ambient light
- Install blackout curtains or motorized shades to eliminate glare.
- Use dimmable LED recessed lighting with a warm 2700‑3000 K color temperature for pre‑show ambience.
Accent lighting
- Integrate LED strip lighting behind the screen (bias lighting) to reduce eye strain and improve perceived contrast.
- Consider fiber‑optic star‑ceiling kits for a “home theater under the stars” vibe.
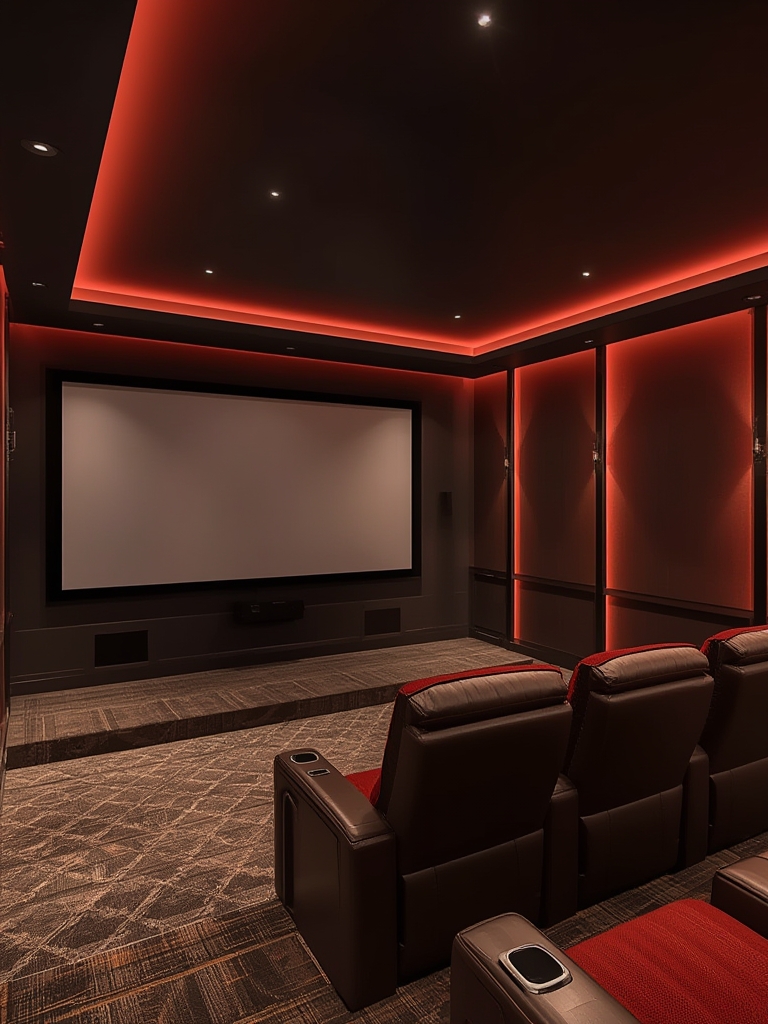
6. Seating Comfort and Layout
Select ergonomic seating
- Choose seats with built‑in cup holders, USB charging ports, and adjustable recline.
- If space is limited, opt for a modular sectional with removable ottomans that double as storage for blankets and remote controls.
Arrange for optimal sightlines
- Maintain a viewing distance of 1.2‑1.6 × the screen diagonal for 4K content (e.g., a 100‑in screen → 10‑13 ft distance).
- Ensure the top of the screen is no higher than 15° above eye level when seated.
7. Wiring, Power Management, and Connectivity
Plan cable pathways
- Run HDMI 2.1 cables (48 Gbps) through wall conduits to keep the floor tidy.
- Label each cable at both ends for future troubleshooting.
- Use high‑quality, gold‑plated connectors to minimize signal loss.
Power conditioning
- Install a dedicated 20‑amp circuit for the AV equipment to avoid overload.
- Use a surge protector with a minimum 2000 J rating and a built‑in line‑level filter for audio fidelity.
Wireless integration
- Deploy a mesh Wi‑Fi system (e.g., Wi‑Fi 6E) to ensure stable streaming for 4K HDR content.
- Enable Bluetooth or AirPlay 2 on the receiver for seamless mobile device playback.
8. Finishing Touches and Maintenance
Regular calibration
- Re‑run room EQ every 6‑12 months or after any major furniture rearrangement.
- Update firmware on the TV, projector, and receiver quarterly to benefit from performance improvements.
Cleaning and upkeep
- Dust acoustic panels and speaker grills weekly with a soft brush or low‑pressure air blower.
- Wipe screens with a microfiber cloth and a 70% isopropyl solution designed for electronics.
Future‑proofing
- Leave spare HDMI ports and conduit space for upcoming technologies like 8K or HDMI 2.1b.
- Consider installing a small UPS (uninterruptible power supply) to protect against power spikes during movie marathons.
By following these data‑driven steps, you’ll transform any spare room into a high‑performance home cinema that delivers cinema‑quality sound and picture while remaining user‑friendly and future‑ready. Remember, the key to success lies in precise measurement, strategic acoustic treatment, and thoughtful integration of technology—all while keeping the viewer’s comfort at the forefront.