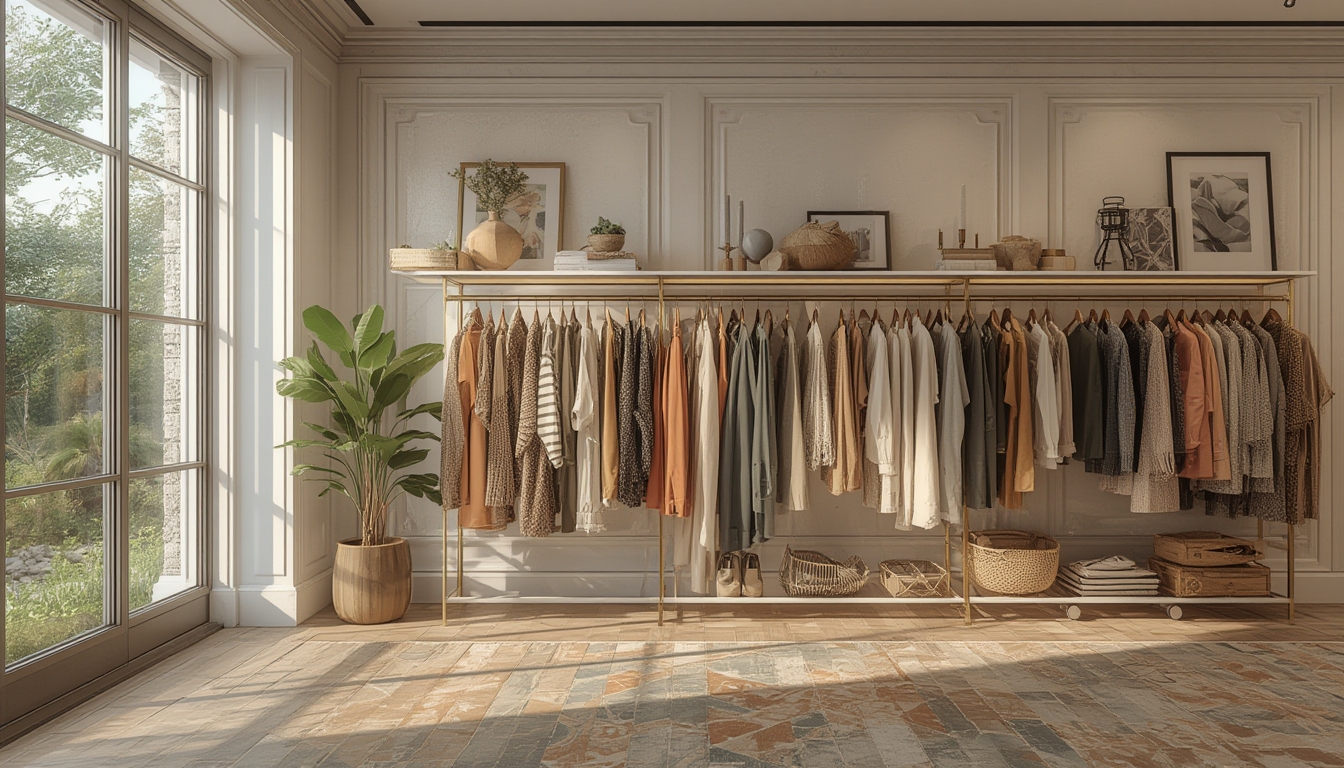
“Shop the Look” has become a powerful way for shoppers to instantly recreate a curated outfit or interior scene with a single click. While the concept sounds simple—pick a complete look and buy each piece—turning it into a personal, functional style requires a thoughtful approach. Below is a data‑driven, step‑by‑step guide that walks you through assembling, restoring, and styling a “Shop the Look” ensemble so you can confidently wear or display it without hassle.
Step 1: Define Your Goal and Gather Inspiration
Before you click “add to cart,” clarify what you want the final look to achieve. Are you aiming for a casual weekend vibe, a polished office outfit, or a statement piece for a special event? Use analytics from your favorite platforms (e.g., Instagram engagement rates, Pinterest repins) to see which styles resonate most with your audience or personal taste.
Tools Needed
- Smartphone or tablet with a reliable internet connection
- Screenshot or clipping tool (e.g., Snipping Tool, Evernote Web Clipper)
- Spreadsheet or note‑taking app to log key details (price, brand, material)
Actionable Advice
- Save at least three “Shop the Look” examples that align with your goal.
- Note the dominant colors, patterns, and accessories in each example.
- Identify any recurring pieces (e.g., a specific blazer style) that you’ll need to source.
Step 2: Audit Your Existing Wardrobe
Many “Shop the Look” outfits can be assembled partially from items you already own. Conduct a quick audit to avoid unnecessary purchases and reduce waste.
Tools Needed
- Full‑length mirror
- Clothing inventory app (e.g., Stylebook, Closet+)
- Measuring tape for fit verification
Actionable Advice
- Lay out all tops, bottoms, and accessories that match the colors or silhouettes you identified.
- Mark each item as “usable,” “needs repair,” or “needs replacement.”
- Take measurements of key pieces (e.g., waist, inseam) to ensure new items will fit seamlessly.
Step 3: Source Missing Pieces Strategically
When you’ve pinpointed gaps, use data‑driven shopping tactics to find the best options quickly.
Tools Needed
- Price‑comparison extensions (e.g., Honey, CamelCamelCamel)
- Filter‑enabled e‑commerce sites (e.g., ASOS, Nordstrom)
- Return policy checklist
Actionable Advice
- Enter the exact product name or SKU from the “Shop the Look” example into a price‑comparison tool.
- Apply filters for size, color, and material to narrow results.
- Prioritize retailers with free returns and fast shipping to test fit without risk.
Step 4: Restore or Tailor Existing Items
Often, a piece in your closet just needs a little TLC to fit the new look perfectly. Restoration can be as simple as a quick repair or as involved as a professional tailoring session.
Tools Needed
- Sewing kit (needle, thread, scissors, pins)
- Fabric steamer or iron
- Tailor’s measuring tape and chalk
Actionable Advice
- Inspect each item for loose seams, missing buttons, or worn fabric.
- Use a fabric steamer to remove wrinkles and restore shape before trying on.
- If a garment needs alteration (e.g., tapering a pant leg), mark the desired length with chalk and bring it to a tailor with your measurements.
Step 5: Assemble the Look and Conduct a Fit Test
Now that you have all components, it’s time to put them together and see how they work as a cohesive whole.
Tools Needed
- Full‑length mirror or well‑lit area for a 360° view
- Smartphone camera for a quick photo check
- Comfort checklist (comfort, mobility, confidence rating)
Actionable Advice
- Layer pieces in the order they appear in the original “Shop the Look” (e.g., base tee, cardigan, outer coat).
- Take a photo from the front, side, and back to spot any visual inconsistencies.
- Move around—sit, walk, stretch—to ensure the outfit feels as good as it looks.
Step 6: Add Personal Touches and Accessories
Even the most polished “Shop the Look” benefits from a personal flair. Accessories can elevate the outfit and make it uniquely yours.
Tools Needed
- Accessory inventory (jewelry, scarves, belts)
- Style board (physical corkboard or digital Pinterest board)
- Lighting for final photo or video capture
Actionable Advice
- Select one statement accessory (e.g., a bold necklace) that mirrors a key element from the original look.
- Layer subtle pieces (e.g., a thin belt) to add dimension without overwhelming the outfit.
- Take a final photo in natural light; compare it side‑by‑side with the original “Shop the Look” to ensure visual harmony.
Step 7: Document and Share Your Finished Look
Documenting the process not only helps you replicate the style later but also provides valuable content for future “Shop the Look” posts.
Tools Needed
- Camera or smartphone with high‑resolution capability
- Photo editing app (e.g., Lightroom, Snapseed)
- Metadata template (date, pieces, cost, source links)
Actionable Advice
- Capture three angles: full body, close‑up of key details, and a styled flat‑lay of accessories.
- Record the total cost and any discounts applied; this data helps you refine future budgeting.
- Store the images and notes in a dedicated folder labeled with the look’s theme for easy retrieval.
By following these data‑driven, actionable steps, you can transform any “Shop the Look” inspiration into a wearable reality that feels personalized, well‑fitted, and budget‑friendly. The process blends careful planning, strategic sourcing, and thoughtful restoration, ensuring that every piece you add to your wardrobe serves a purpose and enhances your overall style narrative.