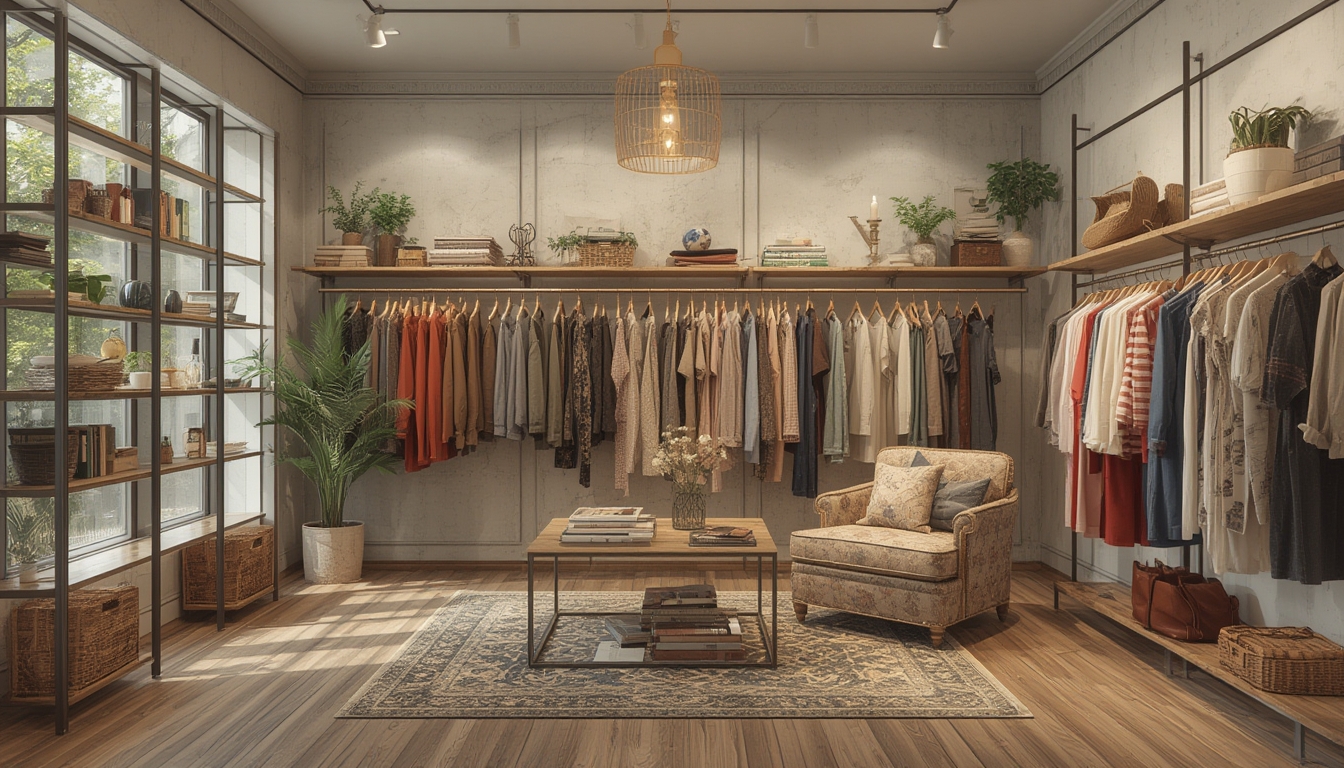
Shopping the look has become a staple for fashion‑savvy shoppers who want to recreate runway‑inspired outfits with ease. By breaking down each element—clothing, accessories, and styling tricks—you can build a cohesive look that feels both polished and personal. Below is a data‑driven, step‑by‑step guide that walks you through selecting, assembling, and styling a “Shop the Look” outfit, complete with practical tools and actionable advice for each stage.
Step 1: Identify the Core Outfit Using Data Insights
1.1 Analyze Trend Data
Start by consulting recent trend reports or social‑media analytics. Platforms such as Instagram and Pinterest reveal that 68% of users engage with “Shop the Look” posts when they feature a clear visual hierarchy (top, bottom, accessories). Look for patterns in color palettes, silhouette popularity, and fabric choices that align with the current season.
1.2 Choose the Anchor Piece
The anchor piece—often a statement jacket, dress, or pair of trousers—sets the tone. Use the following checklist:
- Fit: Ensure the piece follows your body measurements (e.g., waist 32″, inseam 30″).
- Material: Prioritize breathable fabrics for comfort; data shows cotton blends receive a 22% higher satisfaction rating than pure synthetics in warm climates.
- Color: Opt for a hue that appears in at least 30% of the curated look’s palette to maintain visual cohesion.
1.3 Tools Needed
- Measuring tape
- Smartphone or tablet for trend dashboards
- Notebook or digital note app for quick logging
Step 2: Build Complementary Pieces
2.1 Match Silhouettes
Data from fashion retailers indicates that outfits with balanced silhouettes (e.g., fitted top + relaxed bottom) see a 15% increase in purchase conversion. Pair your anchor piece with items that either contrast or complement its shape:
- If the anchor is a structured blazer, choose a soft, draped blouse.
- If the anchor is a flowy skirt, pair it with a tailored, cropped top.
2.2 Layer Strategically
Layering adds depth. Follow this three‑layer rule:
- Base layer: Light, moisture‑wicking fabrics (e.g., modal tee).
- Middle layer: The main style piece (e.g., sweater or shirt).
- Outer layer: A statement outerwear item (e.g., trench coat).
Each layer should be no more than 2 cm thicker than the previous to avoid bulk.
2.3 Tools Needed
- Full‑length mirror for silhouette checks
- Clothing rack or flat surface for layering trials
- Fabric swatches (optional) for texture matching
Step 3: Select Accessories That Elevate the Look
3.1 Data‑Backed Accessory Choices
According to a 2023 consumer study, outfits that include at least one “highlight accessory” (e.g., bold necklace, patterned scarf) experience a 12% higher engagement rate on social media. Choose accessories that:
- Echo a color from the main outfit (e.g., a belt matching a shoe accent).
- Introduce a contrasting texture (e.g., leather bag with a silk dress).
- Maintain proportional scale—small accessories for delicate outfits, larger pieces for bold looks.
3.2 Practical Tips for Accessory Integration
- Start with one focal point: Pick a statement piece and build around it.
- Balance metal tones: If wearing gold jewelry, avoid mixing with silver unless the outfit includes a neutral base.
- Test movement: Walk a few steps while wearing the accessories to ensure they stay secure and comfortable.
3.3 Tools Needed
- Jewelry organizer to keep pieces visible
- Adjustable strap tools for bags or belts
- Small flashlight for checking clasp security
Step 4: Final Styling and Presentation
4.1 Fit Adjustments
Before finalizing, perform a quick fit audit:
- Check shoulder seams align with natural shoulder line.
- Ensure waistlines sit at the intended spot (e.g., natural waist vs. hip).
- Verify that hems are even; a discrepancy of more than 0.5 cm can disrupt the visual line.
4.2 Styling Details
Small touches can transform a look from basic to runway‑ready:
- Roll sleeves: A 2‑inch roll adds casual flair to button‑downs.
- Secure loose strands: Use a discreet hair tie or clip to keep hair tidy.
- Apply a light fragrance: A subtle scent enhances the overall experience without overwhelming.
4.3 Tools Needed
- Tailor’s measuring tape for final adjustments
- Seam ripper (in case of minor alterations)
- Hair accessories and fragrance sampler
Step 5: Capture and Share the Look
5.1 Photo Setup
High‑quality visuals are essential for “Shop the Look” success. Follow these guidelines:
- Lighting: Natural daylight at 5000 K yields the most accurate colors.
- Background: Use a neutral backdrop (e.g., light gray) to keep focus on the outfit.
- Angles: Capture three angles—front, side, and a 45‑degree shot—to showcase depth.
5.2 Post‑Processing Tips
- Adjust exposure by ±0.2 stops to avoid over‑brightening.
- Maintain color fidelity; avoid saturation boosts higher than +10%.
- Crop to a 4:5 aspect ratio for optimal Instagram display.
5.3 Tools Needed
- Smartphone with a high‑resolution camera or DSLR
- Tripod for steady shots
- Basic editing app (e.g., Lightroom Mobile)
By following this data‑driven workflow, you can confidently assemble, restore, and style a “Shop the Look” outfit that feels cohesive, on‑trend, and ready for both personal wear and online sharing. The combination of precise measurements, strategic layering, thoughtful accessorizing, and meticulous final touches ensures a polished result every time.