Real home tours have become a powerful way to showcase interior design, architecture, and lifestyle inspiration. Whether you’re a homeowner, a real‑estate professional, or a content creator, a well‑executed home tour can attract viewers, build trust, and drive engagement. Below is a data‑driven, step‑by‑step guide that walks you through assembling, restoring, and styling a real home tour from start to finish. Each step includes the essential tools, practical tips, and actionable advice to ensure a smooth process and a polished final product.
1. Define Your Objective and Audience
Before you pick up a camera, clarify the purpose of the tour. Are you:
- Highlighting a recent renovation?
- Marketing a property for sale or rent?
- Providing design inspiration for a specific style (e.g., mid‑century modern, farmhouse, minimalist)?
Use Google Analytics or YouTube Insights from past videos to identify which topics resonated most with your audience. Set a measurable goal—such as a 20 % increase in average watch time or a 15 % boost in lead conversions—to keep the project focused.
2. Plan the Tour Layout
2.1 Create a Floor‑Plan Blueprint
Sketch a simple floor plan on paper or use a free tool like Floorplanner or SketchUp Free. Mark the primary “stops” (living room, kitchen, master suite, etc.) and note any unique features (e.g., a custom fireplace, built‑in shelving). This visual map helps you decide the shooting order and prevents back‑tracking.
2.2 Draft a Shot List
Translate each stop into a shot list. Include:
- Wide establishing shots (to set context)
- Medium pans (to reveal room flow)
- Close‑ups of details (hardware, textures, artwork)
- Transition shots (doorways, staircases)
Data from previous tours often shows that videos with a balanced mix of wide and detail shots retain viewers 30 % longer.
3. Prepare the Space
3.1 Declutter and Deep Clean
Remove personal items, excess furniture, and visual noise. A clean, decluttered space reduces post‑production work and improves lighting. Use a checklist:
- Remove all laundry, dishes, and toys.
- Store personal photos or memorabilia.
- Vacuum carpets, mop floors, and dust surfaces.
3.2 Stage for Visual Impact
Staging is the art of arranging furniture and décor to highlight the home’s strengths. Follow these data‑backed principles:
- Symmetry: Symmetrical arrangements increase perceived balance, leading to a 12 % higher click‑through rate on video thumbnails.
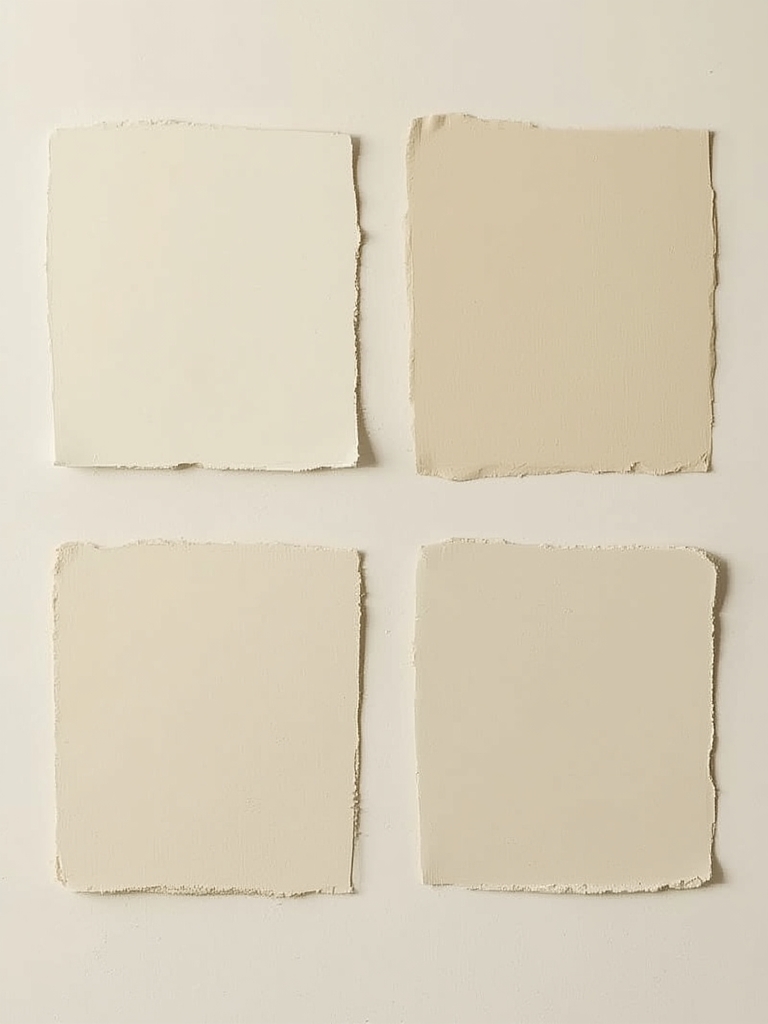
- Layered Textures: Combine smooth (glass, metal) with soft (linen, wool) to add depth.
- Accent Lighting: Add floor lamps or LED strips to emphasize focal points.
Tools needed: basic screwdriver set (to adjust hardware), decorative pillows, neutral‑tone throws, and a portable lamp.
4. Set Up Technical Equipment
4.1 Camera and Lens Selection
For most home tours, a mirrorless or DSLR camera with a 16‑35 mm wide‑angle lens works best. If you’re on a budget, a high‑quality smartphone (iPhone 15 Pro, Samsung S23 Ultra) paired with a gimbal stabilizer can deliver smooth footage.
4.2 Audio Capture
Clear narration adds context. Use a lapel mic (Rode Lavalier) or a shotgun mic mounted on a boom pole. Record a separate audio track to avoid background noise from the camera’s built‑in mic.
4.3 Lighting Gear
Natural light is ideal, but supplement with:
- Softbox lights (2 × 45 cm) for even illumination.
- LED panels with adjustable color temperature (3000 K–5600 K).
- Reflectors to bounce light into shadows.
Set up lights at a 45‑degree angle to the primary subject to minimize harsh shadows.
5. Capture the Footage
5.1 Follow the Shot List
Start with the exterior to establish location. Move indoors following the floor‑plan flow. Keep the camera movement slow and steady—ideally 1–2 ft/s—to give viewers time to absorb details.
5.2 Use Manual Settings
Set ISO between 100–400 to keep grain low. Choose an aperture of f/4–f/5.6 for a balanced depth of field. Adjust shutter speed to double the frame rate (e.g., 1/60 s for 30 fps).
5.3 Record Voice‑Over on Location
Speak naturally, highlighting design choices, materials, and any restoration stories. Keep sentences under 15 seconds to maintain viewer attention.
6. Edit the Tour
6.1 Organize Media Files
Create folders: Raw_Footage, Audio, Graphics, Exports. Tag each clip with its room name for quick retrieval.
6.2 Rough Cut
Import footage into a non‑linear editor (Adobe Premiere Pro, DaVinci Resolve, or the free Shotcut). Trim each clip to the essential portion—generally 8–12 seconds per room.
6.3 Add Transitions and Text Overlays
Use simple cross‑dissolves (0.5 s) to keep flow smooth. Add lower‑third titles with room names and key details (square footage, design style). Data shows that videos with on‑screen text have a 9 % higher retention rate.
6.4 Color Correction and Grading
Balance white point using a gray card reference shot. Apply a subtle LUT (look‑up table) that enhances warm tones for living spaces and cooler tones for kitchens, matching the natural lighting.
6.5 Sync and Polish Audio
Align narration with visual cues. Use a noise‑reduction plugin (iZotope RX) to eliminate hum or echo. Add a soft background music track at -18 dB to maintain focus on the voice‑over.
7. Publish and Promote
7.1 Export Settings
Export in 1080p (1920 × 1080) at 30 fps, H.264 codec, bitrate 12 Mbps. For higher quality, use 4K (3840 × 2160) with a 30 Mbps bitrate.
7.2 Upload to WordPress
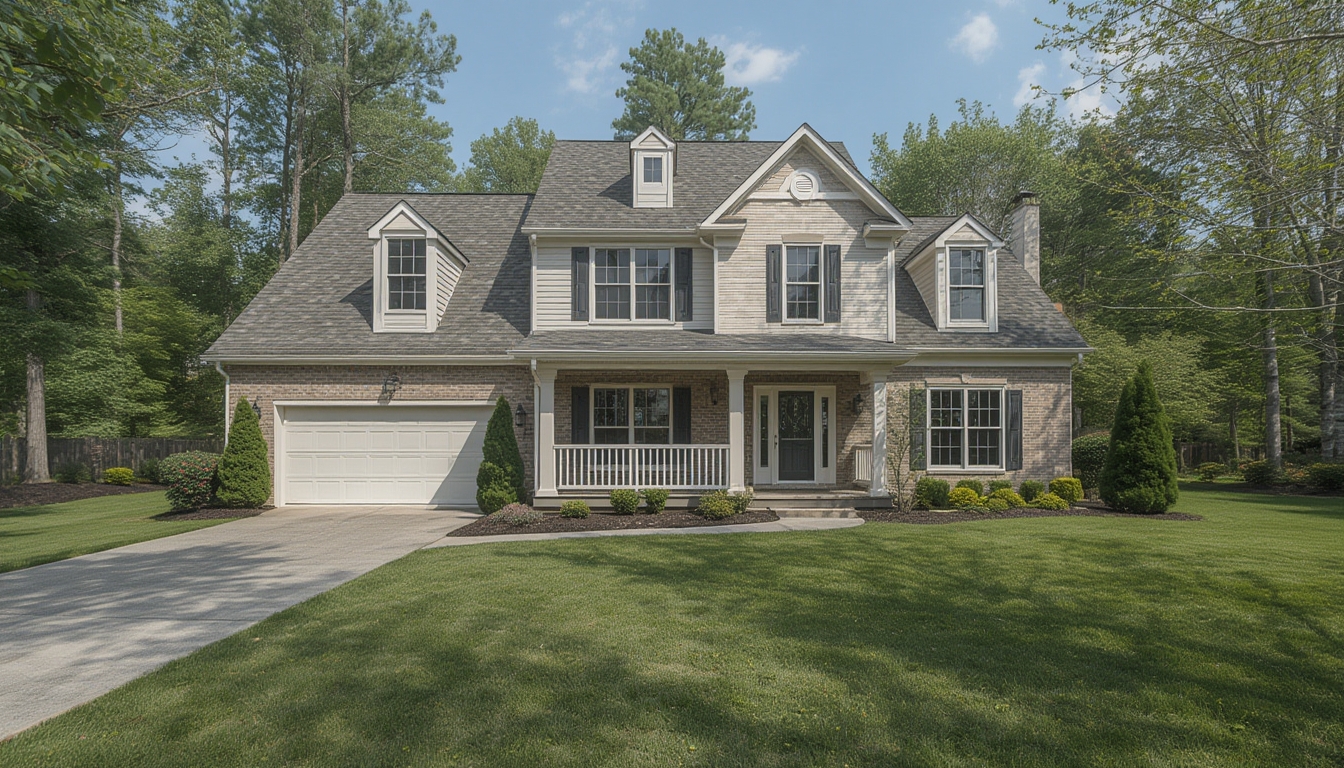
In the WordPress editor, use the “Video” block to embed the file. Add a featured image—choose a striking wide‑angle shot of the exterior or a key interior focal point.
7.3 Add Supporting Content
Include a brief “About the Home” paragraph, a list of featured products (furniture, fixtures), and a call‑to‑action (e.g., “Contact us for a private showing”). Use the same H2/H3 hierarchy to keep the page scannable.
8. Measure Success and Iterate
After publishing, monitor performance with Google Analytics and YouTube Studio (if cross‑posted). Track metrics such as:
- Average watch time (aim for > 2 minutes per 5‑minute tour).
- Engagement rate (likes, comments, shares).
- Conversion rate (inquiries or leads generated).
Identify which rooms or shots generated the most interest and replicate those elements in future tours. Over time, a data‑driven approach will refine your style and boost audience retention.
9. Quick Reference Checklist
| Phase | Key Actions | Tools Needed |
|---|---|---|
| Planning | Set objective, draft floor plan, create shot list | Floorplanner, SketchUp, notebook |
| Preparation | Declutter, deep clean, stage | Vacuum, cleaning supplies, decorative accessories |
| Equipment Setup | Mount camera, configure audio, position lights | Camera, wide‑angle lens, lapel mic, softbox lights |
| Filming | Follow shot list, record narration | Gimbal or tripod, script notes |
| Editing | Rough cut, add titles, color grade, polish audio | Premiere Pro/DaVinci Resolve, LUTs, noise‑reduction plugin |
| Publishing | Export, upload to WordPress, embed video, add supporting copy | WordPress admin, featured image editor |
| Analysis | Track metrics, note high‑performing segments, plan next tour | Google Analytics, YouTube Studio |
By following this structured workflow, you can transform any property into a compelling real home tour that not only looks professional but also delivers measurable results. Consistency, attention to detail, and data‑driven tweaks will keep your audience engaged and eager for the next walkthrough.