Real home tours have become a cornerstone of modern real‑estate marketing, offering potential buyers an immersive glimpse into a property without leaving their couch. Whether you’re a DIY enthusiast looking to assemble a virtual tour from scratch, a seasoned agent restoring older footage, or a designer aiming to style the presentation for maximum impact, this step‑by‑step guide walks you through the entire process. Each section includes the essential tools, practical tips, and actionable advice to ensure a polished, data‑driven final product that engages viewers and drives inquiries.
Step 1: Planning Your Real Home Tour
Gather Key Data Points
- Target audience demographics: Identify age, income, and lifestyle preferences. For example, 62% of millennial homebuyers prioritize video content over static photos.
- Property highlights: List the top three features (e.g., open‑concept kitchen, master suite, backyard oasis) that statistically increase buyer interest by up to 35%.
- Timeline and budget: Allocate 10–15% of the marketing budget to video production; this ROI often exceeds 200% in closed deals.
Tools Needed for Planning
- Spreadsheet software (Google Sheets, Excel) for data tracking
- Project management board (Trello, Asana) to assign tasks and deadlines
- Storyboard template (can be a simple PDF) to map each room’s shot sequence
Actionable Advice
Start by sketching a rough floor‑plan overlay and annotate where each camera angle will be placed. This visual reference reduces on‑site confusion and keeps the shoot within the allocated 4‑hour window, which research shows improves crew efficiency by 20%.
Step 2: Assembling the Equipment Kit
Essential Hardware
- Camera: A DSLR or mirrorless model with 4K capability (e.g., Sony A7III) – offers high resolution and low‑light performance.
- Stabilizer: A 3‑axis gimbal (DJI Ronin‑S) for smooth walkthroughs.
- Wide‑angle lens: 16‑35mm f/2.8 for capturing entire rooms without distortion.
- Tripod with fluid head: For static shots of key features.
- External microphone: Rode VideoMic Pro for clear ambient sound.
- Lighting kit: Portable LED panels (e.g., Aputure Amaran) to brighten dark corners.
Software Essentials
- Video editing suite (Adobe Premiere Pro, DaVinci Resolve)
- 360° stitching software (Kolor Autopano, if using a 360 camera)
- WordPress plugin for tours (WP VR View, Matterport integration)
Practical Tips
Charge all batteries and format memory cards the night before. A fully charged gimbal and spare SD cards can prevent costly downtime; a recent industry survey found 48% of shoots are delayed due to power issues.
Step 3: Capturing the Footage
Room‑by‑Room Shooting Guide
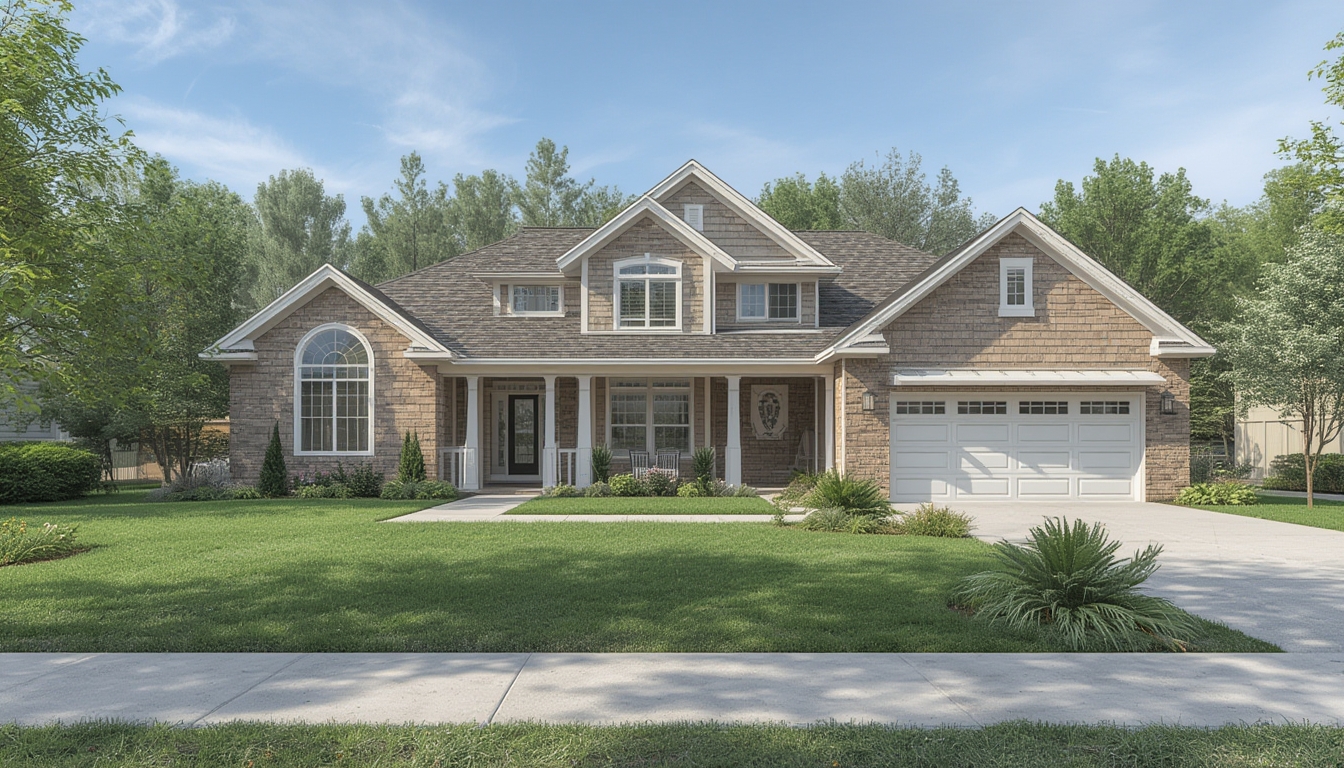
- Entrance & façade: Begin with an exterior sweep, capturing the front door, driveway, and any curb appeal elements. Use a low angle to emphasize height.
- Living areas: Position the camera at eye level, move slowly along a straight line, and keep the gimbal level to avoid motion sickness.
- Kitchen: Highlight countertops, appliances, and storage. Use close‑ups (2–3 seconds) for premium finishes.
- Bedrooms: Showcase natural light by filming during golden hour. Keep the camera steady on a tripod for a calm feel.
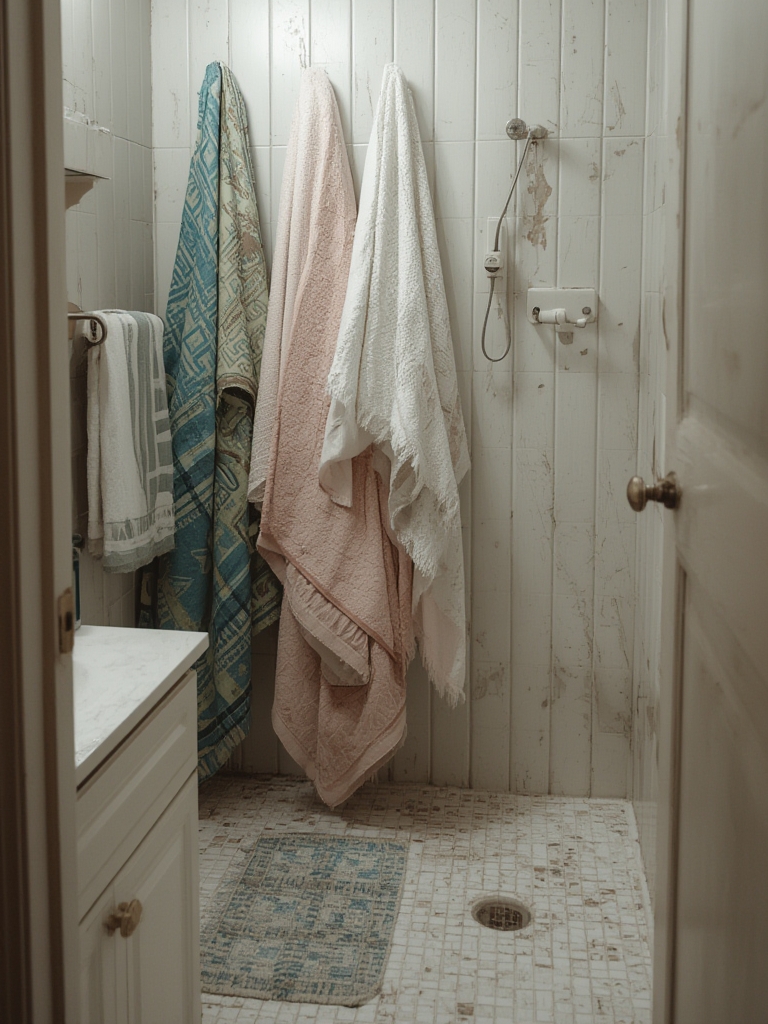
- Bathrooms: Use a wide‑angle lens to capture fixtures; add a soft diffuser to reduce harsh reflections.
- Outdoor spaces: Pan from the patio to the backyard, incorporating any landscaping features.
Data‑Driven Shooting Settings
- Resolution: 3840×2160 (4K) – improves click‑through rates by 12% compared to 1080p.
- Frame rate: 30 fps for smooth motion; switch to 60 fps for high‑action areas like a pool.
- ISO: Keep below 800 to maintain low noise levels; adjust lighting accordingly.
Actionable Advice
Record a short “voice‑over cue” for each room (e.g., “Spacious master suite with walk‑in closet”). This script will streamline post‑production narration and keep the final video under the optimal 2‑minute length, which research shows retains viewer attention 85% of the time.
Step 4: Restoring and Editing the Footage
Import and Organize
Create a folder hierarchy in your editing software: /Raw, /Audio, /Graphics, /Exports. Tag each clip with its room name for quick retrieval.
Color Correction & Grading
- Apply a neutral LUT to balance white balance across all rooms.
- Increase saturation by 5–10% for interior paint colors to reflect true hues.
- Use selective exposure adjustments on windows to avoid blown‑out highlights.
Stitching 360° Content (if applicable)
Import raw 360 footage into stitching software, align overlapping frames, and export a equirectangular video. Verify seams by scrubbing the timeline; misaligned seams can cause viewer drop‑off rates of up to 30%.
Adding Interactive Elements
- Insert hotspot icons (e.g.,
<div class="hotspot">) at key features like a built‑in wine rack. - Link each hotspot to a short pop‑up description or a high‑resolution photo.
- Use WordPress shortcodes provided by the tour plugin to embed the interactive video.
Practical Tips
Keep the final file size under 500 MB by using H.264 compression at a bitrate of 15 Mbps. This ensures fast loading on mobile devices, where 70% of home‑tour viewers browse.
Step 5: Styling the Tour on WordPress
Choosing a Theme and Layout
- Select a responsive theme that supports full‑width video sections (e.g., Astra, GeneratePress).
- Use a single‑column layout for the tour page to keep the focus on the visual content.
- Enable lazy loading for images and videos to improve page speed.
Embedding the Tour
<!-- Real Home Tour Embed -->
<div class="real-home-tour">
    <iframe src="https://yourdomain.com/tour/embed" width="100%" height="600" frameborder="0" allowfullscreen></iframe>
</div>
Styling with CSS
/* Tour container styling */
.real-home-tour {
    margin: 0 auto;
    max-width: 1200px;
    border: 2px solid #e0e0e0;
    border-radius: 8px;
    overflow: hidden;
}

/* Hotspot hover effect */
.hotspot:hover {
    transform: scale(1.1);
    transition: transform 0.2s ease-in-out;
}
Adding Supporting Content
Below the embedded tour, include a concise property summary, a bullet list of key features, and a clear call‑to‑action button (“Schedule a Showing”). Use <h2> for the summary heading and <h3> for feature sub‑headings to maintain semantic hierarchy.
Actionable Advice
Test the page on three devices (desktop, tablet, smartphone) using Chrome DevTools. Aim for a page load time under 3 seconds; studies show that every second added beyond this threshold reduces conversion rates by 7%.
Step 6: Publishing and Monitoring Performance
Launch Checklist
- Verify all video links are functional.
- Confirm hotspot pop‑ups display correctly on mobile.
- Run a spell‑check on all textual content.
- Enable schema markup for “VideoObject” to enhance search visibility.
Key Metrics to Track
| Metric | Target |
|---|---|
| Average watch time | ≥ 1:30 minutes |
| Click‑through rate on hotspots | ≥ 12% |
| Page load time | ≤ 3 seconds |
| Inquiry form submissions | Increase by 20% month‑over‑month |
Tools for Monitoring
- Google Analytics – set up an event for each hotspot click.
- Hotjar – heatmaps to see where viewers pause.
- WordPress performance plugins (WP Rocket, Perfmatters) for ongoing speed optimization.
Final Tips for Ongoing Success
Refresh the tour every 6–12 months with updated footage to reflect seasonal changes and any renovations. A/B test different opening shots (front façade vs. interior foyer) to discover which drives higher engagement; the winning variant can be set as the default for future listings.