Creating an industrial‑style home bar is a fantastic way to add personality, functionality, and a touch of urban chic to any living space. By blending raw materials, sleek lines, and a curated selection of tools, you can craft a bar that feels both modern and inviting. Below is a data‑driven, step‑by‑step guide that walks you through design decisions, essential equipment, and even how to grow a small herb garden to keep your cocktails fresh and flavorful.
Why Choose an Industrial Aesthetic?
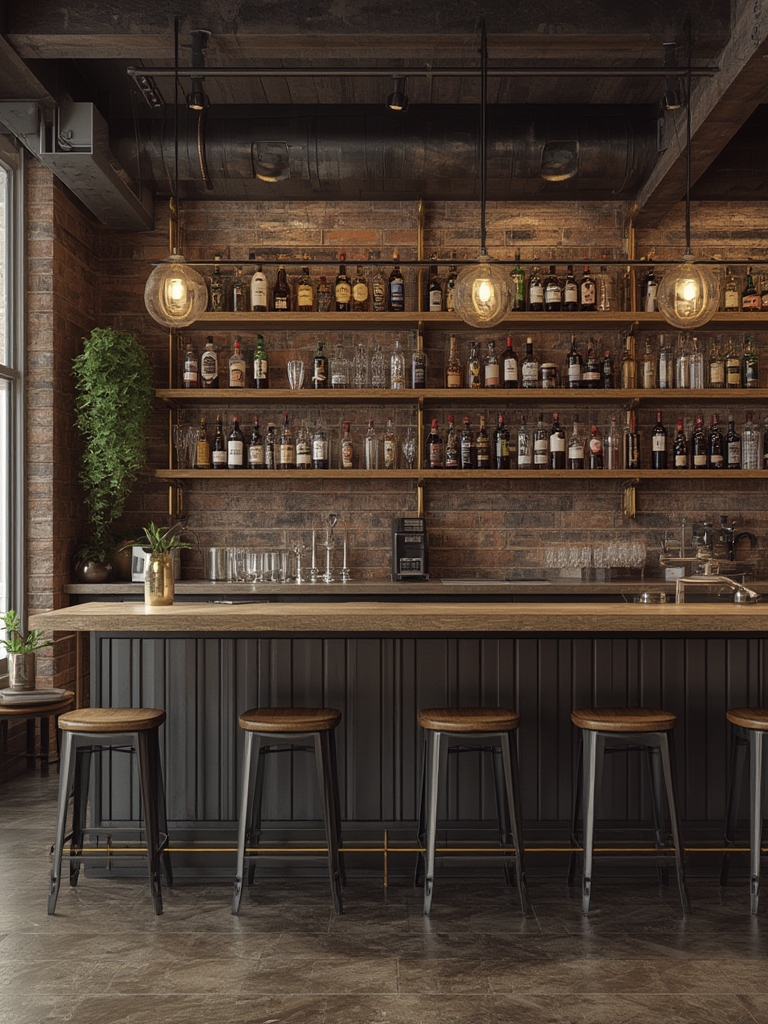
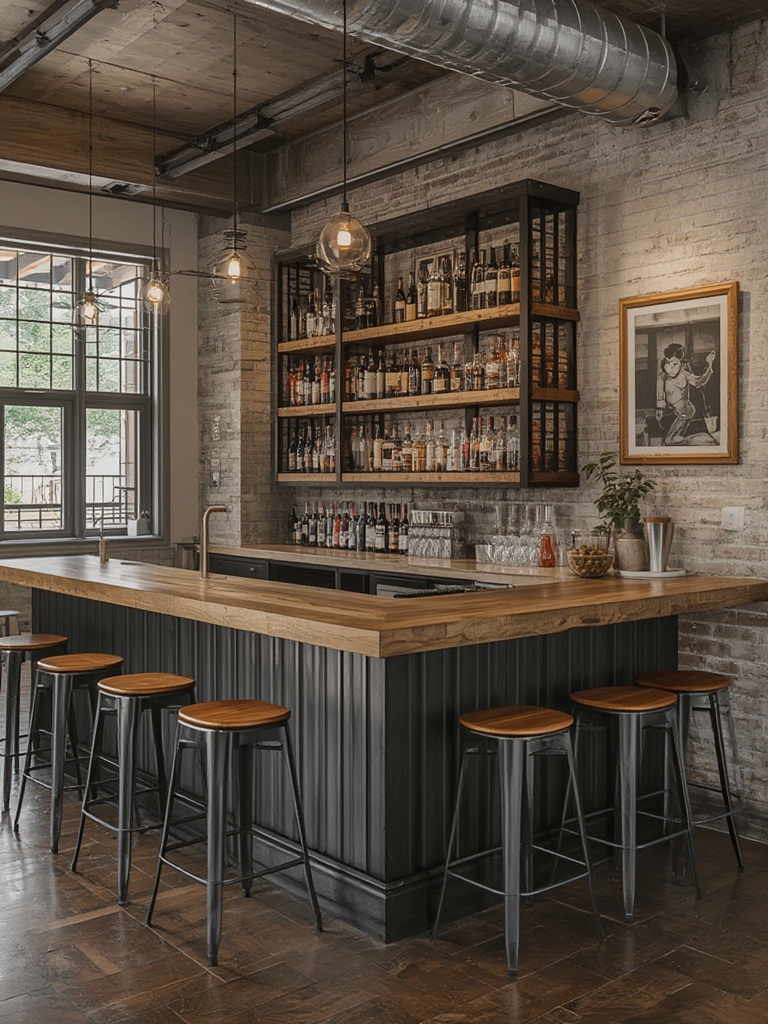
Industrial design thrives on exposed brick, reclaimed wood, metal piping, and minimalist lighting. According to a 2023 Statista survey, 42% of homeowners who renovated their living rooms opted for an industrial look, citing “durability” and “timeless appeal” as top reasons. This style not only looks great on Instagram but also offers practical benefits:
- Durability: Metal and concrete surfaces resist spills and scratches.
- Flexibility: Modular components let you expand or reconfigure the bar as needed.
- Low Maintenance: Simple cleaning routines keep the space looking fresh.
Step 1: Choose the Right Location
Assess Space and Traffic Flow
Measure the square footage and note high‑traffic zones. Aim for a minimum of 3 feet of clearance around the bar to ensure comfortable movement. Use a floor‑plan app (like RoomSketcher) to visualize the layout before committing.
Consider Power and Plumbing
Industrial bars often feature a small sink for rinsing glassware. If plumbing isn’t feasible, a portable countertop sink with a water reservoir works well. Ensure you have at least one dedicated 120V outlet for blenders, ice makers, and LED lighting.
Step 2: Build the Core Structure
Materials Checklist
- Reclaimed wood planks (2‑4 inches thick) for the countertop.
- Blackened steel or pipe brackets for support.
- Concrete or cement board for a sturdy base.
- Metal shelving (adjustable brackets recommended).
Construction Tips
1. Lay a concrete slab or use a pre‑made cement board as the foundation. This prevents wobble and protects flooring.
2. Secure reclaimed wood to the steel brackets using stainless‑steel screws. Pre‑drill holes to avoid splitting the wood.
3. Install open shelving at eye level for bottles and glassware. Use pipe clamps for an authentic industrial look.
Step 3: Lighting & Ambiance
LED Strips and Pendant Lights
LED strip lighting under the countertop adds a subtle glow and highlights the raw materials. Pair this with vintage‑style pendant lights (e.g., cage‑style fixtures) for a warm, inviting atmosphere.
Smart Controls
Integrate a smart dimmer (compatible with Alexa or Google Home) to adjust brightness for daytime entertaining or late‑night cocktail sessions.
Step 4: Equip Your Bar with Essentials
Must‑Have Tools
- Stainless‑steel shaker set (shaker, strainer, jigger).
- Professional-grade bar spoon.
- Ice crusher or portable ice maker.
- Glassware variety (rocks, highball, coupe, martini).
- Magnetic knife strip for easy access.
Organizational Hacks
Use labeled magnetic tins for bitters, syrups, and garnishes. This keeps the countertop tidy and speeds up drink preparation.
Step 5: Grow Your Own Cocktail Herbs
Fresh herbs like mint, basil, rosemary, and thyme elevate any drink. A compact indoor herb garden fits perfectly on the bar’s side shelf.
Choosing the Right Containers
Opt for self‑watering pots (2‑4 inches deep) with drainage trays. This reduces watering frequency and prevents over‑watering, a common mistake for beginners.
Soil Mix and Planting
- Prepare a well‑draining mix: combine 40% peat moss, 30% perlite, and 30% compost.
- Fill the pot: leave 1 inch of space at the top.
- Plant the herb: create a small hole, place the root ball, and gently firm the soil around it.
Lighting Requirements
Herbs need 6–8 hours of bright, indirect light. Position the pots near a south‑facing window or use a LED grow light set on a 12‑hour timer.
Watering Schedule
Check the top inch of soil daily. Water when it feels dry to the touch, ensuring excess water drains out. A moisture meter can help maintain consistency.
Fertilizing and Harvesting
Feed with a balanced liquid fertilizer (10‑10‑10) once a month. Harvest leaves regularly—snipping just above a node encourages bushier growth.
Step 6: SEO & Content Optimization for Your Blog Post
Keyword Strategy
Target long‑tail keywords such as “industrial home bar ideas,” “DIY bar countertop,” and “indoor herb garden for cocktails.” Use these in headings, the first 150 words, and naturally throughout the article.
Meta Description (155 characters)
“Discover step‑by‑step industrial home bar ideas, from raw‑material construction to growing fresh cocktail herbs, with practical tips for a stylish DIY bar.”
Internal & External Links
Link to related posts (e.g., “Top 10 Cocktail Recipes”) and reputable sources (e.g., home‑improvement guides, horticulture sites). This boosts authority and dwell time.
Image Optimization
Include high‑resolution photos of reclaimed wood countertops, metal shelving, and herb pots. Use descriptive ALT tags like “reclaimed‑wood industrial bar countertop” and compress images for faster load times.
Step 7: Final Touches & Maintenance
Personalize with Accents
Add vintage signage, a chalkboard menu, or reclaimed metal bottle holders to reinforce the industrial vibe.
Routine Care
- Weekly: Wipe down surfaces with a mild cleaner and polish metal fixtures.
- Monthly: Inspect and tighten any loose brackets or screws.
- Seasonally: Rotate herb pots to ensure even light exposure and prune any overgrown foliage.
Conclusion
By following these data‑backed steps, you’ll create an industrial home bar that’s both visually striking and functional. Pairing the rugged aesthetic with a thriving herb garden not only enhances the look but also adds fresh flavors to your cocktails. Remember to optimize your blog post for SEO, use engaging visuals, and keep your bar well‑maintained. The result? A stylish, Instagram‑ready space that invites friends to gather, sip, and enjoy the perfect blend of design and taste.