
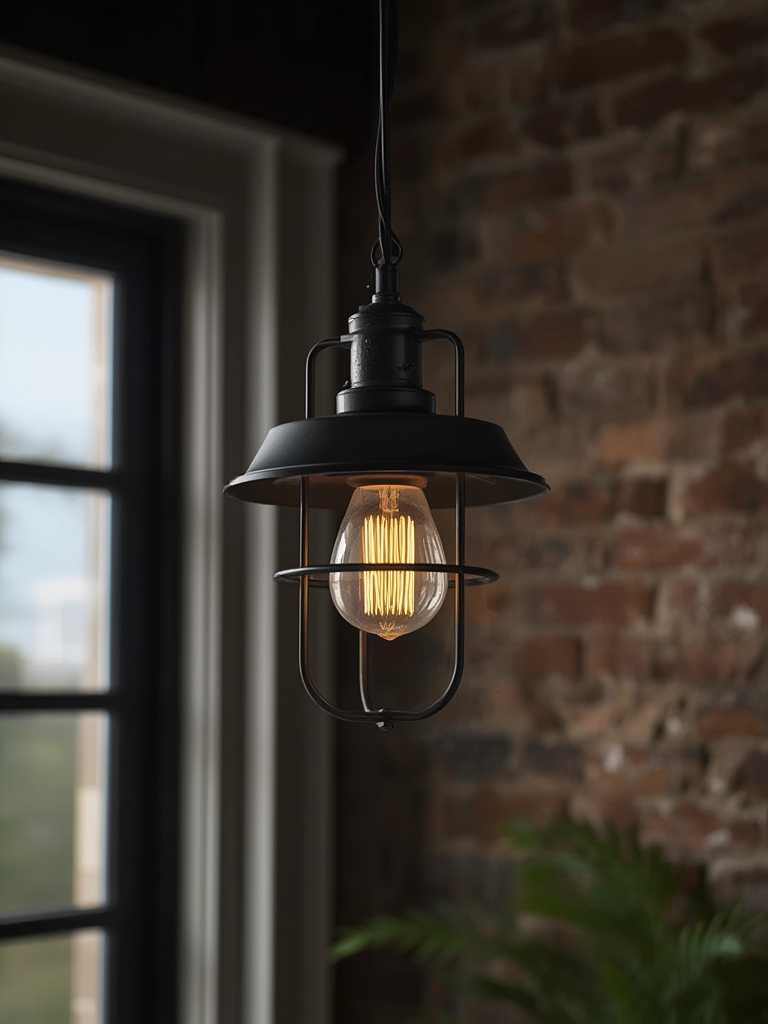
Why Choose Industrial‑Grade Lighting for Your Home
Industrial‑style lighting has moved from factories and warehouses straight into modern homes. Its rugged design, high lumen output, and energy‑efficient technology make it perfect for creating bold aesthetics while providing functional illumination. When paired with indoor gardening, these lights become powerful grow lights that can boost plant health year‑round.
Key Benefits of Industrial Home Light
1. High Lumen Output
Industrial fixtures typically deliver 2,000–5,000 lumens per lamp, ensuring deep, even light coverage. This intensity is ideal for:
- Highlighting architectural features.
- Providing the light spectrum needed for photosynthesis.
- Reducing the number of fixtures required in a room.
2. Energy Efficiency
Most modern industrial lights use LED technology, offering up to 80% less energy consumption compared to traditional metal‑halide or fluorescent bulbs. Look for the ECO‑label and a CRI (Color Rendering Index) of 80+ for accurate color rendering and lower electricity bills.
3. Durability & Low Maintenance
Built with metal housings and tempered glass, these fixtures resist dust, moisture, and impact. This durability translates into fewer replacements and less downtime for both home décor and plant care.
Choosing the Right Industrial Light for Indoor Plants
Assess Your Space
Measure the square footage of the area where you’ll place the plants. A good rule of thumb is 30–40 watts per square foot of LED light for most leafy greens and herbs.
Select the Proper Spectrum
Plants thrive on a balanced spectrum:
- Blue (400–500 nm): Encourages vegetative growth and strong stems.
- Red (600–700 nm): Promotes flowering and fruiting.
- Full‑spectrum LEDs: Mimic natural sunlight, ideal for mixed plant collections.
Check the Fixture’s Beam Angle
A 60°–90° beam angle offers broad coverage for a plant shelf, while a narrower 30°–45° angle concentrates light on a single large specimen.
Step‑by‑Step Guide to Grow Healthy Plants with Industrial Home Light
Step 1: Plan Your Layout
Actionable tip: Sketch a simple floor plan. Position the industrial fixture 12–24 inches above the plant canopy for optimal light penetration. Use adjustable mounting brackets to fine‑tune height as plants grow.
Step 2: Install the Fixture Safely
Follow these safety basics:
- Turn off power at the breaker.
- Use a UL‑listed mounting kit compatible with your ceiling or wall type.
- Secure wiring with wire nuts and electrical tape; if unsure, hire a licensed electrician.
Quick tip: Add a dimmer switch to control intensity during different growth stages.
Step 3: Choose the Right Plants
Industrial lights excel with:
- Herbs: basil, mint, cilantro.
- Leafy greens: lettuce, kale, spinach.
- Compact fruiting plants: cherry tomatoes, peppers.
For beginners, start with fast‑growing herbs that show results in 2–3 weeks.
Step 4: Set the Light Schedule
Plants need a day/night rhythm. Use a timer to automate:
- Vegetative phase: 16–18 hours of light, 6–8 hours of darkness.
- Flowering phase: 12 hours of light, 12 hours of darkness.
Pro tip: Gradually reduce light intensity by 10% each week during the transition to flowering to avoid shock.
Step 5: Monitor Temperature & Humidity
Industrial LEDs generate less heat than traditional bulbs, but they still raise ambient temperature. Keep the room between 68–78°F (20–26°C) and humidity around 50–70%. Use a small hygrometer and a portable fan to circulate air.
Step 6: Feed Your Plants
High light intensity accelerates nutrient uptake. Follow a balanced fertilizer schedule:
- Every 2 weeks: 1:1:1 NPK (nitrogen‑phosphorus‑potassium) water‑soluble fertilizer.
- During flowering: switch to a higher phosphorus formula (e.g., 1:2:2).
Actionable tip: Dilute fertilizer to half the recommended strength for the first two weeks to prevent “burn” from the intense light.
Step 7: Prune and Rotate
Regular pruning encourages bushier growth and improves airflow. Rotate the plant tray 90° every week so each side receives equal light exposure.
Step 8: Track Progress with Data
Use a simple spreadsheet to log:
- Light intensity (lux) measured with a handheld meter.
- Growth metrics (height, leaf count).
- Watering frequency and fertilizer dosage.
Analyzing this data helps you tweak light height, duration, and feeding for optimal yields.
Maintenance Tips to Keep Your Industrial Light Performing
Clean the Fixture Regularly
Dust reduces light output by up to 30%. Wipe the glass with a soft, dry cloth once a month. For stubborn grime, use a 50/50 water‑vinegar solution and let it dry completely before turning the light back on.
Check for Heat Build‑Up
Even LEDs can overheat if ventilation is blocked. Ensure the fixture’s vents are clear and consider adding a small clip‑on fan if the temperature exceeds 85°F (29°C).
Replace LEDs at the End of Their Life
Most industrial LEDs last 30,000–50,000 hours. When you notice a noticeable drop in brightness or a shift toward a yellow hue, replace the LED module. Keep a spare on hand to avoid downtime.
SEO‑Friendly Recap for Quick Reference
- Keyword focus: industrial home lighting, LED grow lights, indoor plant care, energy‑efficient lighting.
- Meta description (150‑160 chars): Discover how industrial‑grade LED lighting can transform your home décor and boost indoor plant growth with step‑by‑step tips.
- Internal linking ideas: Link to related posts on “Top 10 LED Grow Lights for Small Spaces” and “Designing an Industrial‑Style Living Room”.
- Image alt text suggestions: “Industrial LED fixture illuminating a kitchen herb garden” and “Adjustable mounting bracket for industrial home light”.
By integrating rugged industrial lighting with smart plant‑care practices, you’ll enjoy a stylish, well‑lit home while harvesting fresh herbs and greens all year long. Follow the steps above, track your results, and watch both your décor and your garden thrive.