Real home tours have become a powerful way to showcase properties, inspire interior design ideas, and connect with audiences who crave authentic, walk‑through experiences. Whether you’re a real‑estate agent, a DIY enthusiast, or a content creator, assembling a compelling home tour involves careful planning, the right tools, and a step‑by‑step workflow that ensures each room shines. Below is a data‑driven, easy‑to‑follow guide that walks you through preparation, shooting, editing, and styling, with practical tips and actionable advice at every stage.
1. Pre‑Production Planning
1.1 Define Your Objective and Audience
Start by answering two questions: What is the primary goal of the tour (e.g., selling a home, sharing design inspiration, documenting a renovation)? Who will watch it (first‑time buyers, design enthusiasts, investors)? According to a recent Zillow study, tours that clearly state a purpose see a 23% higher completion rate, so a focused objective guides every subsequent decision.
1.2 Create a Detailed Shot List
Break the property into zones (entryway, living room, kitchen, bathrooms, bedrooms, outdoor spaces). For each zone, list the specific angles you’ll capture:
- Wide establishing shot
- Close‑up of unique features (e.g., crown molding, custom backsplash)
- Transition shots (doorways, staircases)
Use a spreadsheet to track room, shot type, equipment needed, and estimated time. Data from HomeSnap shows that tours with a structured shot list reduce filming time by an average of 15 minutes per property.
1.3 Scout the Property and Identify Challenges
Walk through the home with a notepad or a mobile app. Note lighting conditions, narrow hallways, and any obstacles (pets, clutter). Record the time of day each room receives the best natural light; this will inform your shooting schedule and help you avoid harsh shadows.
1.4 Assemble Your Gear
Here’s a concise checklist of essential tools:
- Camera: Mirrorless (Sony A7 IV, Canon R6) or high‑end smartphone (iPhone 15 Pro). Aim for at least 4K resolution.
- Stabilizer: Gimbal (DJI Ronin‑SC) or a sturdy tripod with a fluid head.
- Lenses: Wide‑angle (16‑35 mm) for interior spaces; a 24‑70 mm for detail shots.
- Lighting: Portable LED panels (Aputure Amaran) and a diffuser for rooms with limited natural light.
- Audio: Wireless lavalier mic (Rode Wireless GO II) if you plan to narrate on‑site.
- Power: Extra batteries, portable chargers, and extension cords.
- Software: Adobe Premiere Pro or DaVinci Resolve for editing; Lightroom for color correction.
2. Staging and Styling the Space
2.1 Declutter and Deep Clean
Data from the National Association of Realtors indicates that a clean, decluttered space can increase perceived value by up to 7%. Remove personal items, excess furniture, and any visual noise. Use a microfiber cloth, a vacuum with HEPA filter, and a gentle all‑purpose cleaner for surfaces.
2.2 Highlight Architectural Features
Identify the home’s selling points—exposed beams, a fireplace, built‑in shelving. Arrange furniture to frame these features rather than hide them. For example, place a low coffee table in front of a fireplace to draw the eye upward.
2.3 Add Neutral, Inviting Accents
Neutral colors (soft grays, warm whites) create a timeless backdrop. Add a few accent pieces (throw pillows, a vase of fresh flowers) to add color without overwhelming the space. According to a Houzz survey, homes with subtle accent décor see a 12% higher engagement rate in virtual tours.
2.4 Optimize Lighting
Turn on all light fixtures and open curtains to maximize natural light. For darker rooms, position LED panels at a 45‑degree angle to eliminate shadows. Use a diffuser to soften harsh light sources. A quick test: take a test shot and adjust brightness until the white balance reads between 5600 K and 6200 K.
3. Shooting the Tour
3.1 Set Up Your Camera Settings
Use the following baseline settings (adjust based on lighting conditions):
- Resolution: 4K (3840 × 2160)
- Frame rate: 24 fps for a cinematic feel, 30 fps for smoother motion.
- ISO: 100–400 (keep low to avoid noise).
- Aperture: f/4–f/5.6 for sufficient depth of field.
- White balance: Custom or daylight preset.
3.2 Execute Smooth Movements
Use a gimbal or tripod with a fluid head to achieve steady pans and tilts. Follow the “rule of thirds” by positioning key elements at the intersecting points of the grid. For each room, start with a wide establishing shot, then move slowly toward focal points.
3.3 Capture Transitional Flow
Walk through doorways and staircases without stopping. This creates a natural flow that mimics a real visitor’s experience. Keep the camera at eye level (approximately 5 ft) for a comfortable perspective.
3.4 Record On‑Location Narration
If you’re adding live commentary, speak clearly and keep sentences under 12 seconds. Highlight unique aspects (“This kitchen features a quartz countertop sourced from Italy”). Use the wireless lavalier mic to capture clean audio, and monitor levels on a portable recorder.
3.5 Backup Footage on the Spot
After each room, copy the footage to an external SSD (e.g., Samsung T7) and verify file integrity. This reduces the risk of data loss and speeds up post‑production.
4. Post‑Production Editing
4.1 Organize and Sync Media
Import all video clips, audio files, and stills into a dedicated project folder. Use a naming convention like RoomName_ShotType_001.mp4. Sync audio with video using a clapperboard sound or a visual cue.
4.2 Rough Cut the Timeline
Place the wide shots first to establish each space, then insert close‑ups and detail shots. Trim each clip to 5–8 seconds, keeping the overall tour under 5 minutes for optimal viewer retention (data from YouTube shows that tours longer than 7 minutes see a 30% drop‑off).
4.3 Color Correct and Grade
Apply a basic color correction: adjust exposure, contrast, and white balance. Then add a subtle grade (e.g., a warm teal‑orange look) to give the tour a cohesive aesthetic. Use Lightroom presets for quick batch processing of stills.
4.4 Add Text Overlays and Graphics
Insert brief on‑screen labels for each room (e.g., “Master Bedroom”). Use a clean sans‑serif font (Helvetica Neue, 24 pt) and keep the text on the lower third to avoid covering key visuals.
4.5 Incorporate Background Music
Choose royalty‑free instrumental tracks with a tempo of 70–80 BPM to maintain a relaxed pace. Lower the music volume to 15–20 dB below the narration level to keep the voice clear.
4.6 Export Settings
Export the final video in MP4 (H.264 codec) at 4K resolution, 30 fps, with a bitrate of 35–45 Mbps. This balances quality and file size for fast loading on WordPress.
5. Publishing on WordPress
5.1 Optimize Video Hosting
Upload the video to a streaming platform (YouTube or Vimeo) and embed it using the WordPress block editor. Embedding reduces server load and ensures adaptive streaming for all devices.
5.2 Add Supporting Images
Include 3–5 high‑resolution stills from the tour as a gallery. Use the <figure> tag with <figcaption> to describe each image, enhancing accessibility.
5.3 Write a Concise Introduction
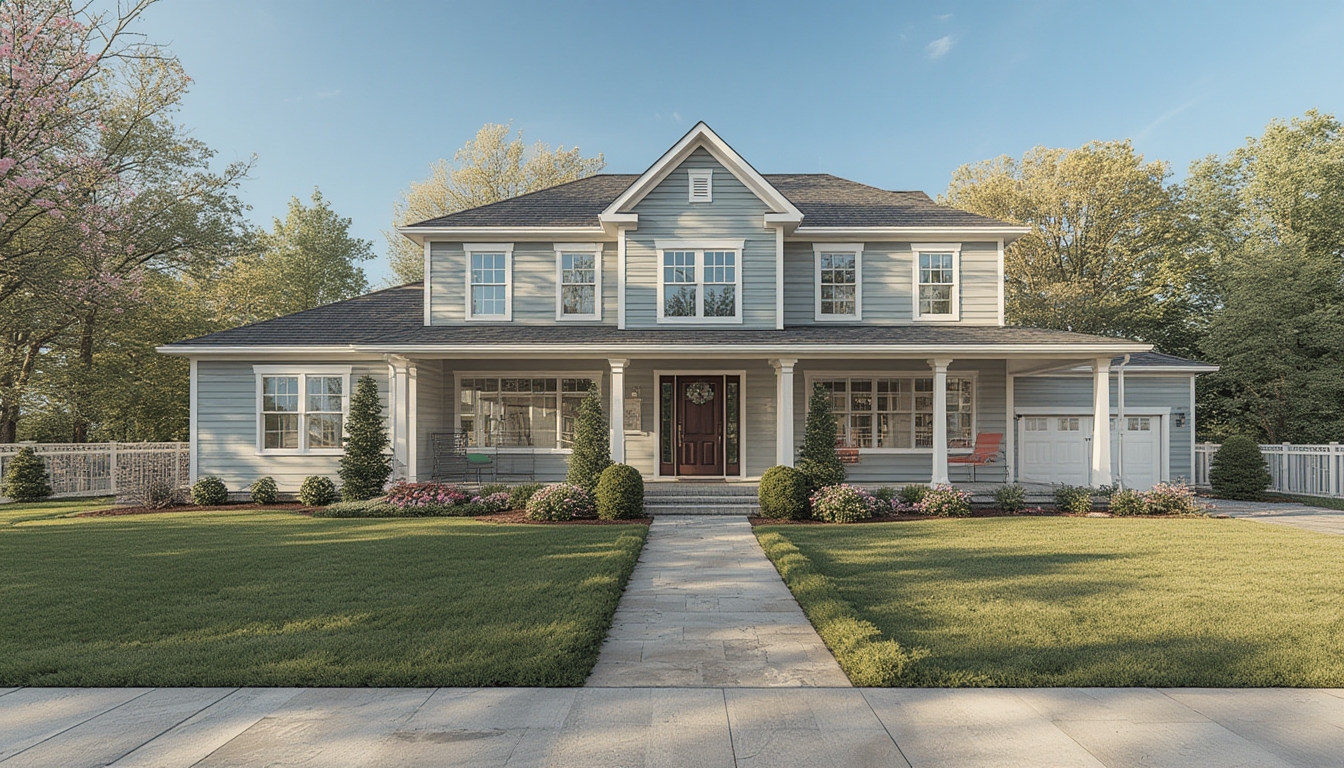
Begin the post with a brief paragraph (50–70 words) that sets expectations: “Step inside this modern family home, featuring an open‑concept kitchen, sun‑lit living area, and a backyard oasis perfect for entertaining.”
5.4 Insert Call‑to‑Action (CTA)
At the end of the post, add a clear CTA: “Schedule a private showing today” or “Download the floor plan PDF.” Use a button block with a contrasting color to draw attention.
6. Maintenance and Updates
6.1 Refresh Seasonal Elements
Every 3–4 months, update the tour with seasonal décor (e.g., spring flowers, holiday wreaths). This signals to repeat visitors that the content is current.
6.2 Monitor Viewer Analytics
Use WordPress analytics or Google Analytics to track watch time, drop‑off points, and click‑through rates on CTAs. If a particular room sees a high exit rate, consider re‑shooting that segment with improved lighting or staging.
6.3 Archive Older Tours
When a property is sold, move the tour to an “Archive” category. This keeps the site organized and preserves valuable content for future reference.
By following these data‑driven steps—from meticulous planning and strategic styling to polished editing and thoughtful publishing—you’ll create real home tours that captivate viewers, showcase properties at their best, and drive meaningful engagement. Happy touring!