Creating a captivating real home tour can turn a simple property listing into an immersive experience that draws potential buyers, renters, or design enthusiasts straight into the space. This guide walks you through every stage—from planning and equipment setup to filming, editing, and styling the final tour on a WordPress site. Follow each step, use the recommended tools, and you’ll have a polished, interactive tour ready to share in no time.
1. Planning Your Real Home Tour
Define the Tour’s Goal
Start by clarifying what you want the viewer to feel or learn. Are you highlighting a modern kitchen, showcasing a historic home’s character, or emphasizing the flow between rooms? A clear goal shapes your shot list and narrative.
Create a Shot List
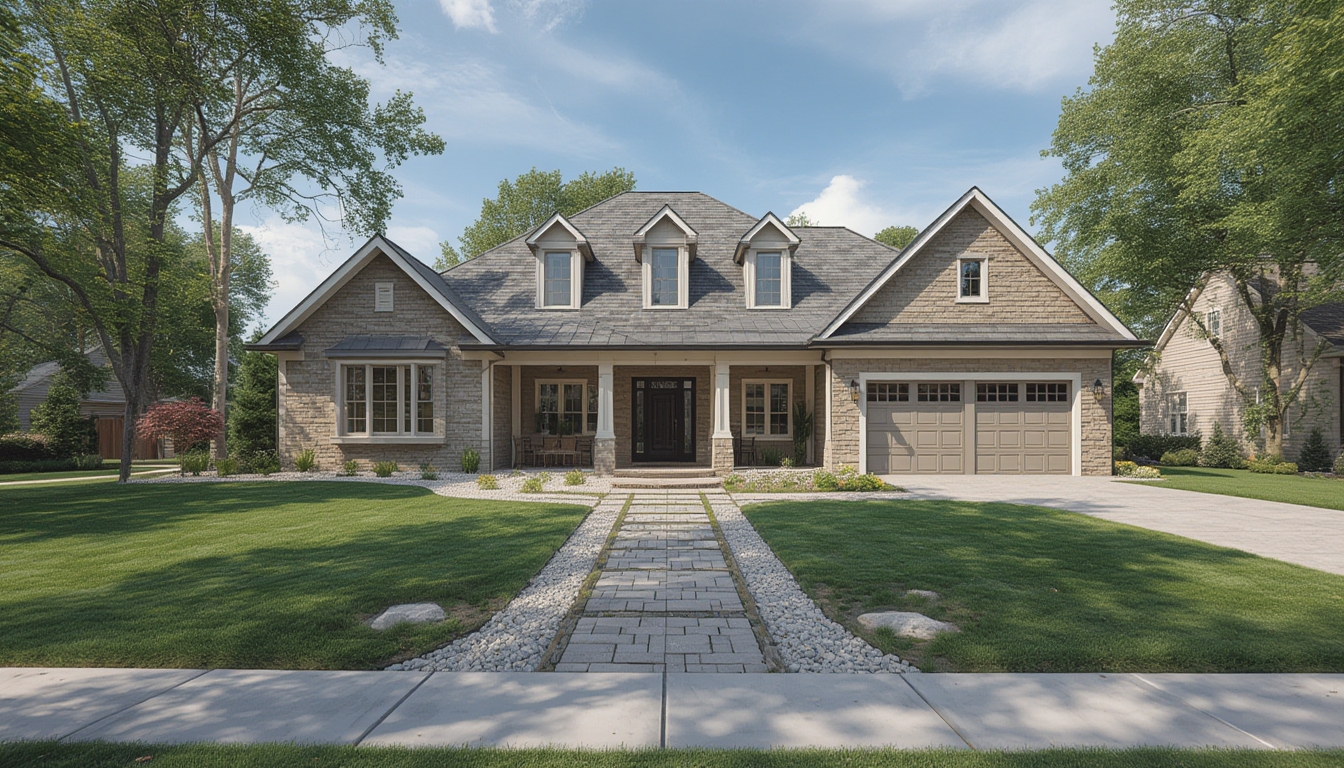
- Exterior façade (front, side, and backyard)
- Entryway and hallway
- Living areas (living room, family room)
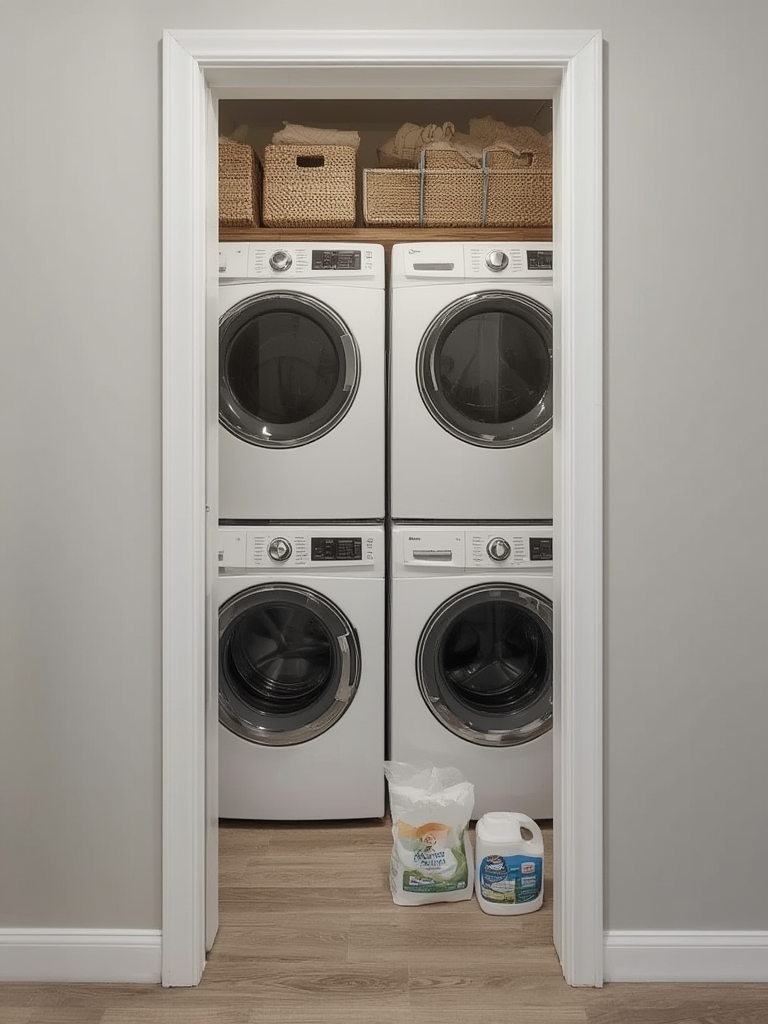
- Key rooms (kitchen, master bedroom, bathrooms)
- Unique features (fireplace, built‑in shelving, view)
- Closing shot (wide view of the property or a signature detail)
Write each item on a checklist and note any special lighting or staging needs.
Scout the Property
Visit the home at least once before filming. Identify natural light patterns, power outlet locations, and any obstacles that could affect camera movement. Take quick reference photos to remind yourself of angles and lighting conditions.
2. Gathering the Right Equipment
Camera Options
- DSLR/Mirrorless – Ideal for high‑resolution stills and 4K video.
- Smartphone with gimbal – Convenient for quick shoots; modern phones shoot 4K smoothly.
- 360° camera – Perfect for immersive tours that let viewers look around freely.
Stabilization Tools
- Three‑axis gimbal (e.g., DJI Osmo Mobile or Ronin‑S) for smooth motion.
- Tripod with a fluid head for static shots.
- Slider or dolly for slow, cinematic pans.
Lighting Gear
- Portable LED panels (adjustable color temperature) to fill shadows.
- Softbox kits for larger rooms where natural light is insufficient.
- Reflectors to bounce daylight into darker corners.
Audio (Optional)
If you plan to add a voice‑over or ambient sound, a shotgun mic or a lapel mic will capture clear audio without background noise.
3. Shooting the Tour
Set Up the Space
Clear clutter, arrange furniture to showcase flow, and add subtle staging items (fresh flowers, a bowl of fruit) to give the home a lived‑in feel.
Lighting the Scene
- Turn on all interior lights to balance exposure.
- Use LED panels to eliminate harsh shadows, especially in corners.
- Prefer natural light when possible; shoot during mid‑morning or late afternoon for soft, even illumination.
Camera Settings
- Resolution: 4K (3840 × 2160) for crisp detail.
- Frame rate: 24 fps for a cinematic look, 30 fps for smoother motion.
- Shutter speed: Double the frame rate (e.g., 1/48 s for 24 fps).
- ISO: Keep as low as possible (100‑400) to avoid noise.
- White balance: Set manually to match the lighting (daylight, tungsten, custom).
Movement Techniques
- Slow walkthrough – Walk at a steady pace, keeping the camera level.
- Pan and tilt – Use a tripod head to capture wide angles of each room.
- Slider shots – Slide from one corner to another for a dramatic reveal.
- 360° spin – If using a 360° camera, stand still and rotate slowly for a full sphere capture.
Capture B‑Roll
Record extra footage of details—close‑ups of hardware, textures, or decorative elements. B‑roll adds depth during editing and helps cover any gaps in the main walkthrough.
4. Editing and Enhancing the Tour
Choose Your Editing Software
- Adobe Premiere Pro or Final Cut Pro for professional workflows.
- DaVinci Resolve (free version) for powerful color grading.
- iMovie or Shotcut for quick, budget‑friendly edits.
Import and Organize Clips
Create separate bins for main walkthroughs, B‑roll, and audio. Label each clip according to the room or feature for easy navigation.
Basic Cut and Sequence
- Trim each clip to the essential portion (usually 5‑10 seconds per room).
- Arrange clips in the logical flow defined in your shot list.
- Insert smooth transitions (cross‑fade or dip‑to‑black) between rooms.
Color Correction & Grading
Balance exposure across all clips, then apply a subtle grade to enhance warmth or coolness, matching the home’s style. Use scopes (waveform, vectorscope) to ensure consistent color balance.
Add Text Overlays
Label each room with a clean, sans‑serif font. Keep the text on screen for 2‑3 seconds, positioned in a corner so it doesn’t obscure key details.
Voice‑Over (Optional)
Record a concise narration that highlights features, square footage, and unique selling points. Sync the narration with the corresponding visual segment.
Export Settings
- Format: MP4 (H.264 codec) for universal compatibility.
- Resolution: 1920 × 1080 (Full HD) for faster loading, or keep 4K if bandwidth permits.
- Bitrate: 15‑20 Mbps for 1080p, 35‑45 Mbps for 4K.
5. Publishing the Tour on WordPress
Upload the Video
For optimal performance, host the video on a platform like YouTube or Vimeo and embed it in your post. If you prefer self‑hosting, use a CDN to reduce load times.
Insert the Embed Code
<iframe src="https://www.youtube.com/embed/VIDEO_ID" width="560" height="315" frameborder="0" allowfullscreen></iframe>
Place the iframe inside a <div class="video-wrapper"> to make it responsive.
Responsive Wrapper CSS (Add to Theme Customizer)
.video-wrapper {
  position: relative;
  padding-bottom: 56.25%; /* 16:9 ratio */
  height: 0;
  overflow: hidden;
}
.video-wrapper iframe {
  position: absolute;
  top:0;
  left:0;
  width:100%;
  height:100%;
}
Structure the Post
Use clear headings (H2, H3) as shown in this guide. Add short introductory paragraphs before each major section to guide the reader.
Optimize Load Speed
- Enable lazy loading for images and iframes.
- Compress any additional photos with tools like TinyPNG.
- Use a caching plugin (e.g., WP Super Cache) to serve static files quickly.
6. Styling the Tour Page for Maximum Impact
Choose a Clean Layout
Use a full‑width page template to give the video room to breathe. Place the video at the top, followed by a brief description and a gallery of high‑resolution stills.
Add a Photo Gallery
Insert a Gutenberg Gallery block or a plugin like Envira Gallery. Set the thumbnail size to 300 × 200 px and enable lightbox mode for larger viewing.
Highlight Key Features with Icons
Below the video, create a three‑column block. In each column, add an icon (e.g., a bed for bedrooms, a bathtub for bathrooms) and a short bullet list of specs.
Include a Call‑to‑Action (CTA)
Finish the post with a bold button that says “Schedule a Private Showing” or “Contact the Agent.” Use a contrasting color (e.g., #ff6600) and link it to a contact form.
7. Maintaining and Updating the Tour
Periodic Review
Re‑visit the page every 3‑6 months. Check that the video still loads, the embed code is functional, and any property details (price, availability) are current.
Refresh Visuals
If the home undergoes renovations or seasonal décor changes, record short update clips and replace the old sections. Keep the overall length under 2 minutes to retain viewer attention.
Backup Your Media
Store original footage and edited files on an external drive or cloud storage (e.g., Google Drive). This ensures you can quickly re‑export if the platform requires a new format.
Gather Feedback
Enable comments or a simple poll asking viewers if the tour helped them understand the space. Use the feedback to refine future tours—adjust lighting, pacing, or narration based on real‑world input.
By following these steps, you’ll produce a professional‑grade real home tour that not only showcases the property’s best attributes but also engages viewers from start to finish. The combination of careful planning, quality equipment, thoughtful editing, and a well‑styled WordPress page ensures your tour stands out in a crowded market.