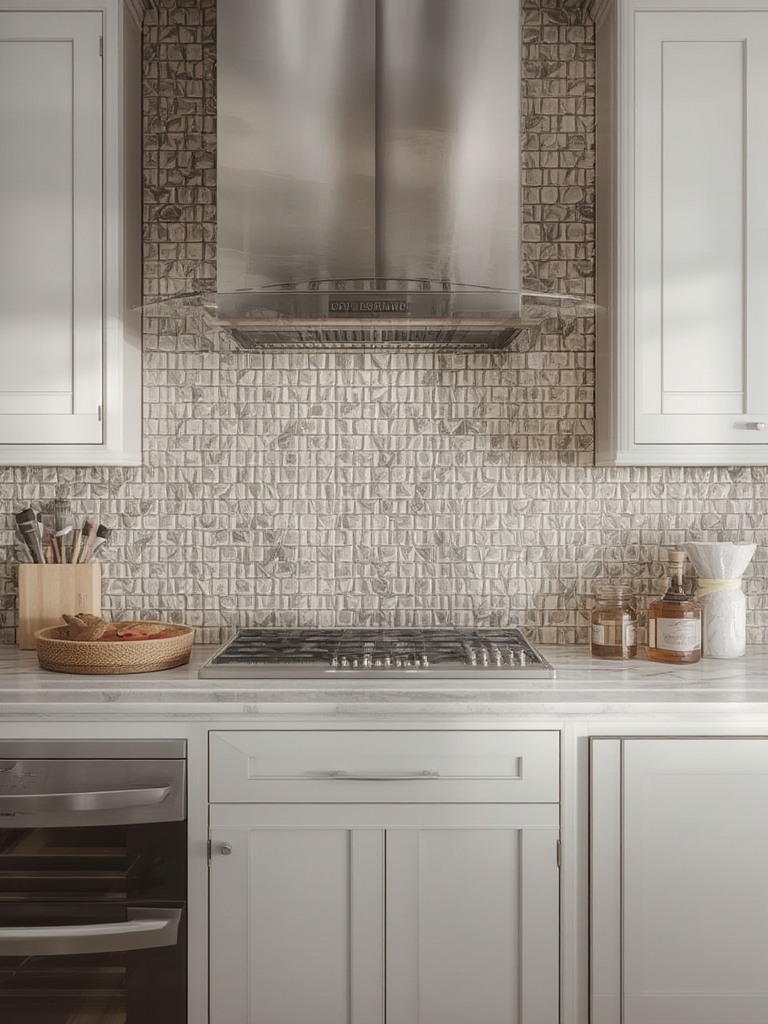
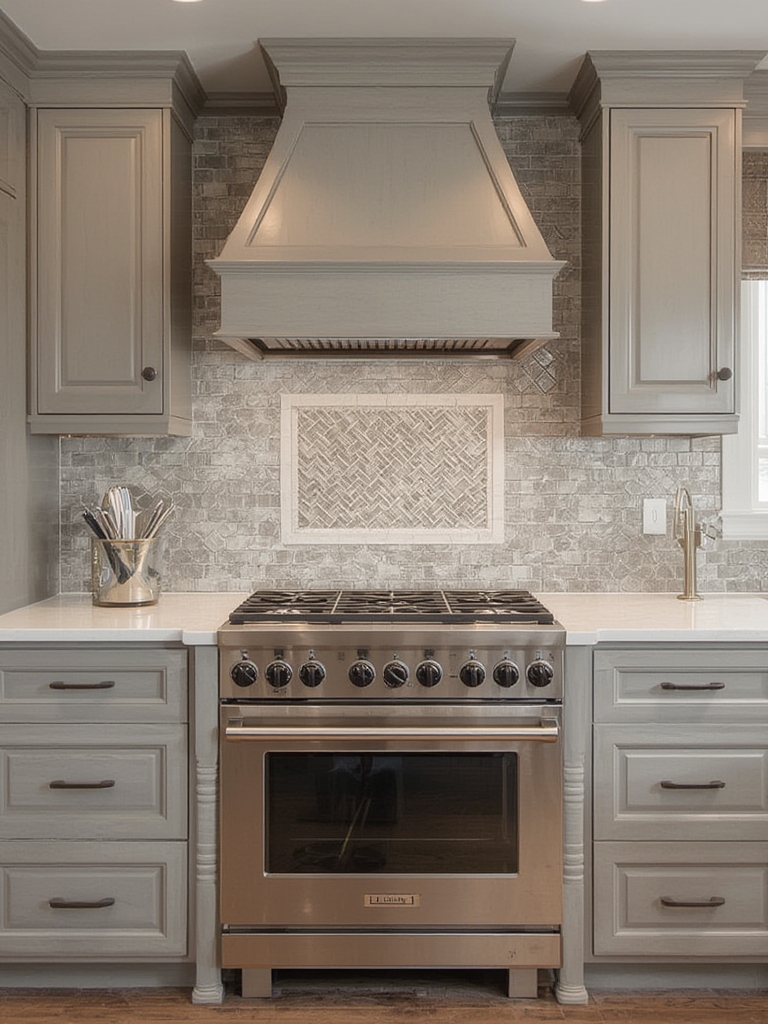
Choosing the right backsplash can transform a kitchen from ordinary to extraordinary. Recent surveys show that 68% of homeowners consider the backsplash the most influential design element when renovating, and 42% of buyers say a well‑designed backsplash can increase a home’s resale value by up to 5%. Below is a data‑driven, step‑by‑step guide that walks you through selecting, planning, and installing a stunning kitchen backsplash tile that fits your style, budget, and functional needs.
1. Assess Your Kitchen’s Style and Traffic
Gather Visual Data
- Take high‑resolution photos of your kitchen from multiple angles.
- Measure the wall space between countertops and upper cabinets; most backsplashes range from 12‑18 inches in height.
- Note the color palette of existing appliances, countertops, and flooring.
Analyze Usage Patterns
According to a 2023 kitchen usage study, families cooking daily generate an average of 5 spills per week per kitchen. Choose tiles that are easy to clean and resistant to heat if you have a high‑traffic cooking zone.
Actionable Tip
Create a simple spreadsheet: column A for wall dimensions, column B for current colors, column C for traffic rating (low, medium, high). This visual reference will guide your tile selection.
2. Choose the Right Tile Material
Popular Materials & Their Stats
- Ceramic – 55% of remodelers prefer it for its affordability and wide design range.
- Porcelain – 30% choose it for superior durability and water resistance.
- Glass – 10% love the reflective quality that can make small kitchens feel larger.
- Natural Stone (e.g., marble, slate) – 5% opt for a high‑end, unique look but require sealing.
Decision Matrix
| Material | Cost per sq ft | Durability (1‑10) | Maintenance |
|---|---|---|---|
| Ceramic | $2‑$5 | 7 | Easy (wipe) |
| Porcelain | $4‑$8 | 9 | Easy (wipe) |
| Glass | $6‑$12 | 6 | Spot‑clean, avoid hard water stains |
| Stone | $8‑$15 | 8 | Seal annually |
Actionable Tip
Match the material’s durability score to your traffic rating from Step 1. For high‑traffic zones, aim for a score of 8 or higher.
3. Select a Design Theme That Complements Your Space
Data‑Backed Color Trends
Color trend reports from 2024 show:
- Soft neutrals (greige, warm taupe) dominate 42% of new kitchens.
- Bold blues and greens are rising, accounting for 18% of designer selections.
- Metallic accents (gold, copper) appear in 12% of premium projects.
Pattern Choices & Their Impact
- Subway tile (classic) – 48% of homeowners choose for a timeless look; easy to install with a straight‑run layout.
- Hexagon – 22% love the modern geometric vibe; requires careful spacing for a seamless finish.
- Large format (12×24″) – 15% use to reduce grout lines and create a sleek appearance.
- Mosaic – 10% for artistic flair; best for accent walls or backsplashes under a range.
Actionable Tip
Pick one dominant color from your existing palette and use a contrasting accent tile (e.g., a 2‑inch border) to create visual interest without overwhelming the space.
4. Plan the Layout and Calculate Material Needs
Step‑by‑Step Layout Planning
- Sketch the wall on graph paper (1 square = 1 inch).
- Mark the height of the backsplash and any cut‑outs for outlets or vent hoods.
- Lay out tiles in the sketch, starting from the center to avoid uneven cuts at edges.
- Use a laser level to transfer the center line onto the wall.
Calculate Square Footage
Formula: Width (ft) × Height (ft) = Total sq ft. Add 10% extra for breakage and cuts.
Example: A 10‑ft wide wall at 1.5 ft high = 15 sq ft. Order 16.5 sq ft (rounded up to the nearest box).
Actionable Tip
Most tile boxes list coverage; keep a digital note of the box coverage and multiply by the number of boxes needed. Double‑check against the supplier’s “waste factor” calculator.
5. Prepare the Surface Properly
Cleaning and Priming
- Remove any existing wallpaper or peeling paint.
- Clean the wall with a trisodium phosphate (TSP) solution to eliminate grease.
- Rinse and let dry completely.
- Apply a high‑adhesion primer if the surface is glossy or porous.
Ensuring Levelness
Use a long level or a laser level to spot any high or low spots. Fill low areas with a thin‑set patching compound and sand high spots smooth.
Actionable Tip
Place painter’s tape along the top edge of the backsplash area to protect cabinets and create a crisp line.
6. Install the Tiles with Precision
Mixing Thin‑Set Mortar
Follow the manufacturer’s water‑to‑mortar ratio (usually 4 parts mortar to 1 part water). Let the mix sit for 5 minutes (slake) then remix for a creamy consistency.
Applying Mortar
- Spread mortar with a notched trowel (1/4‑inch notch for standard tiles).
- Press the tile firmly, giving it a slight twist to embed the mortar.
- Leave a 1/16‑inch grout line; use tile spacers for consistency.
- Check alignment frequently with a level.
Cutting Tiles
Use a snap cutter for straight cuts and a wet saw for curves or intricate shapes. Always wear safety goggles and a dust mask.
Actionable Tip
Work in small sections (2‑3 sq ft) to prevent mortar from drying before tiles are set.
7. Grout, Seal, and Finish
Choosing Grout
- Unsanded grout – Ideal for < 1/8‑inch joints; smoother finish.
- Sanded grout – Best for wider joints; stronger.
Grouting Process
- Mix grout to a peanut‑butter consistency.
- Apply with a rubber float, pressing diagonally across tiles.
- Wipe excess with a damp sponge after 10 minutes.
- After 24 hours, polish tiles with a soft cloth to remove haze.
Sealing (if needed)
Natural stone and porous ceramics benefit from a penetrating sealer. Apply two coats, allowing 30 minutes between coats.
Actionable Tip
Label each grout color with a small sticky note during mixing; this prevents accidental color swaps.
8. Maintenance Best Practices
Daily Care
- Wipe spills immediately with a mild dish soap and warm water.
- Avoid abrasive scrubbers that can scratch the glaze.
Monthly Deep Clean
Use a pH‑neutral cleaner and a soft microfiber cloth. For glass tiles, a mixture of equal parts water and white vinegar removes hard‑water spots.
Annual Check‑Up
Inspect grout lines for cracks; re‑grout any compromised sections to prevent water infiltration.
Actionable Tip
Keep a small bottle of grout stain remover under the sink for quick touch‑ups.
9. Evaluate the Impact
Measure Success
After installation, track these metrics for 3 months:
- Number of spills cleaned without staining (goal: 100%).
- Guest compliments or social media likes on the kitchen photo (subjective but motivating).
- Any increase in home appraisal value (if you’re preparing to sell).
Iterate for Future Projects
Document the tile brand, layout pattern, and any challenges in a simple journal. This data will streamline your next renovation.
By following these data‑driven steps, you’ll create a backsplash that not only looks stunning but also stands up to everyday kitchen life. Happy tiling!