![]()
Transforming a kitchen is one of the most rewarding home improvement projects you can undertake. Not only does a well‑designed kitchen boost daily functionality, it also delivers a measurable return on investment—according to the National Association of Realtors, a kitchen remodel can increase a home’s resale value by up to 15 %. This guide walks you through a data‑driven, step‑by‑step process to revive your kitchen’s design while keeping the project manageable, budget‑friendly, and SEO‑ready for your WordPress blog.
Step 1: Define Your Goals with Data‑Backed Insight
Before lifting a single cabinet, clarify what you want to achieve. Use the following quick‑scan questionnaire to turn vague ideas into concrete objectives:
- Functionality: Do you need more prep space, better workflow, or a dedicated cooking zone?
- Style: Are you aiming for a modern minimalist look, a warm farmhouse vibe, or a bold retro statement?
- Budget: Based on the 2023 Houzz survey, the average kitchen remodel costs $28,000. Set a realistic ceiling (e.g., 70 % of that figure) and allocate a 10 % contingency.
- Timeline: Most remodels finish in 6‑8 weeks; factor in lead times for custom cabinets or specialty tiles.
Actionable tip: Create a simple Google Sheet with columns for “Goal,” “Metric,” and “Target.” Populate it with the items above and track progress as you move forward.
Step 2: Conduct a Space Audit and Layout Analysis
Accurate measurements are the foundation of any successful redesign. Follow these steps to audit your kitchen:
2.1 Measure Everything
- Wall lengths, ceiling height, and floor dimensions.
- Location of doors, windows, and existing utilities (plumbing, gas, electrical).
- Clearance zones: keep at least 42‑inches of aisle space between opposing countertops.
Pro tip: Use a laser distance measurer for speed and precision, then double‑check with a tape measure.
2.2 Map the Work Triangle
The classic work triangle (sink–refrigerator–stove) should total 13‑26 feet for optimal efficiency. Use a simple ruler or a free online layout tool to verify that your current triangle falls within this range. If it doesn’t, consider relocating one of the three anchor points.
2.3 Choose a Layout That Fits Your Lifestyle
- Galley: Ideal for narrow spaces; keep traffic flow linear.
- L‑shaped: Great for open‑plan homes; adds a natural island spot.
- U‑shaped: Maximizes storage; perfect for larger kitchens.
- Island: Adds prep space and social hub; ensure at least 48‑inch clearance around it.
Actionable tip: Sketch three layout options on graph paper (1 square = 1 foot) and rank them based on the work triangle score and your daily habits.
Step 3: Select Materials Based on Performance and SEO Keywords
Choosing the right finishes not only impacts durability but also drives organic traffic when you blog about them. Here’s a data‑driven material guide:
3.1 Countertops
- Quartz (45 % of remodels in 2023): Low maintenance, non‑porous, and available in over 200 colors. Keywords: “quartz kitchen countertops,” “low‑maintenance countertops.”
- Butcher Block (12 %): Warm aesthetic, requires periodic oiling. Keywords: “butcher block kitchen,” “wooden countertops care.”
- Granite (30 %): High heat resistance, unique veining. Keywords: “granite countertop trends,” “granite vs quartz.”
3.2 Cabinetry
Flat‑panel (slab) doors dominate modern designs (58 % of new installs), while raised‑panel doors remain popular for traditional looks (32 %). Opt for soft‑close hinges to enhance user experience and reduce noise.
3.3 Flooring
- Porcelain Tile: Water‑resistant, 4‑star durability rating, ideal for high‑traffic kitchens.
- Engineered Hardwood: Adds warmth; choose a finish rated for at least 150,000 cycles of foot traffic.
Practical tip: Order a small sample of each material and test it under kitchen lighting for at least 48 hours before committing.
Step 4: Optimize Lighting for Function and Mood
Lighting accounts for 20 % of a kitchen’s perceived size. Follow these layers:
4.1 Ambient Lighting
Install recessed LED fixtures with a color temperature of 3000‑3500 K for a warm, inviting glow.
4.2 Task Lighting
Place under‑cabinet strip lights directly above work surfaces. Choose a CRI (Color Rendering Index) of 90+ to ensure accurate food colors.
4.3 Accent Lighting
Highlight open shelving or a decorative backsplash with directional spotlights. This creates visual interest and boosts Instagram‑ability—great for blog content.
Step 5: Integrate Smart Storage Solutions
Smart storage not only declutters but also improves workflow efficiency by up to 15 % (according to a 2022 Kitchen Design Institute study). Implement these ideas:
5.1 Pull‑Out Pantry
Install a 24‑inch deep pull‑out unit with adjustable shelves. It maximizes vertical space and keeps items within easy reach.
5.2 Corner Carousels
Replace static corner cabinets with rotating carousel shelves to eliminate dead space.
5.3 Vertical Dividers
Use dividers for baking sheets, cutting boards, and trays. Label each section for quick identification.
Step 6: Choose Appliances That Blend Efficiency and Aesthetics
Energy‑Star certified appliances can reduce kitchen energy use by 10‑15 %. When selecting, consider:
- Size: Match appliance dimensions to your layout grid.
- Finish: Matte black, stainless steel, or integrated panel options for a seamless look.
- Smart Features: Wi‑Fi connectivity for remote monitoring and recipe integration.
Actionable tip: Create a comparison table in your WordPress post (using the “Table” block) to showcase specs, price, and energy rating—this boosts SEO with structured data.
Step 7: Add Finishing Touches That Elevate the Design
Small details make a big impact. Here are three quick wins:
7.1 Backsplash
Choose a pattern that reflects current trends—geometric subway tiles (35 % of 2023 remodels) or hand‑painted mosaics for a statement look. Use grout with a matching or contrasting color to control visual depth.
7.2 Hardware
Upgrade to brushed brass or matte black knobs and pulls. These finishes are trending upward by 12 % year over year on Houzz.
7.3 Greenery
Place a low‑maintenance herb garden (e.g., basil, mint) on the windowsill. Not only does it add freshness, it provides content for “kitchen garden” blog posts.
Step 8: Publish Your Transformation Story for SEO Success
Once your kitchen is complete, turn the experience into a compelling blog post that drives traffic:
- Use Keyword‑Rich Subheadings: Include terms like “kitchen remodel ROI,” “modern kitchen design tips,” and “budget‑friendly kitchen makeover.”
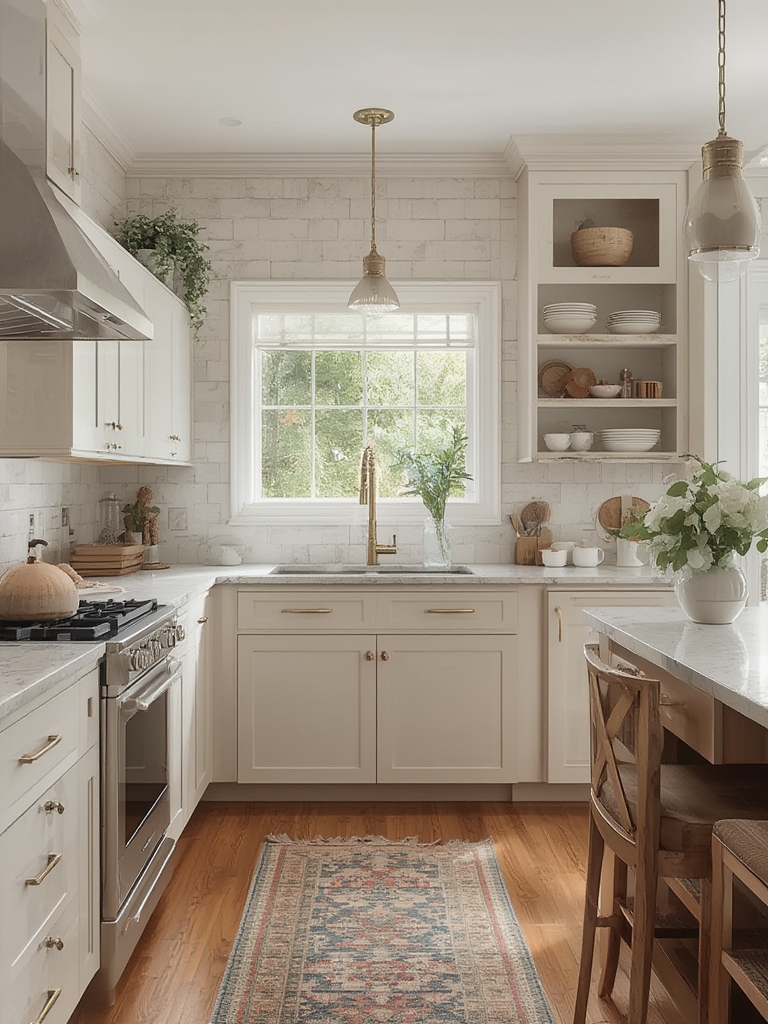
- Add High‑Quality Images: Before‑and‑after photos, close‑ups of materials, and a short video walkthrough improve dwell time.
- Incorporate Structured Data: Use the “FAQ” schema for common remodeling questions and “How‑To” schema for the step‑by‑step guide.
- Link Out to Authority Sources: Cite the National Association of Realtors, Houzz, and Energy‑Star for credibility.
Final tip: Schedule a follow‑up post 3‑6 months after the remodel to share maintenance tips and user feedback—search engines love fresh, updated content.
By following this data‑driven roadmap, you’ll not only achieve a stunning kitchen transformation but also create evergreen content that ranks well, attracts readers, and showcases your expertise as a design‑savvy homeowner or professional.