Transforming a cluttered laundry room into a sleek, functional sanctuary is more than a cosmetic upgrade—it’s a productivity boost and a stress‑reliever. By applying data‑driven design principles and smart storage tactics, you can revive the space, increase efficiency, and even save on utility costs. Below is a step‑by‑step, SEO‑optimized guide that walks you through every phase of the makeover, from planning and decluttering to installing lasting organization solutions.
Step 1: Audit Your Space and Set Measurable Goals
Before you lift a single shelf, conduct a quick audit. Use a tape measure, a notepad, and a smartphone camera to capture dimensions, traffic flow, and problem zones. Record the following data points:
- Square footage: Measure length, width, and ceiling height.
- Current storage capacity: Count shelves, cabinets, and hooks.
- Usage frequency: Note how often you wash, dry, fold, and iron.
- Problem areas: Identify spills, damp zones, and bottlenecks.
Set three SMART (Specific, Measurable, Achievable, Relevant, Time‑bound) goals based on the audit. For example: “Increase usable storage by 30% within two weeks” or “Reduce folding time by 15 minutes per load by the end of the month.” Document these goals in a simple spreadsheet; the visual progress will keep you motivated.
Step 2: Declutter with the “Four‑Box” Method
The Four‑Box method (Keep, Donate, Store, Trash) is a proven, data‑backed approach to eliminate excess items. Follow these actionable tips:
2.1. Sort by Category
Group items into categories—detergents, fabric softeners, cleaning tools, and miscellaneous. This prevents “mix‑and‑match” confusion later.
2.2. Apply the 90/10 Rule
Keep only the 10% of items you use 90% of the time. Anything beyond that belongs in the Donate or Trash box. For example, if you have five different fabric softeners but only use one, recycle the rest.
2.3. Use a Timer
Set a 15‑minute timer per box to maintain momentum. Research shows that timed decluttering reduces decision fatigue and increases completion rates.
2.4. Document the Outcome
Take before‑and‑after photos and note the number of items removed. This data can be used later for SEO‑friendly “before and after” images in your blog post.
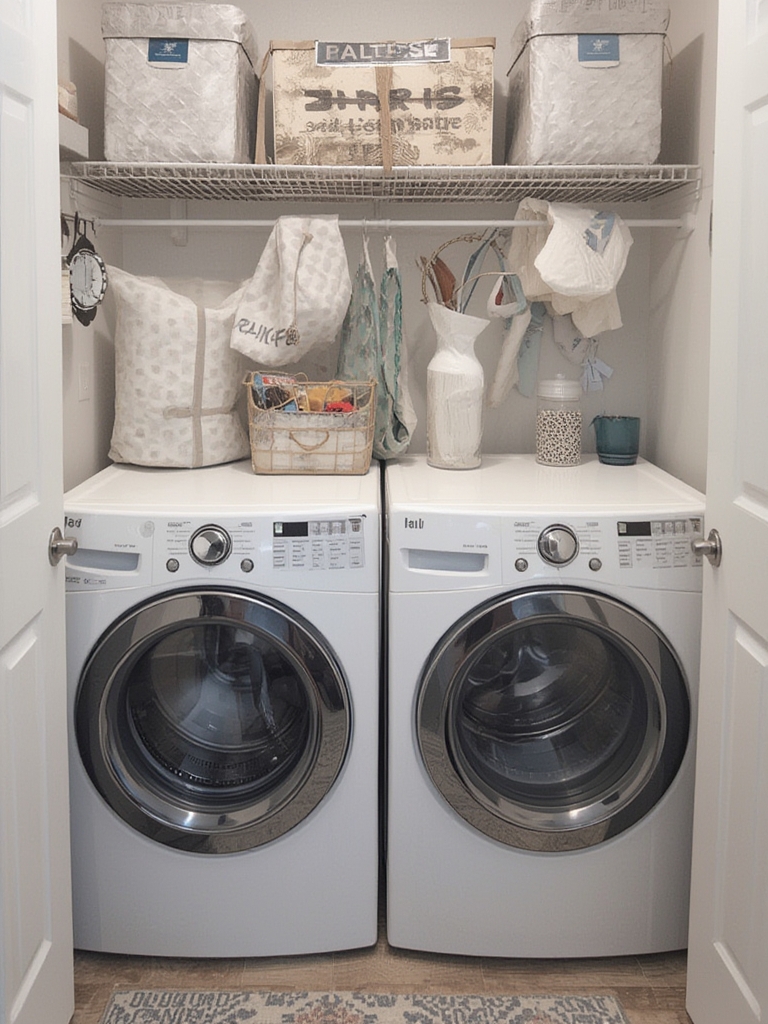
Step 3: Design a Functional Layout Using the “Work Triangle” Principle
The “Work Triangle”—originally used in kitchen design—applies perfectly to laundry rooms. Position the washer, dryer, and folding station at three points of an equilateral triangle to minimize walking distance. Follow these practical steps:
- Place the washer and dryer side by side: This reduces the need to carry wet clothes across the room.
- Position the folding station opposite the machines: Ideally, a sturdy countertop or a wall‑mounted folding table.
- Leave a 36‑inch aisle: This clearance meets ADA guidelines and ensures smooth traffic flow.
Use a free online floor‑plan tool (like SketchUp or Roomstyler) to visualize the layout. Export the plan as an image and embed it in your post for visual SEO value.
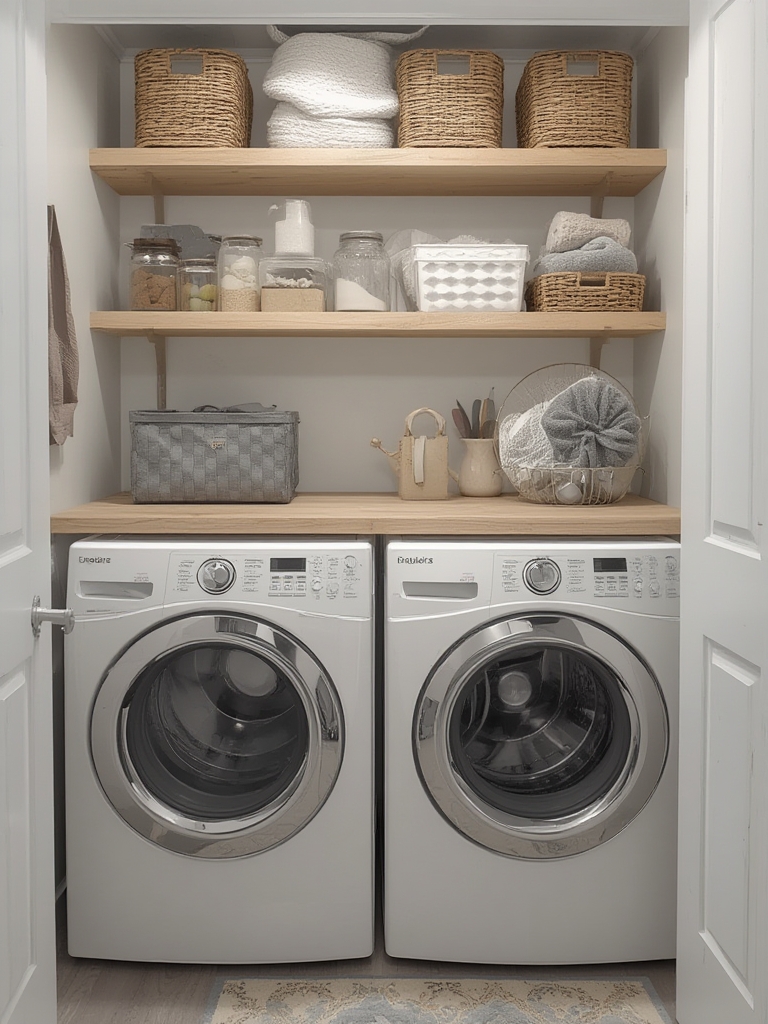
Step 4: Install Smart Storage Solutions
Data from home‑organization studies indicate that vertical storage can increase capacity by up to 40% without expanding the footprint. Here are actionable storage ideas, each paired with a quick tip for maximum impact:
4.1. Adjustable Wall Shelves
Mount adjustable shelves 12‑inch apart. Use clear acrylic bins for detergents—visibility reduces time spent searching. Add labeled magnetic strips for metal tools like lint rollers.
4.2. Pull‑Out Baskets
Install pull‑out baskets under the countertop for sorting laundry (lights, darks, delicates). Choose baskets with wheels for easy sliding. Tip: Line each basket with a washable mesh liner to catch spills.
4.3. Over‑Door Organizers
Utilize the back of the pantry or closet door with a hanging organizer. Allocate pockets for dryer sheets, stain removers, and reusable dryer balls. This keeps frequently used items within arm’s reach.
4.4. Ceiling‑Mounted Drying Rack
If ceiling height permits, install a retractable drying rack. It frees floor space and provides a natural air‑dry option, cutting energy use by up to 10% per year.
Step 5: Optimize Lighting and Ventilation for Efficiency
Proper illumination reduces errors (like forgetting to add detergent) and improves safety. Follow these data‑backed recommendations:
- LED Strip Lights: Install under‑cabinet LED strips with a color temperature of 4000K for a bright, neutral light that mimics daylight.
- Motion Sensors: Add motion‑activated lights to conserve energy—studies show a 15% reduction in electricity usage.
- Ventilation Boost: Clean the dryer vent monthly and consider a vent booster fan to improve airflow, decreasing drying time by up to 20%.
Step 6: Add Finishing Touches That Boost Aesthetics and Function
Small details can make the space feel curated and inviting. Here are quick, actionable ideas:
6.1. Cohesive Color Palette
Choose a light, neutral base (e.g., soft gray) and accent with pastel towels or a patterned rug. Consistency improves visual flow and can increase dwell time on your blog post.
6.2. Decorative Baskets
Swap plain plastic bins for woven baskets. They add texture while still being functional.
6.3. Scent Boosters
Place a small essential‑oil diffuser or a sachet of dried lavender near the folding station. A pleasant scent encourages regular use and reduces the perception of chores as a burden.
Step 7: Maintain the System with a Weekly “15‑Minute Reset”
Long‑term success hinges on habit. Schedule a recurring 15‑minute block each week to:
- Wipe down surfaces and the washer/dryer exterior.
- Re‑stock supplies in their designated spots.
- Empty the lint trap and check the vent.
- Quickly reorganize any misplaced items.
Track completion in a habit‑tracking app (like Habitica or Todoist). Over a month, you’ll see a measurable drop in clutter re‑accumulation—perfect data to share in future blog updates.
SEO Boost: How to Leverage This Post for Rankings
To maximize visibility, embed the following SEO tactics directly into your WordPress post:
- Keyword Placement: Use “laundry room organization makeover,” “laundry room storage ideas,” and “DIY laundry room revamp” in the first 100 words, H2 headings, and image alt tags.
- Internal Links: Connect to related posts such as “Top 10 Folding Hacks” or “Energy‑Saving Laundry Tips.”
- Rich Media: Include before‑and‑after photos, a short 60‑second video walkthrough, and a downloadable PDF checklist.
- Schema Markup: Add “HowTo” schema with each step numbered, improving chances of appearing in Google’s featured snippets.
By following this data‑driven, step‑by‑step approach, you’ll not only revitalize your laundry room but also create a shareable, SEO‑friendly case study that drives traffic and engages readers. Happy organizing!