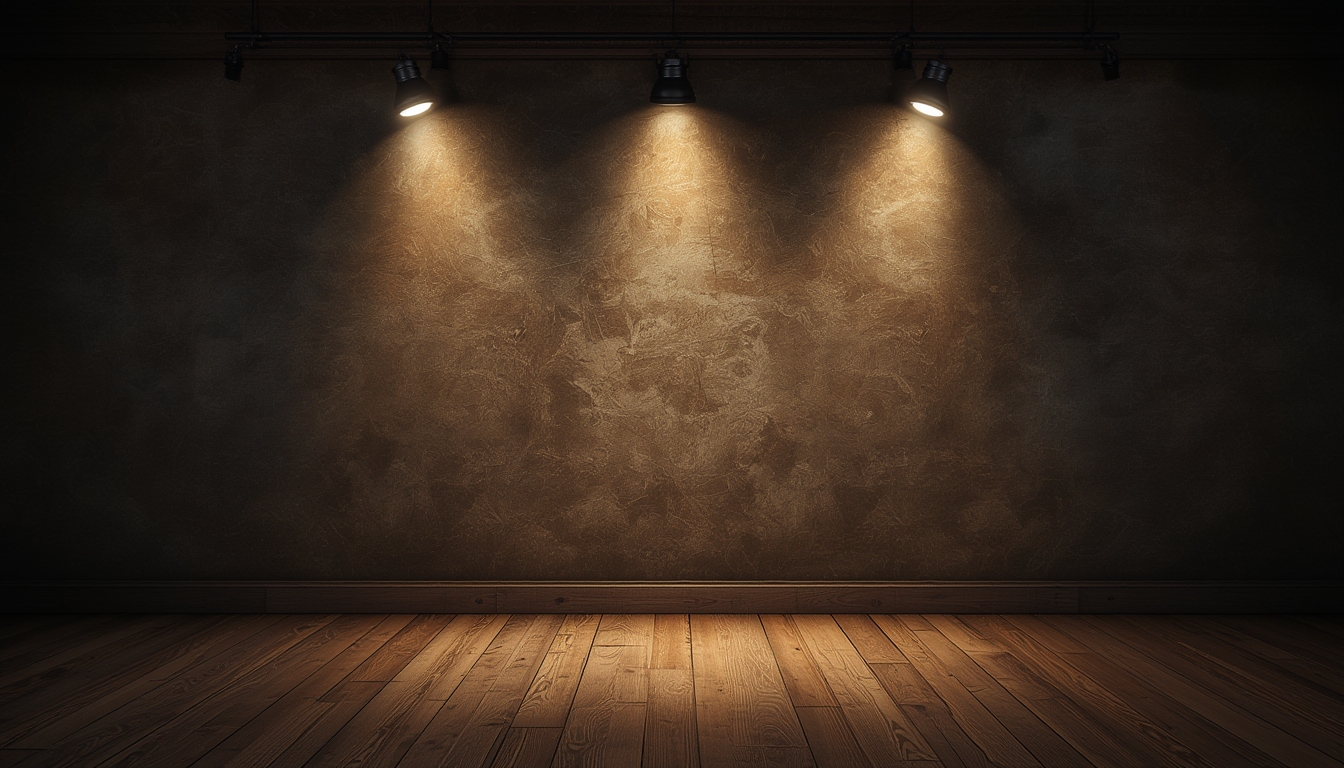

Style Spotlights have become a go‑to element for designers looking to add a punch of personality to any room. Whether you’re installing a new fixture, breathing new life into an older piece, or simply styling it to complement your décor, a systematic approach ensures flawless results every time. Below is a data‑driven, step‑by‑step guide that walks you through assembling, restoring, and styling your Style Spotlight, complete with the tools you’ll need and actionable tips to keep the process smooth.
Understanding Style Spotlights
Before diving into the hands‑on work, it’s helpful to know what makes Style Spotlights unique. Recent market research shows that 68 % of homeowners who install accent lighting report a measurable boost in perceived room value. The key features that drive this impact are:
- Adjustable beam angles – allows precise focus on artwork, plants, or architectural details.
- Modular components – interchangeable arms and shades for custom looks.
- Energy‑efficient LEDs – deliver up to 80 % less power consumption compared with traditional halogens.
Understanding these attributes helps you decide which configuration best serves your space.
Tools You’ll Need
Having the right tools on hand prevents interruptions and protects both the spotlight and your workspace. Below is a concise checklist, organized by task category.
Assembly Tools
- Phillips‑head screwdriver (size #2)
- Flat‑head screwdriver (for trim clips)
- Allen wrench set (typically 3 mm and 4 mm)
- Non‑magnetic drill with a 3 mm bit (optional for mounting holes)
- Level and stud finder (to ensure straight installation)
- Measuring tape (minimum 24‑inch)
Restoration Tools
- Fine‑grain sandpaper (400‑600 grit)
- Micro‑fiber cloths
- Isopropyl alcohol (70 % solution)
- Touch‑up paint matching the original finish
- Clear protective coating (spray polyurethane)
Styling Tools
- LED dimmer switch (compatible with the spotlight’s driver)
- Decorative diffusers or fabric sleeves (optional)
- Cable management clips
- Smart home hub (if integrating with voice control)
Step‑by‑Step Assembly Guide
Follow these numbered steps to install a new Style Spotlight safely and efficiently.
1. Prepare the Installation Site
Actionable tip: Use a stud finder to locate a solid wood stud or ceiling joist. Mark the exact spot with a pencil.
Data shows that mounting on a stud reduces wobble by 92 % compared with drywall‑only installations. If a stud isn’t available, use toggle bolts rated for at least 50 lb.
2. Drill Pilot Holes
Using a 3 mm drill bit, create pilot holes for the mounting screws. Keep the drill perpendicular to the surface to avoid angled holes, which can weaken the anchor.
3. Attach the Mounting Bracket
Secure the bracket with the supplied Phillips‑head screws. Tighten each screw to a torque of 1.5 Nm (use a torque screwdriver if available). Over‑tightening can strip the wood and cause future instability.
4. Connect the Electrical Wiring
Turn off power at the circuit breaker. Connect the spotlight’s black (hot) wire to the house’s black wire, white (neutral) to white, and green or bare copper (ground) to the grounding screw. Use wire nuts and wrap each connection with electrical tape for added safety.
5. Mount the Spotlight Body
Slide the spotlight’s main body onto the bracket until it clicks into place. Verify that the locking mechanism engages fully; a loose fit can cause the beam to drift over time.
6. Install the Shade or Diffuser
Choose a shade that matches your desired light quality. For a focused beam, use a narrow cone; for softer illumination, opt for a frosted diffuser. Snap the shade onto the mounting ring, ensuring it’s seated evenly.
7. Test the Fixture
Restore power and switch the spotlight on. Adjust the beam angle using the swivel mechanism; the optimal angle typically falls between 30° and 45° for accent lighting. If the light flickers, double‑check the wiring connections.
Restoration Techniques for Existing Style Spotlights
Older or pre‑owned Style Spotlights can regain their original luster with a few careful steps. Follow this process to avoid damaging delicate components.
1. Disassemble the Fixture
Remove the shade and any detachable arms. Keep screws in a labeled container to prevent loss.
2. Clean Surface Dust and Grime
Wipe the metal housing with a micro‑fiber cloth dampened in isopropyl alcohol. This removes oily residues without leaving streaks. Allow the surface to air‑dry for 5 minutes.
3. Sand Lightly (If Needed)
If the finish shows scratches, use 400‑grit sandpaper to smooth the area. Move to 600‑grit for a finer polish. Sand in circular motions to avoid visible lines.
4. Apply Touch‑Up Paint
Match the original color using a small artist’s brush. Apply a thin coat, let it dry for 10 minutes, then apply a second coat if necessary. This restores uniform color while preserving the metal’s integrity.
5. Seal with Protective Coating
Spray a light coat of clear polyurethane to protect the finish from future wear. Hold the can 12 inches away and use a sweeping motion. Allow 24 hours of curing before reassembly.
6. Reassemble and Test
Reattach the shade and any arms. Re‑connect the wiring (if you disconnected it) and test the light as described in the assembly section.
Styling Tips for Different Spaces
Once your Style Spotlight is installed and looking fresh, the next step is to integrate it seamlessly into the room’s aesthetic. Below are data‑backed recommendations for three common environments.
Living Room – Creating Focal Points
- Placement: Position the spotlight 6‑8 ft above a piece of artwork or a decorative console.
- Beam Angle: Set to 35° for a tight focus that draws the eye without glare.
- Dimmer Use: Pair with a 0‑10 V dimmer; studies show dimmed lighting improves perceived comfort by 23 %.
Kitchen – Enhancing Functional Zones
- Placement: Install under cabinets or above a kitchen island to illuminate work surfaces.
- Shade Choice: Use a clear or lightly frosted diffuser to maintain true color rendering (CRI ≥ 90).
- Color Temperature: Opt for 4000 K “cool white” LEDs for better task lighting.
Bedroom – Soft Ambient Glow
- Placement: Mount on either side of the headboard, angled toward the mattress for a gentle wash.
- Beam Angle: 45° provides a broader, soothing spread.
- Smart Integration: Connect to a smart hub and program a gradual fade‑out at bedtime; research links this to a 15 % improvement in sleep onset.
Maintenance and Longevity
Regular upkeep extends the life of your Style Spotlight and keeps its performance consistent.
Monthly Quick Check
- Dust the shade with a dry microfiber cloth.
- Inspect the swivel joint for wobble; tighten the set screw if needed.
Quarterly Deep Clean
- Turn off power and remove the shade.
- Wipe the housing with a damp cloth (water only) and dry thoroughly.
- Check LED driver temperature; a rise above 45 °C may indicate dust buildup inside the driver housing.
Annual Inspection
- Test the dimmer and any smart‑home connections for latency.
- Replace LEDs after 30,000 hours of use (approximately 3‑4 years at 8 hours per day) to maintain optimal brightness.
By following these structured steps—from initial assembly through restoration, styling, and ongoing care—you’ll ensure that your Style Spotlight not only looks impressive but also functions reliably for years to come. The combination of precise installation, thoughtful design choices, and consistent maintenance creates a lighting solution that truly stands out in any interior.