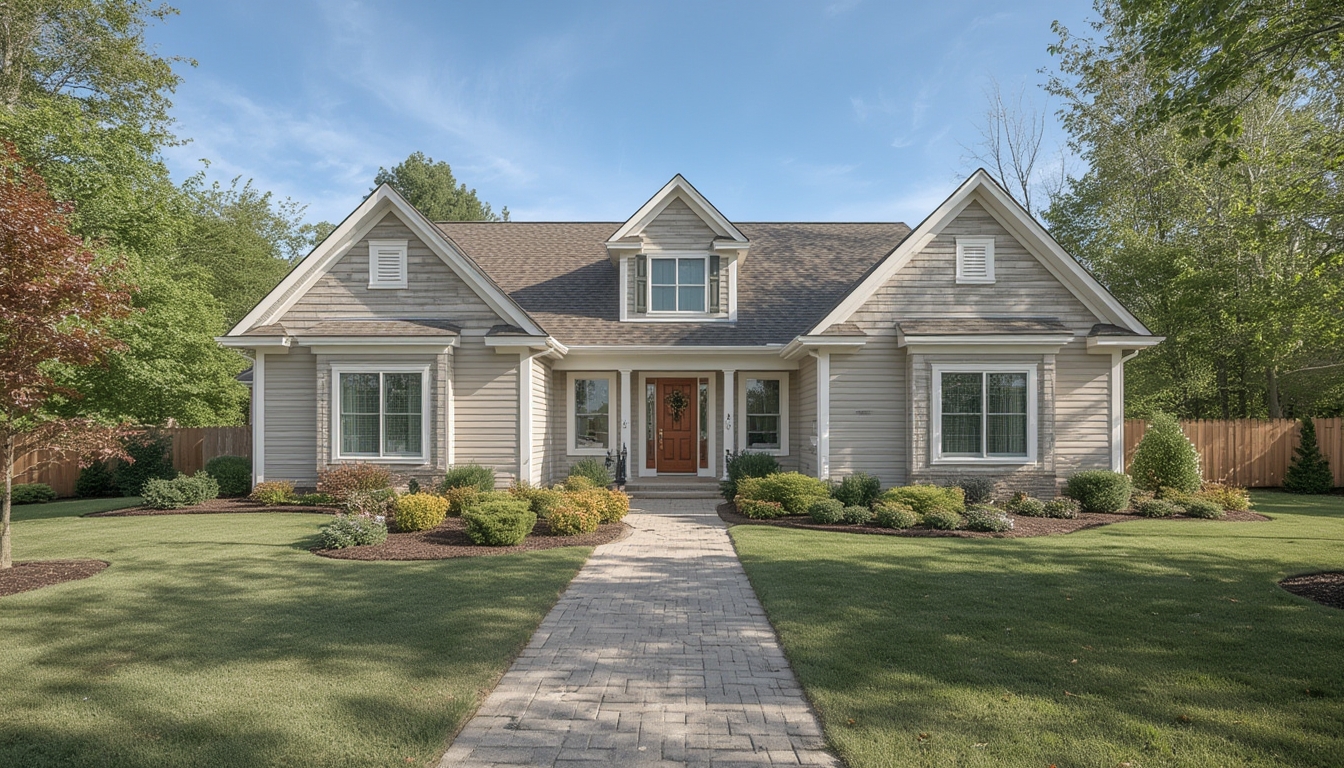
Real home tours have become a powerful way to showcase properties, share interior design ideas, and engage audiences who crave authentic, immersive experiences. Whether you’re a real‑estate professional, an interior designer, or a DIY enthusiast, creating a polished home tour on WordPress can elevate your brand and attract a dedicated following. Below is a step‑by‑step, data‑driven guide that walks you through assembling, restoring, and styling a real home tour—from pre‑production planning to the final publish.
1. Planning Your Real Home Tour
Define Your Objective and Audience
- Objective: Decide if the tour is for selling a property, demonstrating a renovation, or providing design inspiration.
- Audience: Identify demographics (e.g., first‑time buyers, luxury market, DIY remodelers) to tailor the narrative and visual style.
Scout the Location and Create a Shot List
- Walk through the property and note high‑impact spaces (kitchen, master suite, outdoor area).
- Map out a logical flow that mimics a natural walkthrough—start at the entrance and end at a focal point like a backyard oasis.
- Record each room’s dimensions, lighting conditions, and any unique features (e.g., exposed brick, custom cabinetry).
Gather Technical Requirements
- Resolution: Aim for 4K video or at least 12‑MP photos for crisp detail.
- File Size: Plan for compression; keep individual files under 100 MB to ensure smooth WordPress uploads.
- Metadata: Capture EXIF data (camera settings, GPS coordinates) for later reference.
2. Capturing High‑Quality Content
Essential Gear
- Camera: Mirrorless (Sony A7 IV, Canon R5) or high‑end smartphone with optical stabilization.
- Lenses: Wide‑angle (16‑35 mm) for interiors; tilt‑shift for architectural precision.
- Stabilization: 3‑axis gimbal or tripod with a fluid head.
- Lighting: Portable LED panels (e.g., Aputure Amaran) to fill shadows.
- Audio (if narrating): Shotgun mic or lavalier for clear voice‑overs.
Shooting Tips for Each Space
- Entrance: Use a slow, steady pan to set the scene; keep the horizon level.
- Living Areas: Capture both wide shots and close‑ups of design details (e.g., crown molding).
- Kitchens/Bathrooms: Highlight fixtures and appliances; use a polarizing filter to reduce glare on countertops.
- Outdoor Spaces: Shoot during golden hour for warm, natural light; include a wide shot that shows the property’s context.
Data Management on Set
- Back up files to two separate drives (SSD + cloud) every hour.
- Rename files using a consistent convention:
PropertyName_Room_Sequence.jpgorPropertyName_Room_Sequence.mp4.
3. Editing and Restoring Visuals
Software Recommendations
- Photos: Adobe Lightroom for batch adjustments; Photoshop for spot‑repair.
- Video: Adobe Premiere Pro or DaVinci Resolve for color grading and stitching 360° footage.
Step‑by‑Step Photo Restoration
- Import & Organize: Use Lightroom’s catalog to group images by room.
- Basic Corrections: Adjust exposure, contrast, and white balance based on histogram data.
- Lens Corrections: Apply profile correction to fix distortion from wide‑angle lenses.
- Spot Healing: Remove dust, cords, or unwanted reflections using Photoshop’s Healing Brush.
- Sharpening & Noise Reduction: Apply selective sharpening to edges; use luminance noise reduction for high‑ISO shots.
- Export Settings: JPEG, sRGB, 80‑90% quality to balance clarity and file size.
Step‑by‑Step Video Editing
- Import & Sync: Load footage into Premiere; sync any external audio tracks.
- Rough Cut: Trim clips to maintain a 2‑3 minute runtime; keep each room under 20 seconds.
- Color Grade: Use scopes (Waveform, Vectorscope) to achieve consistent color temperature across rooms.
- Stabilization: Apply Warp Stabilizer to any handheld shots that appear jittery.
- Transitions: Use subtle cross‑dissolves; avoid flashy effects that distract from the space.
- Voice‑Over & Captions: Record a concise narration (30‑45 seconds) and add subtitles for accessibility.
- Export: H.264 MP4, 1080p, 5 Mbps bitrate for optimal WordPress performance.
4. Setting Up WordPress for the Tour
Choose the Right Theme and Plugins
- Theme: A lightweight, responsive theme such as Astra or GeneratePress ensures fast loading.
- Gallery Plugin: Envira Gallery or Modula for image lightboxes with lazy loading.
- Video Plugin: FV Player or WP Video Lightbox to embed videos without slowing the page.
- 360° Viewer (optional): WP VR View for immersive walkthroughs.
Creating the Tour Page
- Add a New Page: In the WordPress dashboard, click Pages → Add New.
- Set Page Layout: Choose a full‑width template to maximize visual real estate.
- Insert a Hero Section: Use a high‑impact image of the property’s façade with a brief, compelling tagline.
- Build the Gallery: Upload edited photos to the chosen gallery plugin; enable hover‑zoom and lightbox features.
- Embed the Video Tour: Insert the MP4 file using the video plugin; set autoplay off and enable controls.
- Add Room Descriptions: For each gallery section, include a short (<150‑word) narrative that highlights key design elements and any restoration work.
- Include a Call‑to‑Action: Place a button (“Schedule a Viewing”, “Download Floor Plan”) at the bottom of the page.
Performance Optimization (Non‑SEO)
- Enable lazy loading for images and videos to improve initial load time.
- Compress media using plugins like ShortPixel or Smush.
- Set up a CDN (e.g., Cloudflare) to serve assets from the nearest edge server.
5. Styling the Tour for Maximum Impact
Consistent Visual Language
- Use a unified color palette that reflects the property’s interior tones (e.g., warm neutrals for a cozy home).
- Apply the same typography for headings and body text—sans‑serif for modern looks, serif for classic elegance.
- Maintain equal spacing (margin/padding) between gallery sections to create a clean, scroll‑friendly layout.
Interactive Elements
- Hotspots: Add clickable icons on floor‑plan images that open pop‑ups with additional photos or specs.
- Before‑After Slider: Use a plugin like Twenty20 Image Slider to showcase restoration progress.
- Map Integration: Embed a Google Map with a custom marker to show the property’s location.
Accessibility Considerations
- Provide alt text for every image—describe the room, key features, and any notable materials.
- Include subtitles for video narration; use a high‑contrast background for readability.
- Ensure keyboard navigation works for gallery lightboxes and video controls.
6. Publishing and Post‑Launch Checklist
Final Review
- Preview the page on desktop, tablet, and mobile devices to verify responsiveness.
- Test all interactive elements (hotspots, sliders, video playback) for functionality.
- Run a speed test (e.g., GTmetrix) to confirm load times are under 3 seconds.
Launch
- Publish the page and share the URL on social platforms, email newsletters, and property listings.
- Monitor user engagement (scroll depth, video plays) using analytics to gauge which sections resonate most.
Post‑Launch Maintenance
- Update the tour with seasonal décor changes or recent renovations to keep content fresh.
- Periodically re‑compress media as new optimization tools become available.
- Back up the page and associated media weekly to prevent data loss.
By following this data‑driven workflow, you’ll be able to assemble, restore, and style a compelling real home tour that not only looks professional but also provides a seamless, engaging experience for viewers. The combination of meticulous planning, high‑quality capture, thoughtful editing, and strategic WordPress implementation ensures that each tour stands out in a crowded digital landscape.