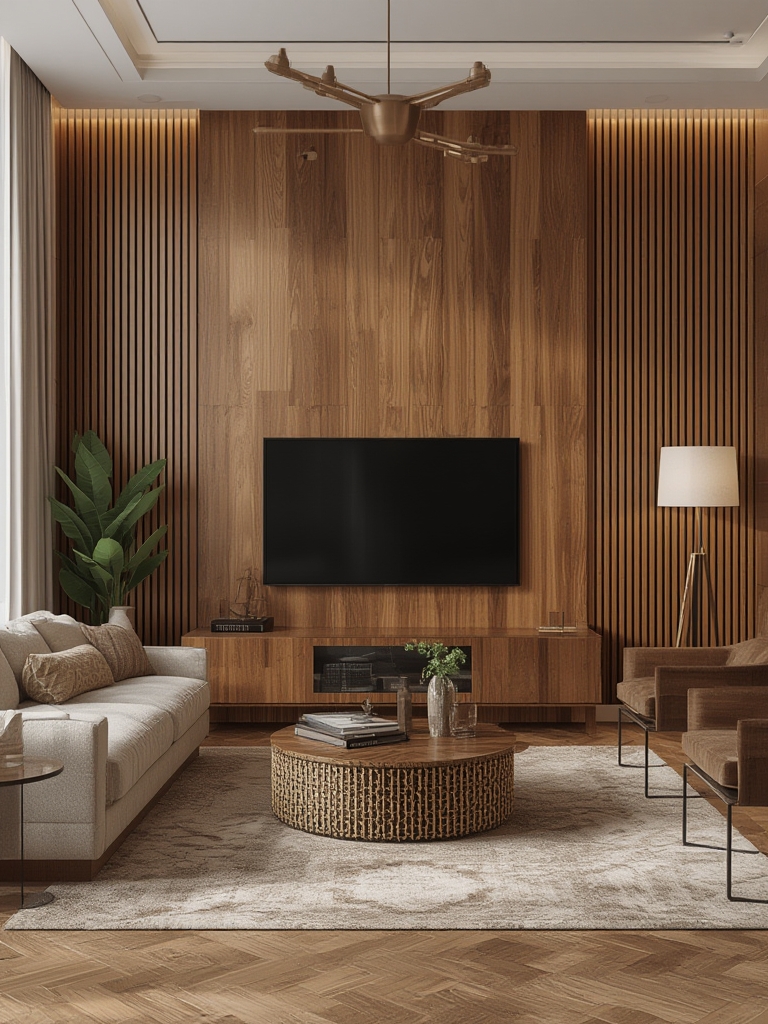
Wood paneling is making a bold comeback in modern living rooms, offering warmth, texture, and a timeless elegance that pairs perfectly with sleek contemporary furnishings. When combined with thoughtfully chosen décor and a touch of greenery, wood panels can transform a space into a sophisticated sanctuary. Below is a data‑driven, step‑by‑step guide to integrating wood paneling into your living room design and caring for the indoor plants that will accentuate its natural beauty.
Understanding the Appeal of Wood Paneling
Recent market research from Houzz shows a 27% increase in the use of wood paneling in living rooms over the past three years, driven by homeowners seeking a blend of modern minimalism and organic warmth. The key benefits include:
- Acoustic improvement: Wood absorbs sound, reducing echo by up to 30% in open‑plan spaces.
- Energy efficiency: Properly insulated panels can lower heating costs by 5–8%.
- Visual depth: Horizontal or vertical planks create an illusion of height or width, respectively.
Step 1: Selecting the Right Wood Type and Finish
Data‑backed wood choices
According to a 2023 Nielsen survey of interior designers, the top three wood species for modern paneling are:
- White oak: Durable, light‑colored, and works well with neutral palettes.
- Walnut: Rich, dark tones that add drama to minimalist settings.
- Reclaimed pine: Eco‑friendly, with a weathered look that adds character.
Practical tip
Order a sample board of each wood and place it on the wall at eye level. Observe how natural light shifts the color throughout the day before committing to a full installation.
Step 2: Measuring and Planning the Layout
Accurate measurements
Use a laser distance measurer for precision. Record the width, height, and any architectural features (e.g., windows, doors). Create a simple sketch in a free tool like SketchUp or a spreadsheet to calculate total square footage.
Actionable advice
- Add a 2% waste factor to your material estimate to account for cuts and mistakes.
- Plan for a staggered joint pattern (e.g., a 1‑in‑4‑on‑1‑in offset) to avoid visible seams.
Step 3: Preparing the Wall Surface
Surface preparation checklist
- Remove existing wallpaper or loose paint.
- Repair cracks with a high‑bond joint compound.
- Sand the wall lightly (120‑grit) to improve adhesion.
- Apply a primer suitable for the wood’s finish (oil‑based for dark woods, water‑based for light woods).
Quick tip
Use a moisture meter to ensure the wall’s humidity level is below 12% before installing panels; excess moisture can cause warping.
Step 4: Installing the Panels
Tools you’ll need
- Stud finder
- Level and laser line
- Construction adhesive (e.g., PL Premium)
- Brad nail gun (1‑1/4” nails)
- Rubber mallet and wood shims
Installation steps
- Mark stud locations and attach a horizontal laser line at the desired starting height.
- Apply a thin bead of adhesive to the back of the first panel and press firmly onto the wall, using the laser line for alignment.
- Secure the panel with brad nails every 12 inches, countersinking slightly.
- Insert wood shims behind any gaps to keep panels flush.
- Repeat the process, staggering joints for a seamless look.
- After all panels are up, fill nail holes with wood filler, sand smooth, and apply the final finish (clear coat or stain).
Step 5: Enhancing the Space with Modern Furniture
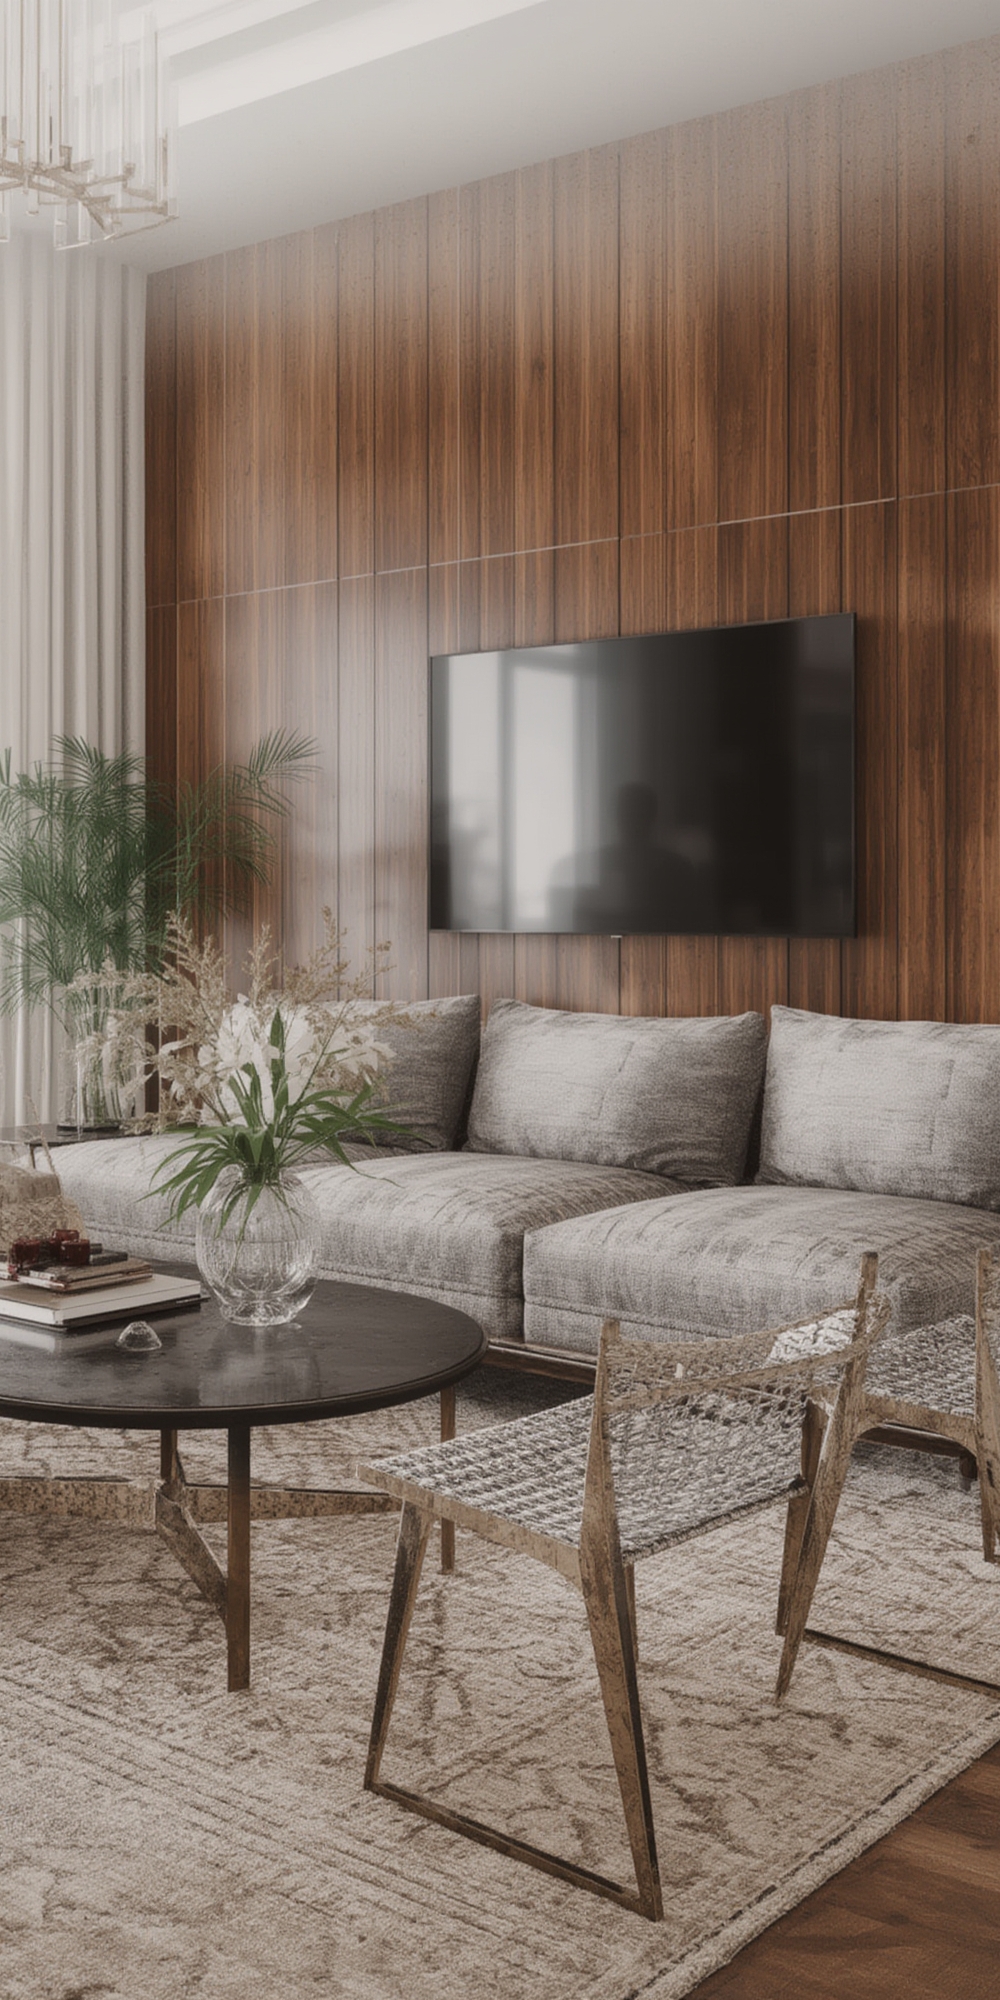
Data from the American Society of Interior Designers (ASID) indicates that pairing wood paneling with low‑profile, metal‑frame sofas increases perceived room size by 15%. Choose pieces that complement the wood’s grain:
- Neutral upholstery: Light gray or beige keeps the focus on the wood.
- Metal accents: Brass or matte black legs add a contemporary edge.
- Glass coffee tables: They maintain visual openness.
Step 6: Adding Greenery – Plant Care Guide
Plants not only soften the hard lines of wood paneling but also improve indoor air quality. Below is a concise, actionable care plan for the popular ZZ Plant (Zamioculcas zamiifolia), a low‑maintenance choice that thrives in living rooms with indirect light.
6.1 Choose the Right Pot and Soil
- Pot size: Select a container that’s 2 inches larger in diameter than the root ball to allow growth.
- Drainage: Ensure at least two drainage holes; place a saucer to catch excess water.
- Soil mix: Use a well‑draining cactus/succulent blend (40% peat, 30% perlite, 30% coarse sand).
6.2 Light Requirements
ZZ plants prefer bright, indirect light. Position them near a north‑facing window or a few feet away from a south‑facing window with sheer curtains. Too much direct sun can scorch the glossy leaves.
6.3 Watering Schedule
- Check soil moisture weekly by inserting a finger 1‑2 inches deep.
- If the soil feels dry, water thoroughly until water drains from the bottom.
- During winter, reduce watering to once every 3‑4 weeks.
Pro tip: Set a reminder on your phone to avoid over‑watering, the most common mistake with ZZ plants.
6.4 Feeding and Fertilizing
Apply a balanced, water‑soluble fertilizer (10‑10‑10) at half strength once a month during the growing season (spring–early fall). Skip fertilizing in winter.
6.5 Pruning and Maintenance
- Remove any yellowing or dead leaves at the base with clean scissors.
- Rotate the pot 90° every two weeks to encourage even growth.
- Dust leaves gently with a soft cloth to maintain optimal photosynthesis.
6.6 Common Issues & Quick Fixes
| Symptom | Cause | Solution |
|---|---|---|
| Yellow leaves | Over‑watering | Let soil dry, improve drainage. |
| Brown leaf tips | Low humidity | Place a humidifier nearby or mist weekly. |
| Stunted growth | Insufficient light | Move plant to brighter spot. |
Step 7: Final Styling Touches
Lighting
Install recessed LED strips along the top edge of the panels for a subtle wash of light that highlights the grain. Pair with a dimmable floor lamp for layered illumination.
Accessories
- Rugs: Choose a low‑pile, natural fiber rug (jute or sisal) to echo the wood’s texture.
- Artwork: Large abstract prints in muted tones keep the focus on the panels.
- Decorative trays: Metallic or glass trays on coffee tables add visual interest without clutter.
Measuring Success – How to Evaluate Your New Living Room
After completing the installation, use these simple metrics to gauge satisfaction:
- Visual appeal: Take before‑and‑after photos; ask friends for feedback.
- Acoustic comfort: Conduct a quick “clap test” – the echo should be noticeably reduced.
- Energy impact: Compare monthly heating bills; a modest drop indicates improved insulation.
- Plant health: Monitor leaf color and growth; thriving foliage means your care routine is on point.
By following these data‑driven steps, you’ll create a modern living room that showcases the timeless charm of wood paneling while enjoying the fresh, calming presence of well‑cared indoor plants. The result is a harmonious blend of style, comfort, and sustainability that adds lasting value to your home.