Transforming ordinary pieces into statement‑making décor doesn’t have to mean buying brand‑new furniture. By mastering peeled paint and distressed finishes, you can give old chairs, tables, and cabinets a fresh, lived‑in look that adds character and charm to any room. Below is a data‑driven, step‑by‑step guide that walks you through the process, from selecting the right pieces to maintaining the finished look.
Why Choose Peeled Paint and Distressed Finishes?
Recent interior‑design trends show a 27% increase in searches for “distressed furniture” and a 19% rise in “peeled paint walls” over the past year, indicating strong consumer interest. These finishes:
- Boost visual depth: Layered textures create a sense of history.
- Increase sustainability: Upcycling reduces waste and extends the life of existing furniture.
- Offer flexibility: You can tailor colors and distress levels to match any design palette.
Essential Tools & Materials
For Peeled Paint
- Latex or chalk paint (base color)
- Water‑based glaze or clear acrylic sealer
- Fine‑grit sandpaper (120‑220)
- Paintbrushes (2‑inch angled, ½‑inch flat)
- Drop cloths and painter’s tape
- Plastic scraper or putty knife
For Distressed Furniture
- Sandpaper (80, 120, 220 grit)
- Wire brush or steel wool
- Stain or paint in your desired hue
- Wax or matte polyurethane for protection
- Rubber gloves and safety goggles
Step‑by‑Step Guide to Creating a Peeled Paint Finish
- Prep the surface: Clean the piece with mild soap, rinse, and let dry completely. Lightly sand to remove glossy residues; wipe away dust with a tack cloth.
- Apply the base coat: Use a 2‑inch angled brush to spread a thin, even layer of your base paint. Allow 30‑45 minutes to dry (check manufacturer’s drying time).
- Introduce the “peel”: While the base coat is still tacky, dab a damp sponge or rag over random areas. The moisture lifts the paint, creating a mottled, weathered look. For a more dramatic effect, spray a light mist of water before dabbing.
- Layer the glaze: Mix a glaze with water (1:1 ratio) and brush it over the entire piece. The glaze settles into the raised texture, enhancing depth. Wipe excess with a clean cloth after 5‑10 minutes.
- Sand selectively: Using fine‑grit sandpaper, gently rub high‑traffic edges (like table legs) to reveal underlying wood. This creates a natural wear pattern.
- Seal the finish: Apply a clear acrylic sealer with a foam brush. Two thin coats, sanded lightly between coats, ensure durability without glossing the distressed look.
Step‑by‑Step Guide to Distressing Furniture
- Choose the right piece: Solid wood (pine, oak, walnut) works best. Avoid particleboard, which can crumble under aggressive sanding.
- Strip old finish (optional): If the piece has a thick varnish, use a chemical stripper or sand down to bare wood. This step isn’t required for a “paint‑and‑distress” approach.
- Apply the base stain or paint: Brush or roll a uniform coat. For a vintage vibe, select a muted tone (e.g., sage green, dusty blue). Let dry fully.
- Create distress marks:
- Use a wire brush on edges and corners to scrape away paint.
- Sand with 80‑grit paper in high‑impact areas (armrests, drawer fronts) to expose wood grain.
- Tap a hammer lightly on the surface to create small dents.
- Apply a contrasting topcoat: Lightly brush a second, slightly darker stain over the distressed spots. Wipe off excess with a rag to keep the effect subtle.
- Finish with protection: Rub a thin layer of matte polyurethane or wax. Buff with a soft cloth for a soft sheen that still feels “worn.”
Maintenance & Care Tips
Cleaning
Dust with a microfiber cloth weekly. For spills, use a damp cloth and mild soap; avoid abrasive cleaners that can strip the finish.
Touch‑Up
Keep a small container of the base paint or stain on hand. Lightly dab any areas that become overly worn, then reseal with a quick spray of sealer.
Longevity
Place heavily used furniture away from direct sunlight to prevent fading. Use felt pads under legs to reduce floor scratches and maintain the distressed aesthetic.
Styling Ideas to Showcase Your Finished Pieces
- Mix textures: Pair a distressed wooden coffee table with a plush velvet sofa for contrast.
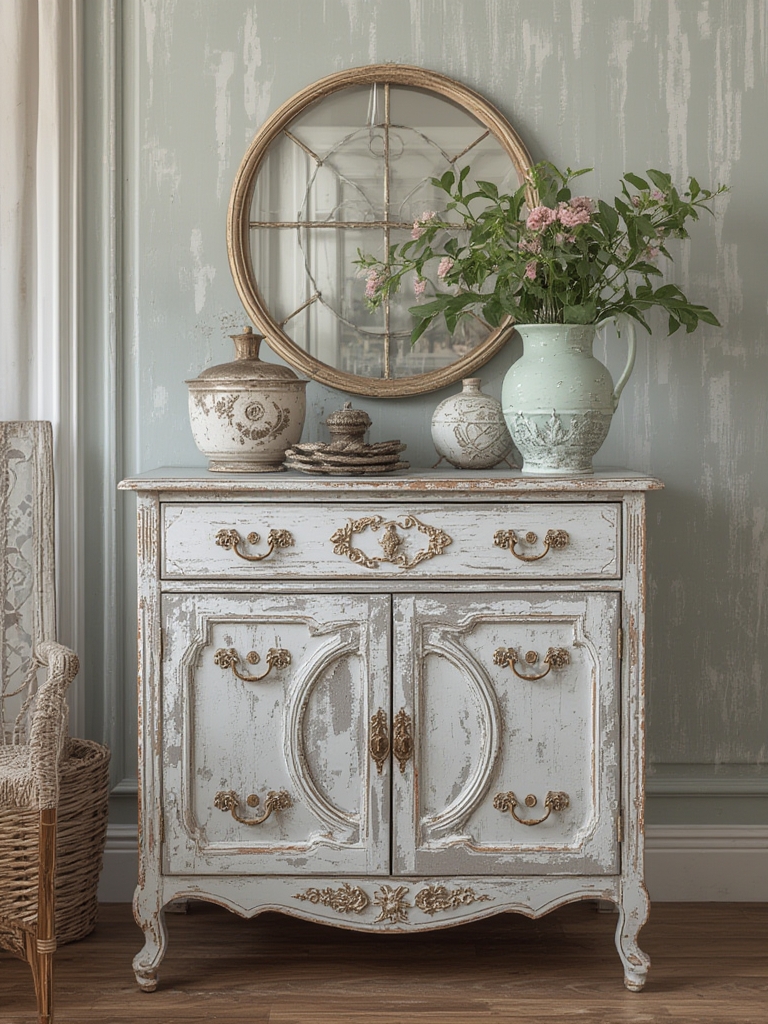
- Layer with greenery: A peeled‑paint sideboard looks striking behind tall potted plants; the organic shapes balance the weathered look.
- Monochrome palette: Use varying shades of the same hue (e.g., soft greys) across multiple distressed items for a cohesive vibe.
- Accent lighting: Warm LED strips under shelves highlight the depth created by the peel and distress.
By following these data‑backed steps and practical tips, you’ll be able to turn any piece of furniture into a timeless focal point. The key is to work gradually, test on a small area first, and always protect the final finish. Happy upcycling!