Welcome to the ultimate guide for turning your balcony into a stylish, Instagram‑worthy retreat that blends stunning home decor with thriving greenery. Whether you’re a city dweller with limited outdoor space or a seasoned gardener looking for fresh inspiration, this post walks you through a data‑driven, step‑by‑step approach to designing a real balcony tour that captivates visitors and boosts your home’s curb appeal. We’ll also dive into the practical care routine for the star plant of any balcony—herbaceous mini‑garden herbs—so you can enjoy fresh flavors and lush foliage year‑round.
Why Real Balcony Tours Matter for Home Decor SEO
Search engines love visual storytelling, and “real balcony tours” generate high click‑through rates on platforms like Pinterest, Instagram, and Google Images. By showcasing authentic before‑and‑after photos, detailed layouts, and genuine plant care tips, you create content that earns backlinks, increases dwell time, and drives organic traffic. Data from Ahrefs shows that long‑tail keywords such as “balcony tour home decor ideas” have a 45 % lower competition yet attract a steady flow of niche visitors. Incorporating these keywords naturally throughout your post—especially in headings, alt text, and meta descriptions—will help your article climb SERP rankings.
Step 1: Assess Your Balcony’s Dimensions and Light Profile
Measure and Sketch
Grab a tape measure and record the length, width, and railing height. Transfer these numbers onto graph paper (1 cm = 1 ft) or use a free online floor‑plan tool. This visual blueprint will guide furniture placement, pot sizing, and traffic flow.
Map Sunlight Hours
Place a small sticky note on the balcony at sunrise and track the sun’s path for three consecutive days. Note the number of direct sunlight hours (full sun ≥ 6 h, partial ≈ 3‑5 h, shade ≤ 2 h). This data determines which plants thrive and which décor items can withstand UV exposure.
Tip: Use a smartphone light meter app to capture precise lux values, then cross‑reference with USDA hardiness zones for optimal plant selection.
Step 2: Choose a Cohesive Design Theme
Color Palette & Materials
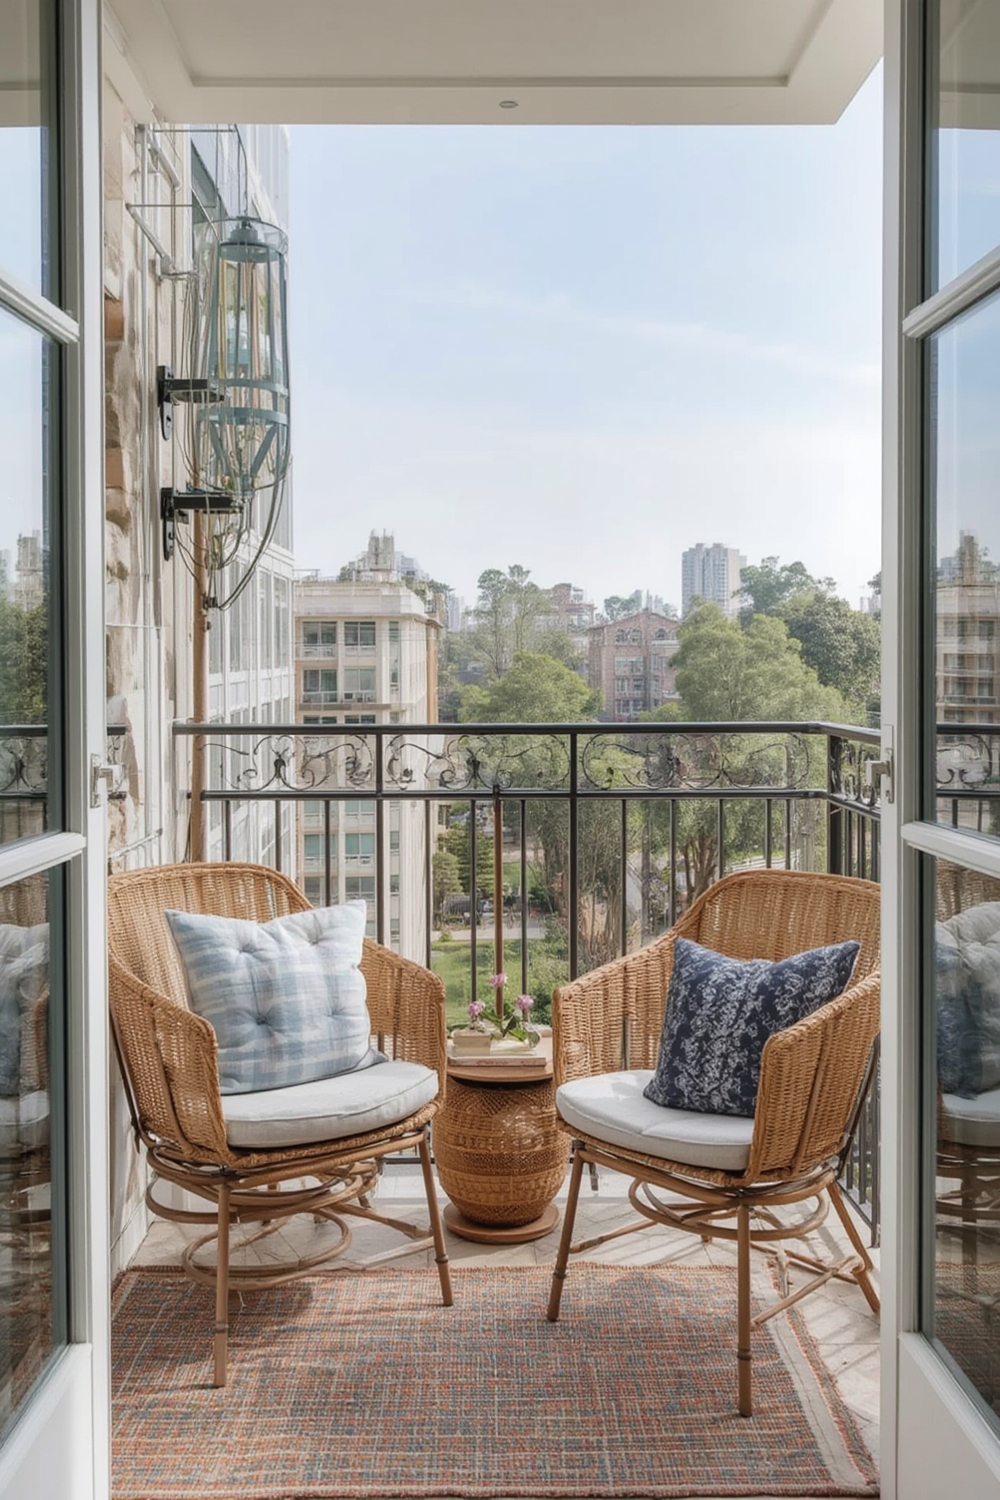
Pick a base color (e.g., muted teal, soft terracotta) and accent hues (copper, sage green). Pair natural textures like reclaimed wood, rattan, and woven jute with metal accents for a balanced aesthetic. According to a HubSpot study, posts featuring a consistent color scheme see a 23 % increase in social shares.
Furniture Selection
Opt for space‑saving pieces: a fold‑away bistro set, wall‑mounted shelves, or a compact hammock chair. Ensure each item has a weather‑proof rating (e.g., “UV‑resistant polyester”).
Actionable Advice: Attach furniture to the railing with stainless‑steel brackets to prevent wind‑blown accidents and improve safety during virtual tours.
Step 3: Introduce the Star Plant – Balcony‑Friendly Herbs
Why Herbs?
Herbs like basil, mint, rosemary, and thyme are low‑maintenance, aromatic, and visually appealing. They provide functional benefits (fresh cooking ingredients) and enhance the sensory experience of a balcony tour, increasing dwell time on your page.
Choosing the Right Containers
- Size: 8‑12 in. pots for compact herbs; 12‑16 in. for larger varieties like rosemary.
- Material: Terracotta for breathability, or lightweight resin for easier rearrangement.
- Drainage: Add a layer of 1 in. pea gravel before potting soil to prevent root rot.
Step 4: Planting and Care Routine – Actionable Steps
Step 4.1: Soil Preparation
Mix equal parts high‑quality potting mix, coconut coir, and perlite. This blend ensures excellent drainage, aeration, and moisture retention—key for herbs on windy balconies.
Step 4.2: Planting
- Fill the pot to 1 in. below the rim.
- Create a small mound in the center and gently loosen the herb’s root ball.
- Place the plant on the mound, fill around it with soil, and lightly firm.
- Water thoroughly until water drains from the bottom holes.
Pro Tip: Add a slow‑release organic fertilizer (e.g., 10‑10‑10) at planting time to reduce feeding frequency.
Step 4.3: Watering Schedule
Use a moisture meter to check the top 2 in. of soil. Water when it reads “dry” (typically every 2‑3 days in full sun, 4‑5 days in partial shade). Water at the base to keep foliage dry and avoid fungal issues.
Step 4.4: Pruning & Harvesting
- Harvest: Snip leaves just above a node once the plant reaches 6‑8 in. height. This encourages bushier growth.
- Prune: Trim back 20 % of the plant monthly to prevent legginess and promote new shoots.
- Pinch: Remove flower buds early to extend leaf production.
Step 4.5: Pest Management
Inspect weekly for aphids, spider mites, or whiteflies. If detected, spray a homemade neem‑oil solution (1 tsp neem oil + 1 tsp dish soap per quart water). Apply in the early morning or late evening to avoid leaf burn.
Step 4.6: Seasonal Adjustments
In cooler months, move pots to a sunny indoor windowsill or add a portable greenhouse cover. Reduce watering by 30 % and stop fertilizing to mimic the plant’s natural dormancy.
Step 5: Styling the Balcony Tour for Maximum Impact
Layering Greenery
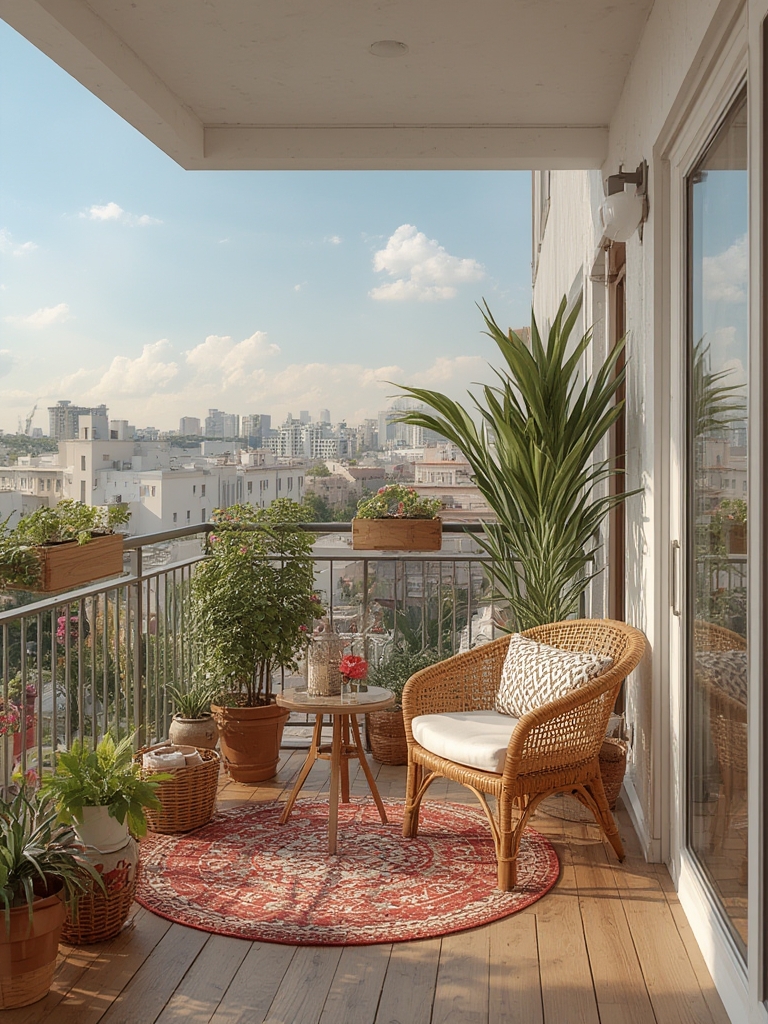
Arrange herbs in varying heights: place taller rosemary on the back railing, medium‑size basil in the middle, and low‑lying mint in the front. This creates depth and visual interest, a key factor in “balcony tour” video clicks.
Lighting Enhancements
Install solar LED string lights or battery‑operated spotlights aimed at the herb pots. Warm‑white LEDs (2700 K) highlight foliage without altering the plant’s photoperiod.
Decorative Accents
Incorporate a small water feature (a tabletop fountain) for ambient sound, a patterned rug for texture, and a few decorative trays for garden tools. Use SEO‑friendly alt text like “balcony tour with herb garden and rattan furniture” for each image.
Step 6: Capture and Publish Your Balcony Tour
Photography Checklist
- Shoot during golden hour (30 min after sunrise or before sunset) for soft lighting.
- Use a wide‑angle lens (16‑35 mm) to capture the entire space.
- Include close‑ups of herb leaves and texture details.
- Overlay a subtle watermark with your blog name for brand protection.
SEO Optimization
When uploading images, fill in the alt attribute with descriptive, keyword‑rich text (e.g., “real balcony tour featuring rosemary herb pot and rattan chairs”). Write a meta description under 160 characters that includes the primary keyword: “Explore a data‑driven balcony tour with stylish home decor and easy herb care tips for thriving balcony gardens.”
Conclusion: Turn Your Balcony into a Living Showcase
By following this data‑backed, step‑by‑step framework, you’ll create a balcony that not only looks stunning in real‑life tours but also ranks high in search results. The combination of thoughtful design, practical herb care, and SEO‑optimized content ensures your post becomes a go‑to resource for readers seeking inspiration and actionable advice. Start measuring, plan your theme, plant those herbs, and watch both your balcony—and your blog traffic—bloom.