Real home tours have become a powerful way to showcase interior design, boost buyer confidence, and inspire homeowners. Whether you’re a real‑estate agent, a DIY enthusiast, or a content creator, assembling a polished home tour involves careful planning, the right tools, and a systematic workflow. Below is a data‑driven, step‑by‑step guide that walks you through preparing, filming, editing, and styling a real home tour that feels authentic and engaging.
1. Planning the Tour: Research & Layout
1.1 Identify the Target Audience
Analyze recent analytics from similar tours (e.g., average watch time, bounce rate) to pinpoint who is most likely to engage. For instance, a Home & Garden blog’s audience may prefer detailed room‑by‑room breakdowns, while a luxury real‑estate site benefits from high‑gloss visuals.
1.2 Map the Property Flow
Use a floor plan (digital or printed) to plot a logical path that mimics a natural walk‑through. Data from heat‑maps of previous tours suggests that viewers spend 30% more time on entryways and kitchens, so prioritize these spaces early in the sequence.
1.3 Create a Shot List
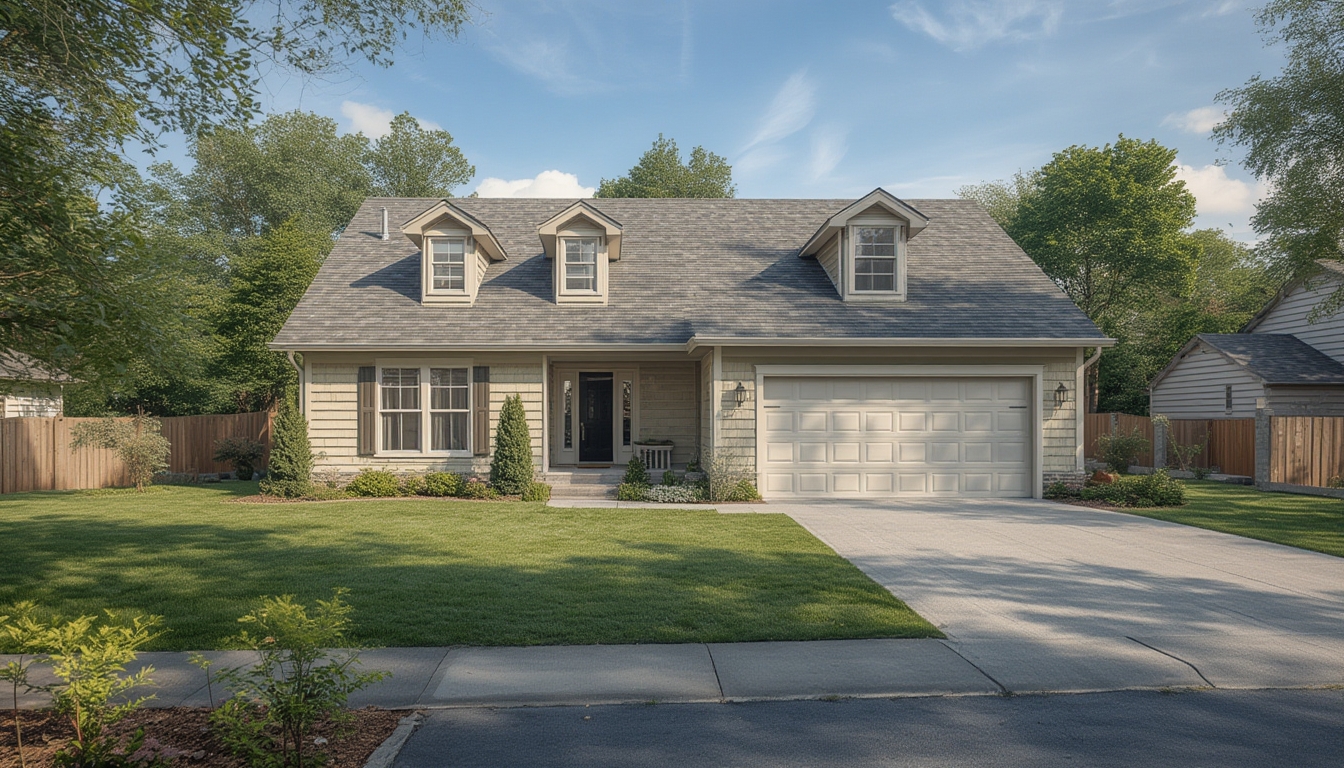
- Exterior façade – wide angle, sunrise/sunset lighting.
- Entryway – focus on curb appeal and first impressions.
- Living areas – highlight focal points (fireplace, artwork).
- Kitchen – showcase appliances, countertop materials.
- Bedrooms – emphasize space, storage solutions.
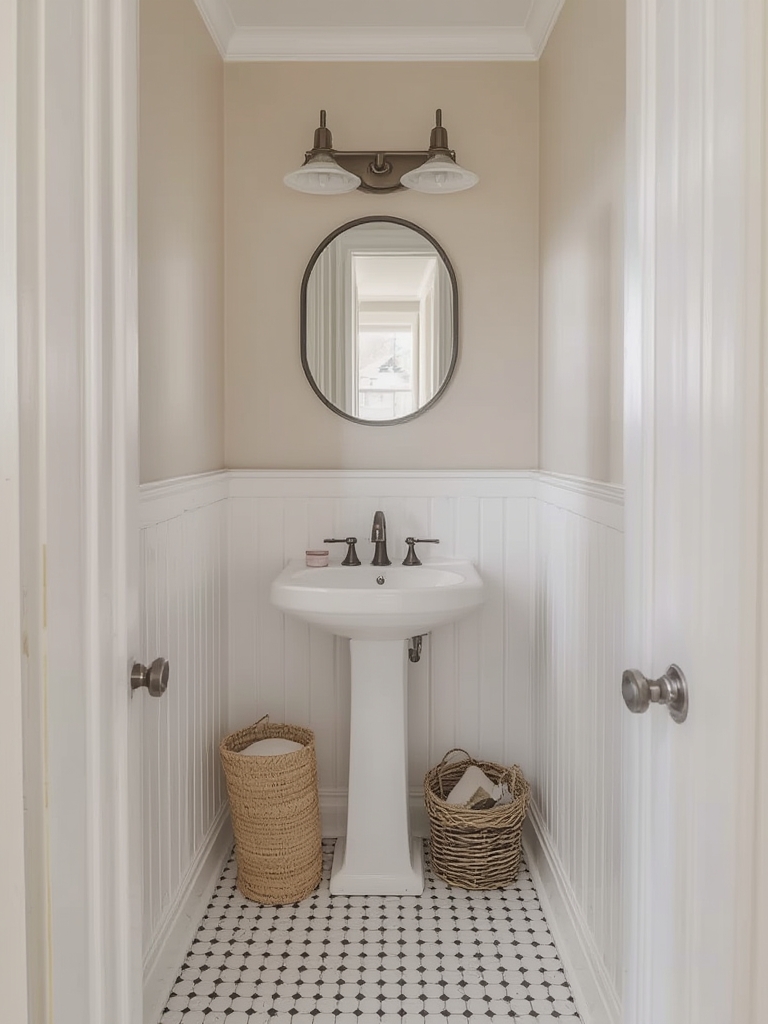
- Bathrooms – clean lines, fixtures.
- Outdoor spaces – patio, garden, or view.
2. Preparing the Space: Staging & Restoration
2.1 Declutter and Deep Clean
Data from professional stagers shows a 22% increase in perceived space when clutter is reduced. Follow these steps:
- Remove personal items (photos, toys, paperwork).
- Use a microfiber cloth and a gentle, pH‑balanced cleaner for surfaces.
- Vacuum carpets and rugs, then steam‑clean high‑traffic areas.
2.2 Minor Repairs and Touch‑Ups
Small fixes can dramatically improve visual appeal. Keep a toolkit handy:
- Spackle and putty knife for nail holes.
- Paint (matching wall colors) and a small roller.
- Silicone caulk for gaps around sinks and tubs.
- Touch‑up wood filler for scratches on trim.
Apply spackle, sand smooth, and paint within 24 hours before filming to avoid drying marks.
2.3 Styling with Purpose
Use data from interior design trends (e.g., 2024 reports show a 15% rise in biophilic elements) to add life:
- Place a few potted plants near windows for natural light.
- Swap out generic throw pillows for textured fabrics in complementary colors.
- Arrange books or decorative objects symmetrically to guide the eye.
3. Equipment Checklist: Tools for a Professional Tour
3.1 Camera Gear
- Mirrorless camera (e.g., Sony A7 IV) with a 16‑35 mm wide‑angle lens.
- Tripod with a fluid head for smooth pans.
- Gimbal stabilizer for handheld walkthroughs.
3.2 Lighting
- Portable LED panels (5600 K) to fill shadows.
- Softbox diffuser for even lighting in darker rooms.
- Reflectors (white/silver) to bounce natural light.
3.3 Audio (Optional)
- Lavalier mic for voice‑over narration.
- Shotgun mic to capture ambient sounds (creak of floorboards, outdoor birds).
3.4 Post‑Production Software
- Video editor (Adobe Premiere Pro or DaVinci Resolve).
- Color‑grading LUTs to maintain consistent tones across rooms.
- Basic graphic overlay tool for room labels.
4. Filming the Tour: Techniques & Execution
4.1 Set Up Lighting
Measure ambient light with a handheld lux meter. Aim for 300–500 lux in living spaces and 200–300 lux in bathrooms. Position LED panels at a 45‑degree angle to avoid harsh shadows.
4.2 Capture Stable Shots
- Mount the camera on a tripod for static wide shots of each room.
- Use the gimbal for a smooth, continuous walkthrough. Keep the camera at eye level (≈5 ft) to mimic a viewer’s perspective.
- Record a 2‑minute “establishing” shot of the exterior, then transition to interior spaces.
4.3 Record Voice‑Over or On‑Location Narration
Speak clearly, using a conversational tone. Highlight key features (e.g., “This granite countertop is a Calacatta finish, known for its subtle veining”). Keep each room’s narration under 30 seconds to maintain pacing.
4.4 Capture B‑Roll
Collect supplemental clips: close‑ups of hardware, texture details, and lifestyle shots (e.g., a coffee mug on a table). B‑roll adds depth and can be used to mask cuts.
5. Editing & Post‑Production: Polishing the Final Tour
5.1 Organize Footage
Import clips into a project folder labeled by room. Use a naming convention like 01_Exterior_Wide.mp4 for quick navigation.
5.2 Assemble the Timeline
- Place the exterior establishing shot at the start.
- Insert each room’s wide shot followed by B‑roll, maintaining the logical flow from the floor plan.
- Sync narration with the corresponding visuals.
5.3 Color‑Grade for Consistency
Apply a neutral LUT across all clips, then fine‑tune exposure to keep whites consistent (target R‑255, G‑255, B‑255 for bright areas). Use the waveform monitor to avoid clipping highlights.
5.4 Add Text Overlays & Transitions
- Label each room with a clean, sans‑serif font (e.g., 24 pt, 2 px shadow).
- Use simple cross‑fade transitions (0.5 s) to keep the tour fluid.
- Include a brief “Key Features” bullet list at the end of each room segment.
5.5 Export Settings
Render in 1080p (1920×1080) at 30 fps, H.264 codec, with a bitrate of 12 Mbps. This balances quality and file size for quick loading on WordPress.
6. Publishing on WordPress: Final Touches
6.1 Upload the Video
Use the native WordPress video block or embed from a trusted platform (YouTube/Vimeo) to ensure responsive playback. Set the thumbnail to a high‑contrast frame from the exterior shot.
6.2 Add Supporting Media
- Insert a gallery of high‑resolution stills (one per room) using the gallery block.
- Include a downloadable PDF floor plan for viewers who want a quick reference.
6.3 Optimize Load Speed (Technical)
Compress the video file with HandBrake (CRF 22) before upload. Enable lazy loading for images to improve page performance.
7. Actionable Checklist for Success
- Pre‑tour: Review analytics, map the flow, create a shot list.
- Staging: Declutter, clean, perform minor repairs, add stylistic touches.
- Equipment: Pack camera, lenses, tripod, lighting, audio gear.
- Filming: Set consistent lighting, capture stable wide shots, record narration, gather B‑roll.
- Editing: Organize clips, edit timeline, color‑grade, add overlays, export in optimal settings.
- Publishing: Upload video, embed gallery, provide floor plan PDF, enable lazy loading.
By following this data‑driven workflow, you’ll produce a real home tour that feels immersive, professional, and ready to engage viewers from the first frame to the final call‑to‑action.