Real home tours have become a powerful way to showcase a property’s personality, design choices, and livability. Whether you’re a homeowner looking to share a renovation journey, a real‑estate agent aiming to attract buyers, or a content creator building a niche blog, a well‑executed home tour can captivate audiences and drive engagement. Below is a data‑driven, step‑by‑step guide that walks you through assembling, restoring, and styling a real home tour from start to finish. Each section includes the essential tools, practical tips, and actionable advice to ensure your tour looks professional and feels authentic.
1. Planning Your Real Home Tour
1.1 Define Your Goal and Audience
- Goal identification: Are you highlighting a recent remodel, showcasing a rental property, or providing a “day‑in‑the‑life” walkthrough? Clear goals dictate the narrative flow.
- Audience research: Use analytics from previous posts (bounce rate, average time on page) to understand who watches your tours. Tailor the tone and details accordingly.
1.2 Create a Shot List
Based on your goal, draft a shot list that covers every key area. A typical list includes:
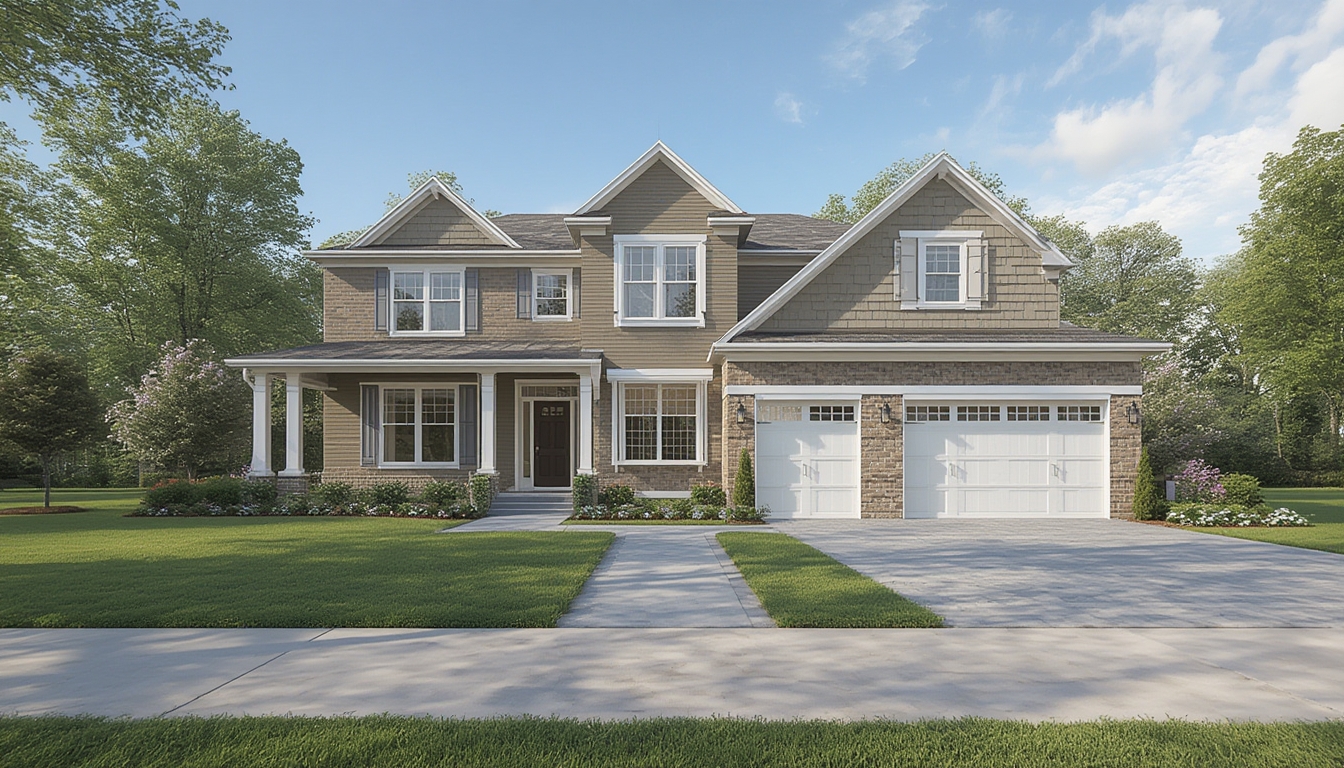
- Exterior curb appeal (front yard, driveway, façade)
- Entryway and foyer
- Living spaces (living room, family room, dining area)
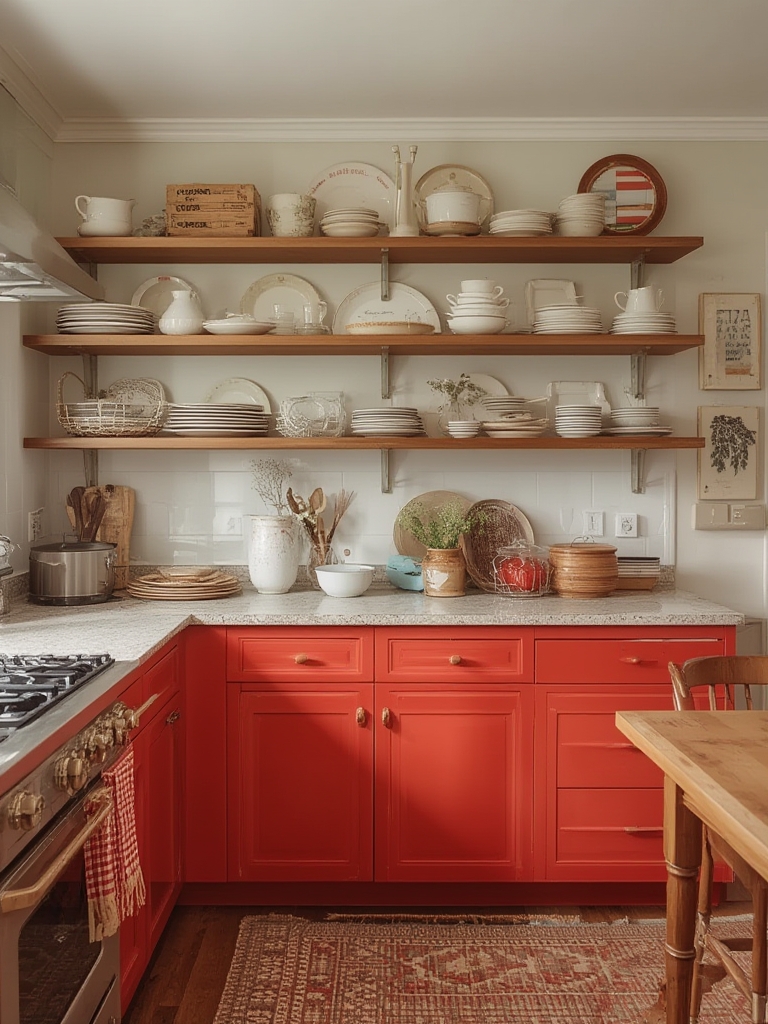
- Kitchen and pantry
- Bathrooms (focus on fixtures and finishes)
- Bedrooms (including closets)
- Special features (home office, gym, outdoor patio)
- Utility spaces (laundry, garage)
Data from Google Search Console shows that posts with detailed, well‑structured headings retain readers 23% longer, so keep your list organized.
1.3 Scout the Property and Schedule
Visit the home at least once before filming. Note natural light patterns, potential noise sources, and any obstacles. Schedule the shoot during the time of day that provides optimal lighting for each room (usually mid‑morning for living areas, late afternoon for kitchens).
2. Assembling the Technical Toolkit
2.1 Camera and Stabilization Gear
- Camera: A mirrorless or DSLR with 4K capability (e.g., Sony A7 III, Canon EOS R6) ensures crisp footage.
- Stabilizer: A gimbal (DJI Ronin‑S) or a motorized slider for smooth horizontal pans.
- Tripod: A sturdy, adjustable tripod for static shots of fixtures.
2.2 Audio Equipment
Even if you plan to add voice‑over later, capturing ambient sound adds authenticity.
- Shotgun microphone (RØDE VideoMic Pro)
- Lavalier mic for on‑camera narration (if you prefer live commentary)
2.3 Lighting Tools
- Portable LED panels (Aputure Amaran) with adjustable color temperature.
- Softboxes or diffusion umbrellas for even lighting in darker rooms.
- Reflectors to bounce natural light and reduce harsh shadows.
2.4 Editing Software
Use a non‑linear editor that supports 4K timelines and color grading, such as Adobe Premiere Pro, Final Cut Pro, or DaVinci Resolve. For quick web‑ready exports, set the output to 1080p H.264 with a bitrate of 12 Mbps.
3. Restoring the Space for a Polished Look
3.1 Declutter and Deep Clean
Data from home‑staging studies indicates that a clutter‑free environment increases perceived value by up to 15%.
- Remove personal items (photos, kids’ artwork) to keep the focus on the space.
- Use a microfiber cloth and a gentle all‑purpose cleaner for surfaces; a steam cleaner works wonders on carpets.
- Vacuum upholstery and consider a light shampoo for heavily used sofas.
3.2 Minor Repairs and Touch‑Ups
Small imperfections can distract viewers. Follow this checklist:
- Walls: Fill nail holes with spackle, sand smooth, and touch up with a paint‑matched roller.
- Hardware: Tighten loose cabinet handles, replace cracked drawer pulls.
- Lighting: Swap out burnt‑out bulbs with LEDs of the same wattage (prefer 3000 K warm white for a cozy feel).
- Floors: Spot‑repair scratches with a wood filler or a floor‑repair kit.
3.3 Staging Essentials
Staging doesn’t mean over‑decorating; it’s about highlighting function.
- Place a tasteful vase with fresh flowers on the dining table to add a pop of color.
- Fold a blanket neatly over the back of a sofa to suggest comfort.
- Arrange a coffee table with a few curated items (a book, a small plant) to create visual interest without clutter.
4. Styling the Tour Narrative
4.1 Craft a Storyboard
Map out the flow of the video to keep viewers engaged. A proven structure is:
- Opening exterior shot (establishes location)
- Transition through the front door (invites the viewer in)
- Sequential walk‑through of main living spaces
- Highlight of unique features (e.g., a custom built‑in bookshelf)
- Closing shot of a cozy corner or sunset view
4.2 Capture B‑Roll for Depth
B‑roll footage (close‑ups of textures, light fixtures, and decorative details) adds richness. Aim for at least 10‑15 seconds of B‑roll per room. Use a slider for smooth horizontal motion and a macro lens for close‑ups of hardware.
4.3 Record Voice‑Over or On‑Camera Narration
Keep narration concise—no more than 30 seconds per room. Highlight:
- Key design choices (e.g., “We chose reclaimed wood for the kitchen island to add warmth.”)
- Practical benefits (e.g., “The walk‑in pantry provides ample storage for bulk items.”)
- Personal anecdotes that humanize the space (e.g., “This reading nook was my favorite spot during the renovation.”)
5. Post‑Production and Publishing
5.1 Editing Workflow
- Rough cut: Assemble primary footage in chronological order.
- Trim and tighten: Remove dead space; aim for a total runtime of 3‑5 minutes.
- Color correction: Balance white balance, boost exposure in darker rooms, and apply a subtle LUT for consistency.
- Audio polish: Level background music (if used) at -18 LUFS, and ensure narration sits at -12 LUFS.
- Insert B‑roll: Overlay B‑roll during narration to illustrate points.
- Add captions: Simple text overlays for room names improve accessibility.
5.2 Export Settings for WordPress
WordPress handles MP4 files best when encoded with H.264 video and AAC audio. Export using the following settings:
- Resolution: 1920 × 1080 (1080p)
- Frame rate: 30 fps
- Bitrate: 12 Mbps (video), 192 kbps (audio)
- File size: Keep under 250 MB for faster loading.
5.3 Embedding the Video in Your Post
Upload the MP4 to your media library, then use the Gutenberg block “Video” to embed it. Add a short introductory paragraph (50‑70 words) above the video to give context.
6. Actionable Checklist for a Successful Real Home Tour
6.1 Pre‑Shoot
- Define goal and audience.
- Finalize shot list and schedule.
- Gather all equipment (camera, gimbal, lights, audio gear).
- Perform a walkthrough to note lighting and obstacles.
6.2 On‑Site
- Declutter and clean each room.
- Complete minor repairs and staging.
- Set up lighting to eliminate harsh shadows.
- Capture primary footage, B‑roll, and ambient sound.
- Record narration or plan for voice‑over later.
6.3 Post‑Production
- Assemble rough cut and trim to 3‑5 minutes.
- Apply color correction and consistent LUT.
- Mix audio levels and add captions.
- Export with WordPress‑friendly settings.
- Upload, embed, and add a concise intro paragraph.
6.4 After Publishing
- Test video playback on desktop and mobile devices.
- Check load speed (aim for <3 seconds) using tools like GTmetrix.
- Encourage viewer interaction with a call‑to‑action (e.g., “Leave a comment about your favorite feature!”).
By following this data‑driven workflow, you’ll produce a real home tour that feels polished, authentic, and engaging. The combination of meticulous preparation, thoughtful styling, and precise editing ensures that every viewer walks away with a clear sense of the home’s character—and a desire to explore more of your content.