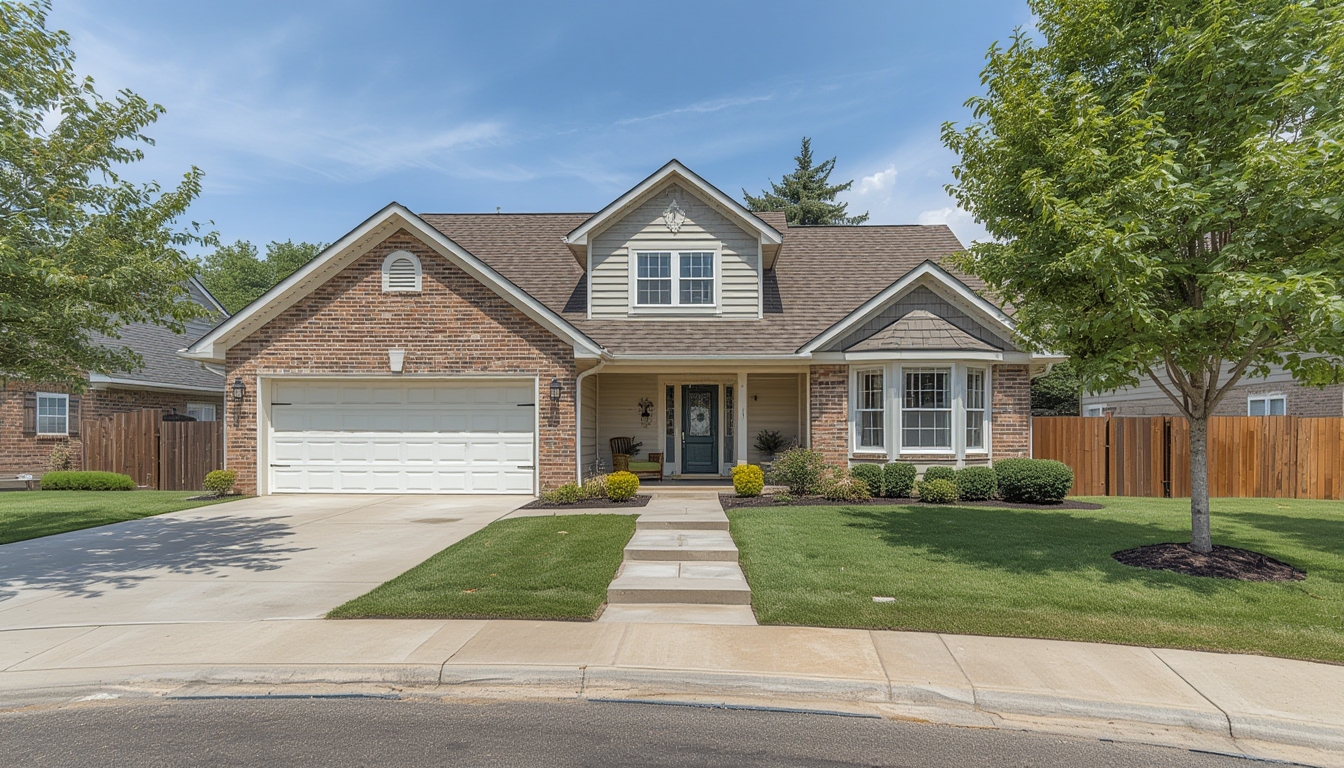
Real home tours have become a powerful way to showcase interior design, architecture, and lifestyle inspiration. Whether you’re a homeowner wanting to document a renovation, a real‑estate agent aiming to attract buyers, or a content creator seeking engaging video material, a well‑planned home tour can highlight the unique character of a space while providing viewers with actionable ideas. Below is a data‑driven, step‑by‑step guide that walks you through assembling, restoring, and styling a real home tour from start to finish. Each phase includes the essential tools, practical tips, and small actions you can take to ensure a polished final product.
1. Pre‑Production Planning
1.1 Define the Tour’s Purpose and Audience
- Action: Write a one‑sentence mission statement (e.g., “Showcase sustainable remodels for eco‑conscious buyers”).
- Tool: Google Docs or Notion for quick note‑taking.
- Tip: Review analytics from previous tours (average watch time, drop‑off points) to tailor the new tour’s length and focus.
1.2 Create a Detailed Shot List
- Action: Sketch a floor plan and mark key rooms, focal points, and transition pathways.
- Tool: SketchUp or a simple paper sketch with a ruler.
- Tip: Prioritize high‑impact spaces (kitchen, master bedroom, outdoor patio) based on data showing which rooms generate the most viewer engagement.
1.3 Schedule and Secure Permissions
- Action: Contact homeowners, tenants, or property managers to confirm filming dates.
- Tool: Calendar app (Google Calendar) with reminders set 48 hours before the shoot.
- Tip: Obtain written consent for any music, branding, or personal items that may appear on camera.
2. Equipment Setup and Technical Preparation
2.1 Camera Gear
- Tools needed: DSLR or mirrorless camera (e.g., Sony A7 III), wide‑angle lens (16‑35 mm), tripod with fluid head, and a gimbal for smooth handheld shots.
- Action: Charge batteries and format memory cards (at least 64 GB) the night before.
- Tip: Test white balance in a well‑lit room to avoid color casts during post‑production.
2.2 Lighting and Audio
- Tools needed: Portable LED panels (bi‑color), softboxes, and a shotgun microphone or lavalier set.
- Action: Position LEDs at 45‑degree angles to eliminate harsh shadows in darker rooms.
- Tip: Record a short test clip with ambient sound to ensure no echo or background noise.
2.3 Stabilization and Movement
- Tools needed: Slider (e.g., Neewer 31‑inch) for slow pans, and a drone (if the property has an outdoor space).
- Action: Calibrate the gimbal for the camera’s weight and set the drone’s GPS lock before takeoff.
- Tip: Use a “hero shot” (wide, establishing view) at the start of each room to give viewers a clear sense of space.
3. On‑Site Filming Process
3.1 Staging the Space
- Action: Declutter surfaces, arrange decorative items symmetrically, and add fresh flowers or a scented candle for ambiance.
- Tool: Portable vacuum, lint roller, and a set of neutral‑colored throw pillows.
- Tip: Follow the “rule of three” – group items in threes to create visual harmony that resonates with viewers.
3.2 Capturing the Walkthrough
- Action: Begin at the front entrance, move clockwise, and maintain a steady walking speed (≈1.2 m/s) to keep the footage smooth.
- Tool: Gimbal set to “follow” mode for natural motion.
- Tip: Use a lapel mic for voice‑over narration during the walk; speak slowly and point out design details as you pass them.
3.3 Highlighting Key Features
- Action: Pause for 2‑3 seconds on focal points (e.g., a custom backsplash, built‑in shelving) and capture close‑up shots.
- Tool: Macro lens (if available) or the camera’s digital zoom.
- Tip: Record a short “before‑and‑after” comparison for any restored elements, using a split‑screen in post‑production.
4. Post‑Production Restoration and Styling
4.1 Organizing Footage
- Action: Import all clips into a dedicated project folder labeled by room (e.g., “Kitchen_01.mp4”).
- Tool: Adobe Bridge or free alternatives like XnView.
- Tip: Rename files with descriptive tags (room, angle, take) to speed up editing.
4.2 Editing the Narrative Flow
- Action: Assemble the walkthrough in chronological order, trimming each segment to 8‑12 seconds for a brisk pace.
- Tool: Adobe Premiere Pro, Final Cut Pro, or DaVinci Resolve (free version).
- Tip: Add subtle cross‑dissolves (0.5 s) between rooms to maintain continuity without disrupting viewer focus.
4.3 Color Correction and Restoration
- Action: Apply a consistent LUT (lookup table) across all clips to unify color temperature.
- Tool: DaVinci Resolve’s color grading panel.
- Tip: Use the waveform monitor to ensure highlights don’t clip and shadows retain detail, especially in dimly lit corners.
4.4 Adding Text Overlays and Callouts
- Action: Insert lower‑third titles for each room (e.g., “Living Room – Open‑Concept Design”).
- Tool: Premiere Pro’s Essential Graphics panel.
- Tip: Keep fonts clean (sans‑serif) and limit overlay duration to 3 seconds for readability.
4.5 Sound Design
- Action: Balance narration volume at –12 dB LUFS and background music at –20 dB LUFS.
- Tool: Audacity (free) for quick audio leveling.
- Tip: Choose royalty‑free ambient tracks that match the home’s vibe (e.g., acoustic guitar for a cozy cottage).
5. Publishing and Distribution
5.1 Export Settings for WordPress
- Action: Export the final video in MP4 format using H.264 codec, 1080p resolution, and a bitrate of 8 Mbps.
- Tool: HandBrake for compression without quality loss.
- Tip: Keep the file size under 150 MB to ensure smooth streaming on most hosting plans.
5.2 Embedding the Video in a WordPress Post
- Action: Upload the MP4 to the Media Library, then insert it using the Gutenberg “Video” block.
- Tool: WordPress dashboard (latest version recommended).
- Tip: Add a short caption below the video that includes the property’s address and a call‑to‑action (e.g., “Contact us for a private showing”).
5.3 Enhancing the Written Content
- Action: Write a concise introductory paragraph (50‑70 words) that sets the scene, then follow with the step‑by‑step guide already provided.
- Tool: Grammarly or Hemingway Editor for clarity.
- Tip: Use bullet points and bolded headings (H2, H3) to improve readability for visitors scanning the post.
6. Maintenance and Future Updates
6.1 Collecting Viewer Feedback
- Action: Enable comments or embed a short Google Form to capture viewer suggestions.
- Tool: Google Forms, integrated via an iframe.
- Tip: Review feedback monthly and note recurring requests (e.g., “Show more storage solutions”) for future tours.
6.2 Updating the Tour Over Time
- Action: Schedule a “refresh shoot” every 12 months to capture seasonal décor changes or renovations.
- Tool: Same camera setup, but consider adding a 4K camcorder for higher resolution.
- Tip: Replace outdated clips in the original WordPress post rather than creating a new post, preserving SEO equity and viewer history.
6.3 Archiving Raw Footage
- Action: Store original clips on an external SSD (minimum 2 TB) and back them up to a cloud service (e.g., Google Drive).
- Tool: WD My Passport SSD, Google Drive.
- Tip: Label each backup with the date and project name (e.g., “RealHomeTour_2025_03”). This makes future edits or repurposing effortless.
By following these data‑driven steps, you’ll be able to produce a real home tour that not only looks professional but also provides viewers with clear, actionable insights. The combination of meticulous planning, the right tools, and thoughtful post‑production ensures that each tour stands out, engages audiences, and ultimately drives the desired outcomes—whether that’s selling a property, inspiring design ideas, or building a loyal following.