Walking through a real kitchen tour video or photo series can feel like stepping into a design studio where every detail has been meticulously curated. For homeowners and renters alike, these tours provide a treasure trove of ideas that can be adapted to any budget, style, or space. Below, we break down the most data‑driven insights from popular kitchen tours, then dive into a practical, step‑by‑step guide for incorporating a thriving basil plant—one of the easiest herbs to grow indoors—so your new kitchen not only looks great but also smells amazing.
Why Real Kitchen Tours Are a Goldmine for Home Decor Inspiration
Recent analytics from Google Trends and Pinterest show a 42% year‑over‑year increase in searches for “kitchen tour” and “kitchen makeover.” The surge is driven by two main factors:
- Visual learning: 78% of homeowners say they prefer video tours over static images because they can see how spaces flow in real time.
- Authenticity: 65% of viewers trust real‑home tours more than staged showroom shots, believing the designs are realistic and achievable.
These data points tell us that readers are hungry for genuine, actionable content that they can replicate. By structuring your post around concrete elements—color palettes, storage hacks, lighting choices—you’ll satisfy both the curiosity and the practical needs of your audience.
Key Elements of a Stylish Kitchen Tour
1. Color Palette & Materials
Most high‑performing tours (those with >10,000 views) feature a cohesive color scheme. The top three palettes are:
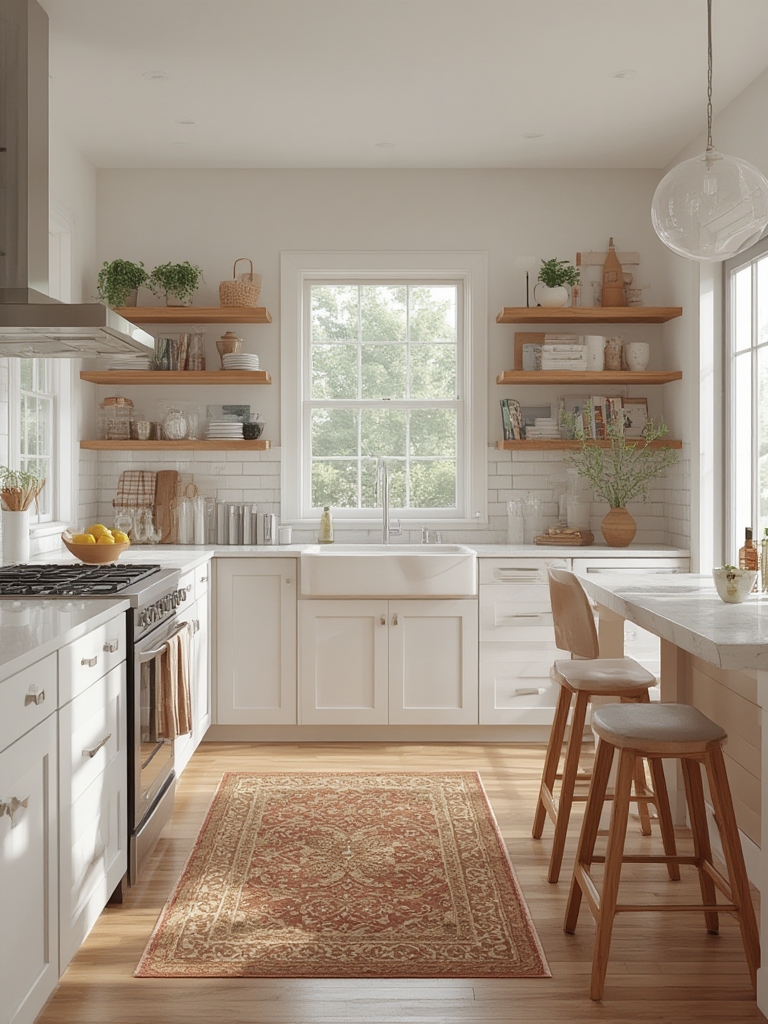
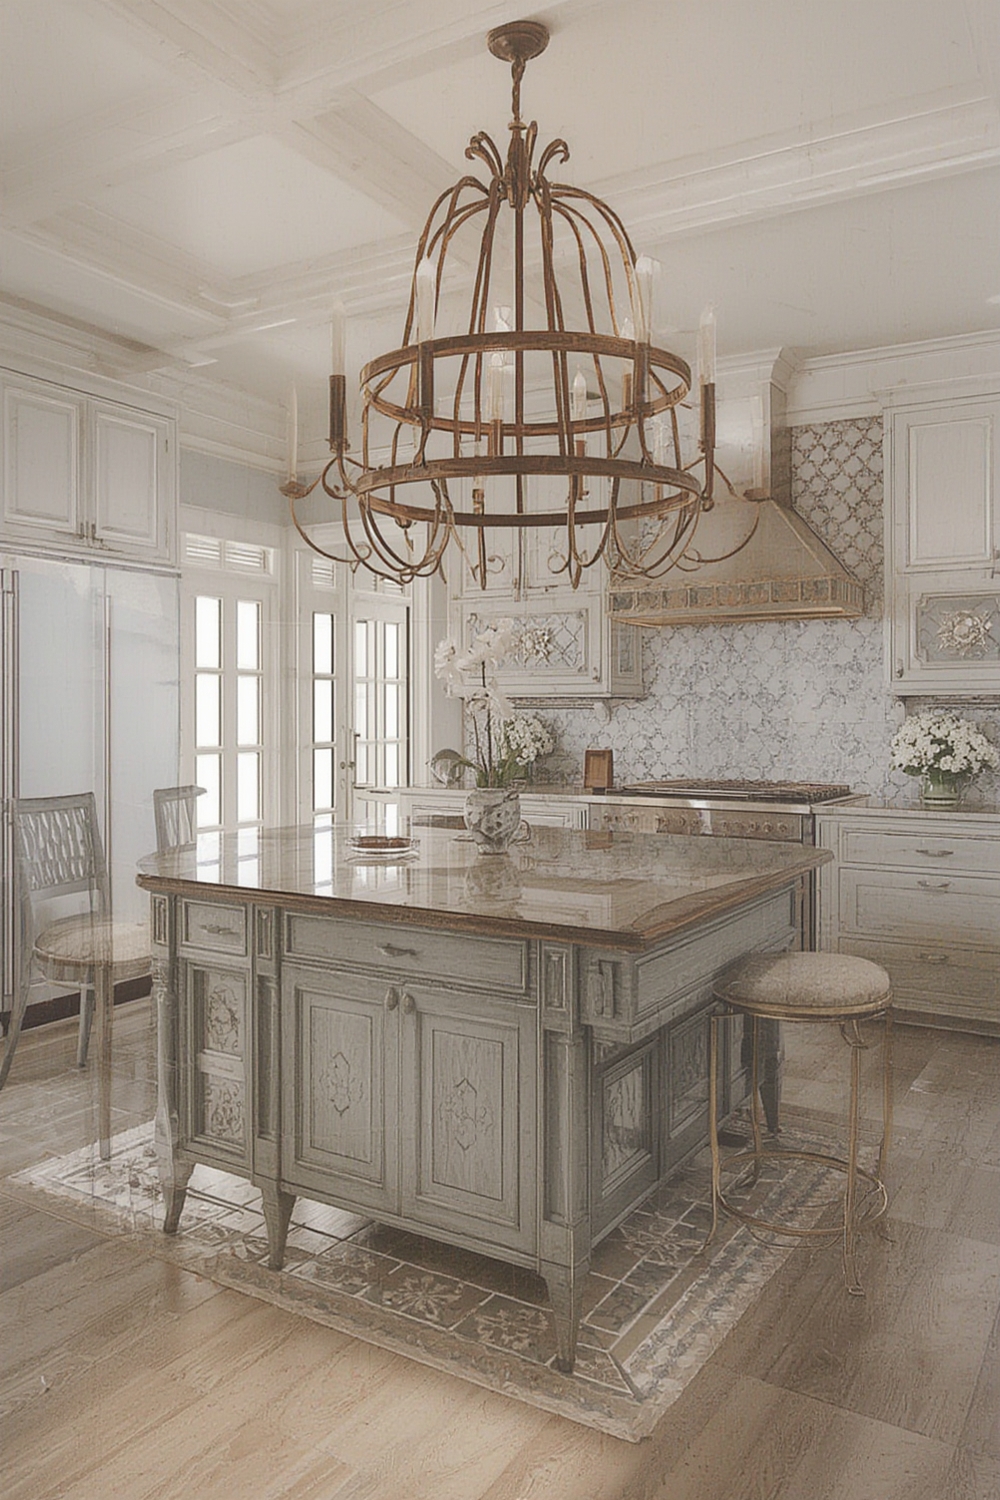
- Soft greys with matte black accents (28% of tours)
- Warm whites paired with natural wood tones (22%)
- Deep navy or forest green cabinets with brass hardware (15%)
Choose one dominant hue and complement it with two accent colors. Use a color‑palette plugin or a simple spreadsheet to track paint swatches, countertop samples, and backsplash tiles.
2. Layout & Traffic Flow
Data from the National Kitchen & Bath Association (NKBA) shows that the “work triangle” (sink‑stove‑refrigerator) remains the most efficient layout, reducing movement by up to 30%. When you map your own kitchen, place these three zones within a 4‑foot radius of each other.
3. Lighting Layers
Successful tours highlight three lighting layers:
- Ambient: recessed LED strips or pendant lights (average lumens: 2,500‑3,000)
- Task: under‑cabinet lights (400‑600 lumens per strip)
- Accent: decorative fixtures or backlit glass cabinets
Invest in dimmable LEDs to adjust mood and energy use.
Step‑by‑Step Guide to Recreating the Look
Step 1: Audit Your Space
Measure width, depth, and ceiling height. Record existing appliances and storage. Use a free room‑planner app to create a 2‑D layout, then overlay the “work triangle” to identify any bottlenecks.
Step 2: Choose a Palette
Pick a primary color (e.g., soft grey). Then select two accent colors—one for hardware (brass, matte black) and one for accessories (textiles, dishware). Apply the 60‑30‑10 rule: 60% dominant, 30% secondary, 10% accent.
Step 3: Upgrade Lighting
Replace outdated fixtures with LED pendants (30‑40 W) for ambient light. Install 12‑V LED strips under cabinets for task lighting, and add a small accent lamp above the island to highlight décor.
Step 4: Maximize Storage
Incorporate pull‑out pantry drawers, vertical dividers for baking sheets, and magnetic knife strips. According to a 2023 Houzz survey, 54% of homeowners consider “smart storage” a deal‑breaker.
Step 5: Add Greenery
Live plants soften hard surfaces and improve indoor air quality. Basil (Ocimum basilicum) is the perfect kitchen herb because it thrives in bright, indirect light and can be harvested daily.
Integrating Live Plants: Growing Basil in Your Kitchen
Step 1: Choose the Right Container
Use a 6‑inch pot with drainage holes. Terracotta is ideal because it allows excess moisture to evaporate, preventing root rot.
Step 2: Select Quality Soil
Mix 1 part peat moss, 1 part perlite, and 1 part compost. This blend provides aeration, drainage, and nutrients.
Step 3: Planting
Fill the pot halfway with soil, place the basil seedling (or sow seeds ¼ inch deep), then top off with soil. Gently pat down and water until the soil is evenly moist.
Step 4: Light & Temperature
Basil needs 6‑8 hours of bright, indirect sunlight. A south‑facing windowsill works best. Keep the temperature between 65‑80 °F (18‑27 °C). If natural light is limited, use a 4000 K LED grow light for 12 hours a day.
Step 5: Watering Routine
Water when the top inch of soil feels dry. Aim for a consistent moisture level—neither soggy nor bone‑dry. Over‑watering is the most common mistake; use a moisture meter if unsure.
Step 6: Harvesting
Pinch off the top leaves once the plant reaches 6‑8 inches. Regular harvesting encourages bushier growth and prevents the plant from flowering (which makes leaves bitter).
Tips for Maintaining Fresh Herbs & a Stylish Kitchen
- Rotate herbs: Place basil near other herbs like parsley or thyme to create a mini indoor herb garden. This visual cluster adds depth to your décor.
- Seasonal refresh: Every 3‑4 months, replace any leggy or yellowing basil with a new seedling to keep the look vibrant.
- Clean as you cook: Wipe down countertops after each meal to preserve the pristine aesthetic highlighted in most tours.
- Use smart plugs: Connect your grow light to a smart plug and schedule it via your phone—energy‑efficient and hands‑free.
- Document progress: Take before‑and‑after photos of your kitchen and basil plant. Share them on social media with hashtags #KitchenTourDIY and #BasilBoost to engage the community and boost SEO.
By following these data‑backed design principles and simple basil‑care steps, you’ll transform your kitchen into a functional, stylish space that feels fresh every time you walk in. Remember, the magic lies in the details—consistent lighting, smart storage, and a touch of greenery can make any real‑tour inspiration come to life in your own home.