Reviving a home room by room is a rewarding way to boost comfort, style, and resale value without a full‑scale renovation. By tackling each space with a clear plan, the right tools, and data‑backed decisions, you can transform tired areas into fresh, functional havens. Below is a step‑by‑step guide that walks you through the process for the most common rooms, offering practical tips, essential tools, and actionable advice to keep the project on track.
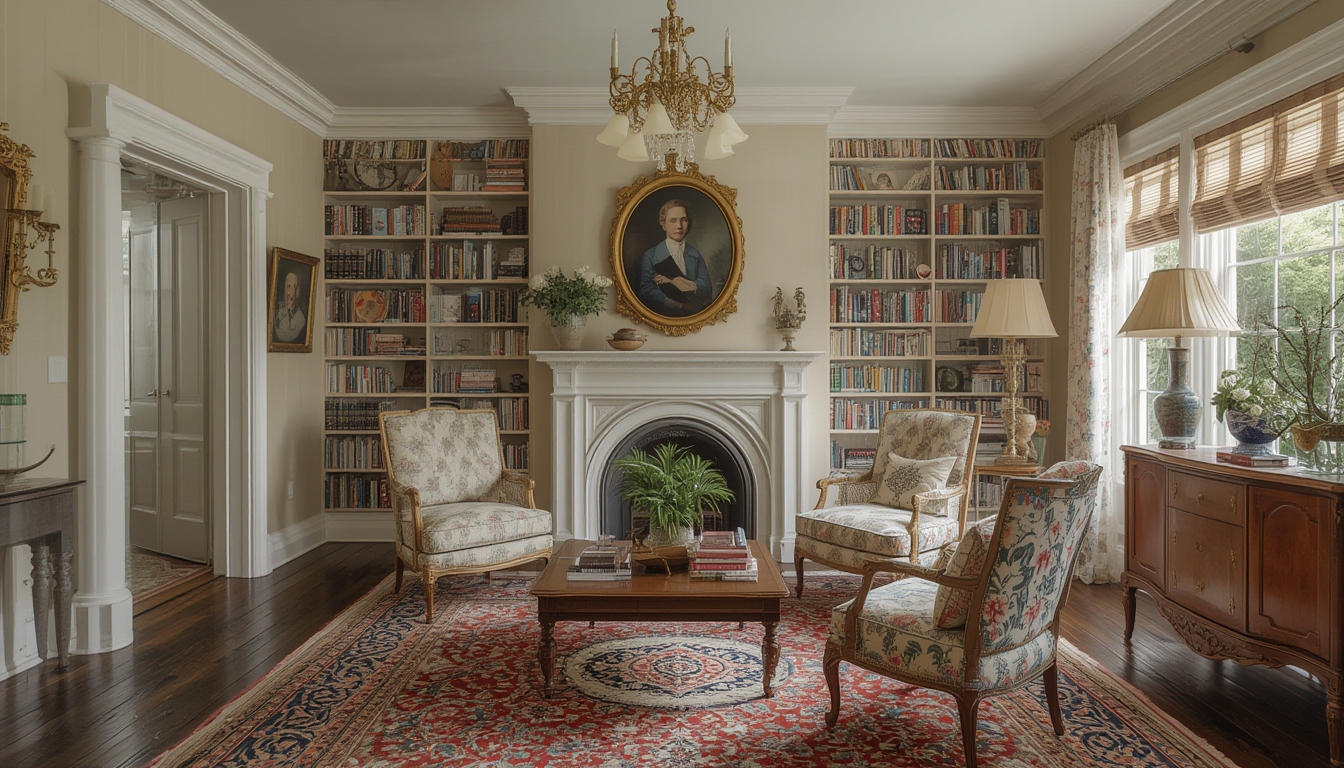
Living Room Revival
Step 1: Assess the Space
- Data point: According to the National Association of Realtors, a well‑styled living room can increase a home’s perceived value by up to 7%.
- Measure floor dimensions and note traffic patterns.
- Take photos for before‑and‑after comparison.
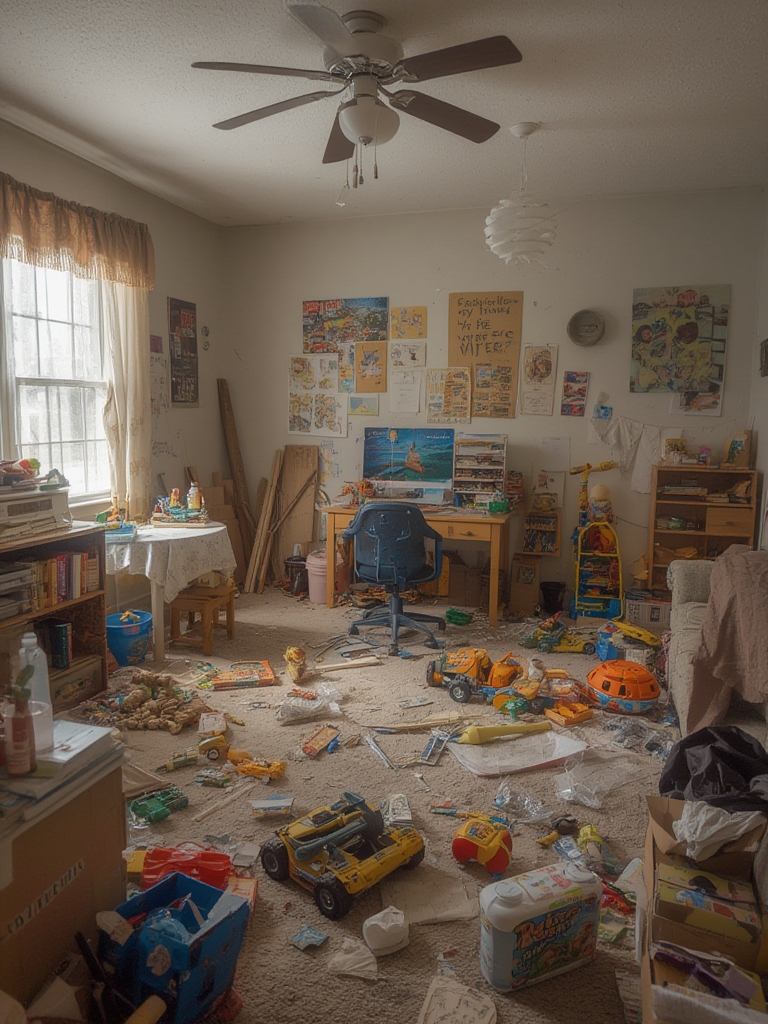
Step 2: Declutter and Deep Clean
- Remove all non‑essential items; keep only pieces that serve a purpose or add aesthetic value.
- Use a vacuum with a HEPA filter and a microfiber mop to eliminate dust and allergens.
- Tip: Store items in labeled bins (e.g., “Seasonal,” “Sentimental”) to avoid re‑cluttering.
Step 3: Update the Flooring
- Tools needed: Measuring tape, utility knife, floor roller, adhesive, and a rubber mallet.
- Consider low‑cost laminate or luxury vinyl plank (LVP) – LVP sales have risen 15% YoY, indicating strong consumer confidence in durability and style.
- Lay a moisture barrier, then click‑together planks, ensuring a staggered pattern for visual interest.
Step 4: Refresh Furniture
- Reupholster a dated sofa with a neutral, durable fabric; a 2023 home‑decor survey found 62% of buyers favor neutral palettes.
- Swap out heavy drapery for light, linen curtains to increase natural light.
- Arrange seating in a conversational layout: anchor the sofa to a focal point (fireplace, TV, or artwork).
Step 5: Add Accent Pieces
- Introduce a statement rug (4‑6 ft²) to define the seating area.
- Use a mix of textures—metal side tables, wooden shelves, and woven baskets—to create depth.
- Incorporate a few houseplants; studies show indoor greenery can boost mood by 15%.
Kitchen Revival
Step 1: Plan the Layout
- Apply the classic “work triangle” principle: keep the sink, stove, and refrigerator within 15‑20 ft of each other for efficiency.
- Use a simple floor plan app to visualize changes before purchasing materials.
Step 2: Paint Cabinets
- Tools needed: Screwdriver, sandpaper (120‑grit), primer, paint sprayer or brush, and a tack cloth.
- Remove cabinet doors, label each for easy reassembly.
- Sand lightly, clean with a tack cloth, apply a high‑quality primer, then two coats of semi‑gloss paint.
- Data insight: Refacing cabinets can increase kitchen resale value by up to 5% at a fraction of the cost of full replacement.
Step 3: Upgrade Hardware
- Swap out old handles for brushed nickel or matte black pulls; a small change that modernizes the look instantly.
- Use a drill with a torque setting to avoid stripping screws.
Step 4: Install New Backsplash
- Choose peel‑and‑stick tiles for a DIY‑friendly option; they have grown 22% in popularity due to ease of installation.
- Measure the wall area, cut tiles with a utility knife, and apply with a high‑adhesion mastic.
- Seal grout lines with a clear silicone sealant to prevent moisture damage.
Step 5: Light It Up
- Replace outdated fluorescent fixtures with LED under‑cabinet lights; LEDs use 75% less energy and last 25× longer.
- Install a dimmable pendant over the island for both function and ambiance.
Bedroom Revival
Step 1: Choose a Calming Color Scheme
- Data from the Sleep Foundation shows that cool blues and soft grays improve sleep quality by 12%.
- Apply a single coat of primer, then two coats of low‑VOC paint for a healthier environment.
Step 2: Upgrade the Bed Base
- Replace a sagging box spring with a platform frame; a sturdy base can extend mattress life by 30%.
- Use a rubber mallet to level the frame and ensure even support.
Step 3: Refresh Bedding
- Invest in 300‑thread‑count cotton sheets; they balance softness and durability.
- Layer with a weighted blanket (10‑15 lb) for added comfort—research links weighted blankets to reduced anxiety.
Step 4: Add Functional Storage
- Install floating nightstands using a stud finder and level to keep surfaces clean and modern.
- Use under‑bed storage bins for seasonal clothing; label each bin for quick access.
Step 5: Enhance Lighting
- Swap harsh ceiling lights for a pair of bedside sconces with a warm 2700 K color temperature.
- Incorporate a smart plug for a programmable wake‑up routine.
Bathroom Revival
Step 1: Seal and Waterproof
- Apply a silicone caulk around the tub, sink, and shower base; a properly sealed bathroom reduces mold risk by 40%.
- Use a caulk gun for a smooth, even bead.
Step 2: Refresh Fixtures
- Replace outdated faucets with water‑saving models (max 1.5 gpm); they can cut water usage by up to 30%.
- Install a new showerhead with a rain‑type spray for a spa‑like feel.
Step 3: Re‑tile the Floor
- Choose slip‑resistant porcelain tiles (coefficient of friction ≥ 0.5).
- Use a notched trowel to spread thin‑set mortar, lay tiles with spacers, and finish with grout and a penetrating sealer.
Step 4: Add Storage Solutions
- Mount a recessed medicine cabinet to keep toiletries out of sight.
- Use stackable, clear containers for cotton balls and Q‑tips; label each for quick identification.
Step 5: Upgrade the Mirror
- Install a LED‑backlit vanity mirror; it provides even lighting and reduces the need for additional fixtures.
- Secure with wall anchors rated for the mirror’s weight.
Entryway Revival
Step 1: Create a Welcoming First Impression
- Data from Zillow shows that a well‑styled entryway can increase buyer interest by 8%.
- Paint the front door a bold color (e.g., deep navy) to boost curb appeal.
Step 2: Install Functional Flooring
- Use interlocking rubber tiles for durability and easy cleaning.
- Cut tiles with a utility knife, snap them together, and press firmly to lock.
Step 3: Add a Coat and Shoe Station
- Mount a wall‑mounted coat rack with sturdy hooks; use a stud finder to locate studs for secure anchoring.
- Place a shallow bench with a built‑in shoe rack underneath for organized storage.
Step 4: Light the Space
- Install a motion‑sensor ceiling light to conserve energy and provide illumination when needed.
- Consider a decorative pendant for a touch of personality.
Step 5: Add Personal Touches
- Display a small tray with keys, mail, and a decorative bowl for loose change.
- Hang a seasonal wreath or artwork to keep the entryway feeling fresh throughout the year.
By following these room‑by‑room steps, you’ll achieve a cohesive, refreshed home that feels both modern and personalized. Remember to document each phase with photos and notes; this data not only helps you track progress but also provides valuable reference points for future projects or resale negotiations. Happy reviving!