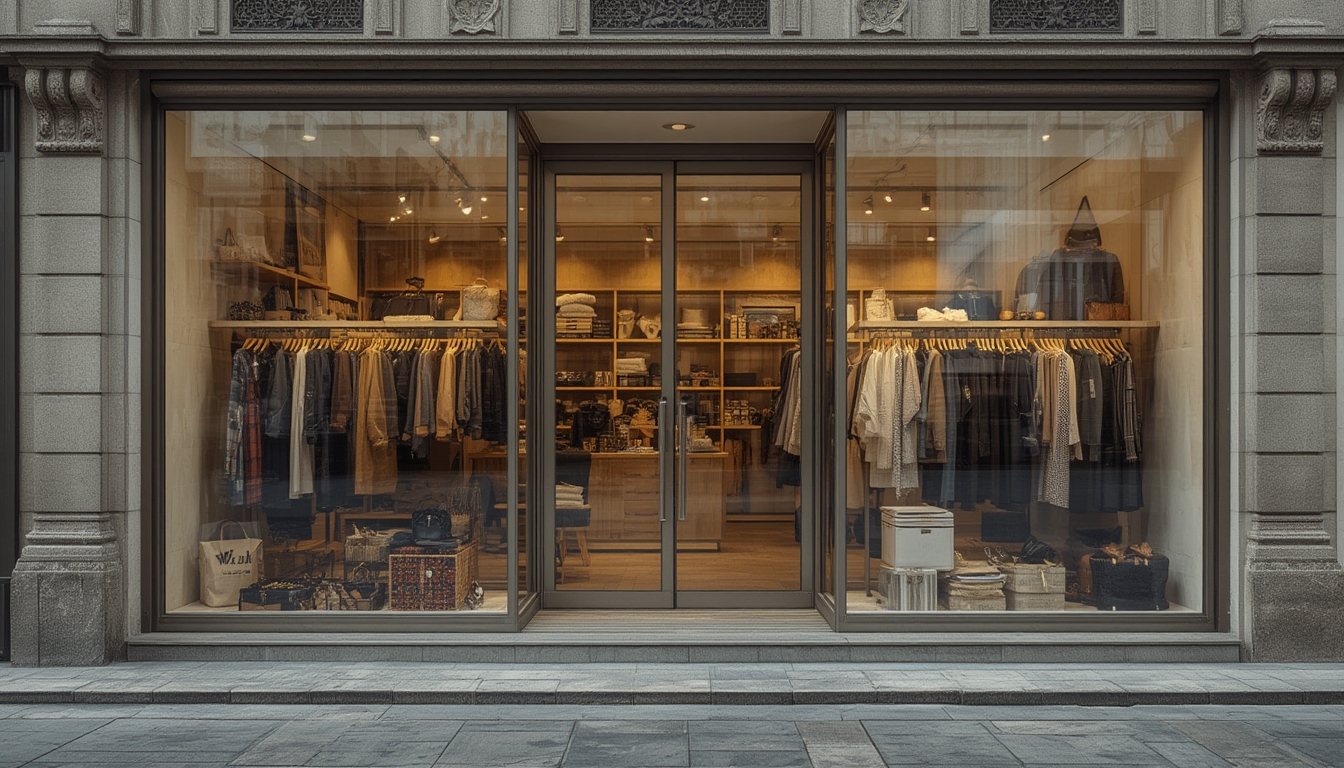
“Shop the Look” has become a powerful shortcut for shoppers who want a polished outfit without spending hours mixing and matching pieces. By selecting a curated ensemble—often displayed on a model or flat‑lay—and purchasing every item with a single click, consumers can instantly replicate runway trends, influencer styles, or classic wardrobes. This post breaks down the process into clear, data‑driven steps you can follow to assemble, restore, or style a “Shop the Look” outfit for any occasion. Each step includes the tools you’ll need, practical tips, and actionable advice to ensure a seamless experience.
Understanding the “Shop the Look” Concept
According to a 2023 retail survey, 68% of online shoppers say they are more likely to purchase a full outfit when it’s presented as a cohesive look rather than individual items. The key advantage is visual certainty: you see exactly how pieces work together, reducing the risk of mismatched colors or styles. To leverage this, you need a systematic approach that blends personal taste with the curated look.
Step 1: Identify Your Style Baseline
1.1 Assess Your Wardrobe Inventory
Tools needed: Smartphone camera, spreadsheet or wardrobe app (e.g., Stylebook or Cladwell).
Action: Photograph each clothing item and upload the images to your chosen app. Tag each piece with category (top, bottom, outerwear), color, and seasonality. This creates a searchable database you can reference when matching new “Shop the Look” items.
Tip: Use a consistent lighting setup (natural light near a window) to ensure colors are accurately represented.
1.2 Define Your Style Goals
Write down three specific objectives for the upcoming look—e.g., “professional office attire,” “casual weekend vibe,” or “festival‑ready glam.” Align these goals with the occasion’s dress code and your personal comfort level.
Step 2: Curate Core Pieces
2.1 Select the Anchor Item
The anchor item is the piece that dictates the overall aesthetic (a statement blazer, a patterned dress, or a bold pair of shoes). Choose an anchor that resonates with your style goal and fits well within your existing wardrobe.
Practical tip: If the anchor is a new purchase, ensure it matches at least two items you already own to maximize versatility.
2.2 Build Around the Anchor
Use the “Shop the Look” interface to locate complementary items—typically a top, bottom, and accessories. Compare each suggestion against your inventory database:
- Fit check: Verify that the suggested size aligns with your measurements (use a measuring tape for bust, waist, hips).
- Color harmony: Apply the 60‑30‑10 rule (60% dominant color, 30% secondary, 10% accent) to maintain visual balance.
- Fabric compatibility: Pair similar weight fabrics (e.g., cotton with denim) to avoid clashing textures.
Step 3: Assemble the Complete Look
3.1 Create a Virtual Outfit Board
Use a free design tool like Canva or Pinterest to drag and drop images of each selected piece onto a single canvas. This visual mock‑up helps you spot any gaps before purchasing.
Actionable advice: Add a “confidence rating” (1‑5) next to each item based on how well it fits your style goal. Aim for an average rating of 4 or higher before proceeding.
3.2 Verify Sizing Consistency
Cross‑reference each item’s size chart with your measurements. If you’re between sizes, prioritize the larger option for comfort, especially for layered looks.
Tool: A printable size conversion chart (available on most retailer sites) can streamline this step.
Step 4: Accessorize with Intent
4.1 Choose Functional Accessories
Accessories should serve both aesthetic and practical purposes. For a work‑day look, opt for a structured tote and low‑heeled shoes; for a night out, consider a statement clutch and bold jewelry.
Tip: Limit accessories to three key pieces to avoid visual overload. Use the “rule of odds” (odd numbers create visual interest) when selecting jewelry.
4.2 Test Color Accents
Use a color wheel app (e.g., Adobe Color) to confirm that accent colors (scarves, belts) are complementary or analogous to the primary palette.
Action: Snap a photo of the assembled outfit on a plain background and run it through the app’s color extraction tool. Adjust accessories if any color clashes appear.
Step 5: Test and Refine
5.1 Conduct a Fit Trial
When your items arrive, try the full outfit in front of a full‑length mirror. Check for:
- Proportion balance (e.g., high‑waisted pants with a cropped top).
- Movement comfort (ensure you can sit, walk, and reach without restriction).
- Overall silhouette (aim for a streamlined shape unless the style calls for volume).
5.2 Capture and Review
Take a photo of the completed look and compare it to your virtual board. Note any discrepancies in fit, color, or style. If needed, make minor adjustments—swap a belt, replace a shoe, or layer a different jacket.
Data‑driven tip: Keep a log of each “Shop the Look” experiment, rating the final outfit on comfort (1‑5), style match (1‑5), and purchase satisfaction (1‑5). Over time, you’ll identify patterns that guide future selections.
Tools and Resources for a Seamless Experience
- Wardrobe Apps: Stylebook, Cladwell, Pureple – for inventory tracking.
- Measurement Tools: Flexible measuring tape, printable size chart.
- Design Platforms: Canva, Pinterest – for visual outfit boards.
- Color Tools: Adobe Color, Coolors – for palette verification.
- Shopping Platforms: ASOS Marketplace, Zara’s “Shop the Look,” Nordstrom’s “Complete the Look” – for curated selections.
Final Checklist Before Checkout
- Confirm anchor piece aligns with style goal.
- Validate each complementary item’s fit and color harmony.
- Ensure accessories follow the 60‑30‑10 rule and functional needs.
- Run a virtual board comparison and achieve a confidence rating of 4+.
- Log measurements and size selections to avoid returns.
- Review the final outfit photo against the board and make any needed tweaks.
By following these data‑driven steps, you can transform the “Shop the Look” feature from a simple click‑and‑buy shortcut into a strategic styling process. The result is a cohesive, confidence‑boosting outfit that reflects your personal aesthetic while minimizing the guesswork of online shopping.