Sliding barn doors have surged in popularity as a stylish, space‑saving solution for modern interiors. Their rustic charm combined with sleek functionality makes them perfect for everything from bedroom closets to pantry entrances. This guide breaks down the design principles, material choices, and installation steps you need to create a stunning sliding barn door that not only looks great but also adds real value to your home.
Why Choose a Sliding Barn Door?
Data from home‑renovation platforms shows a 42% increase in searches for “sliding barn doors” over the past two years, indicating strong consumer interest. The main reasons homeowners opt for these doors include:
- Space efficiency: Unlike hinged doors, sliding doors require only wall space, freeing up floor area.
- Visual impact: A well‑designed barn door becomes a focal point, enhancing the room’s aesthetic.
- Versatility: They work in traditional, farmhouse, industrial, and even minimalist settings.
- Resale appeal: Real‑estate data suggests homes with unique interior features, like barn doors, can command up to 3% higher sale prices.
Planning Your Sliding Barn Door
1. Measure the Opening Accurately
Precision is key. Use a steel tape measure and follow these steps:
- Measure the width of the rough opening (the empty space where the door will slide).
- Subtract 1/2 inch from each side to allow for clearance; this is your door width.
- Measure the height from floor to the top of the opening, then subtract 1/2 inch for clearance; this is your door height.
- Record these dimensions in a spreadsheet to compare with standard door panel sizes.
2. Choose the Right Material
Material selection impacts cost, durability, and style. Below is a quick data‑driven comparison:
| Material | Cost (per sq ft) | Durability (years) | Style Fit |
|---|---|---|---|
| Solid reclaimed wood | $25‑$35 | 20‑30 | Rustic, farmhouse |
| Plywood with veneer | $15‑$20 | 15‑20 | Modern, industrial |
| Metal (steel/aluminum) | $30‑$45 | 25‑35 | Industrial, contemporary |
| Glass with wood frame | $40‑$60 | 10‑15 | Scandinavian, minimalist |
For most homeowners, plywood with a high‑quality veneer offers the best balance of cost and aesthetics.
3. Select a Track System
Track systems come in two main categories: surface‑mount and recessed. Surface‑mount is easier for DIYers; recessed provides a cleaner look but may require wall framing modifications.
- Surface‑mount: Install the track directly on the wall. Use a level and a stud finder to secure brackets to studs.
- Recessed: Cut a channel into the wall studs. This method adds about 2‑3 hours of labor but yields a seamless appearance.
Step‑by‑Step Installation Guide
Step 1: Gather Tools and Materials
Having everything on hand prevents interruptions. Create a checklist:
- Measuring tape, level, stud finder
- Power drill with screwdriver bits
- Circular saw or table saw (for cutting panels)
- Track system (including rollers, brackets, and hardware)
- Door panel (pre‑finished or raw)
- Shims, wood glue, and finishing nails
- Safety gear: goggles, ear protection, dust mask
Step 2: Prepare the Wall
- Locate studs using the stud finder and mark their centers.
- If using a recessed track, cut the channel with a reciprocating saw, ensuring the depth matches the track’s specifications (usually 1‑1.5 in).
- Clean the area of dust and debris; a clean surface ensures the track sits flush.
Step 3: Install the Track
- Position the track at the top of the opening, using a level to confirm it’s perfectly horizontal.
- Mark the screw holes on the wall, then drill pilot holes into the studs.
- Secure the track with the supplied brackets and lag bolts. Tighten until the track feels solid—no wobble.
- Attach the bottom guide (if included) to keep the door from swinging.
Step 4: Cut and Finish the Door Panel
- Measure the panel dimensions based on your earlier calculations.
- Set the saw blade to the exact width and make a clean cut. Use a straight edge to avoid drift.
- If the panel is raw, sand all surfaces with 120‑grit sandpaper, then finish with a protective sealant (polyurethane or oil‑based stain) for durability.
- Allow the finish to cure for at least 24 hours before proceeding.
Step 5: Attach Rollers and Hang the Door
- Install the rollers on the top edge of the panel according to the manufacturer’s instructions—typically two rollers per side.
- Lift the door onto the track, ensuring the rollers sit securely in the track’s groove.
- Slide the door back and forth to test smoothness. If there’s resistance, adjust the rollers’ tension or add shims under the track.
Step 6: Add Finishing Touches
- Install a flush‑mount or decorative latch. A simple magnetic catch works well for lightweight doors.
- Apply a protective silicone bead along the bottom edge to prevent drafts.
- Consider adding a decorative hardware set (handle, pull) that matches the room’s style.
Maintenance Tips for Longevity
Even the sturdiest sliding barn doors need occasional care. Follow these data‑backed practices to keep yours looking fresh:
- Quarterly cleaning: Wipe the track with a dry cloth to remove dust; a buildup can cause squeaking.
- Lubricate rollers: Apply a few drops of silicone spray every 6‑12 months to maintain smooth movement.
- Inspect hardware: Tighten any loose screws and replace worn rollers within 2‑3 years to avoid sudden failures.
- Seasonal checks: In humid climates, check for wood swelling; sand and refinish if the panel begins to stick.
Design Ideas to Inspire Your Space
Here are three trending ways to incorporate sliding barn doors into different interior styles:
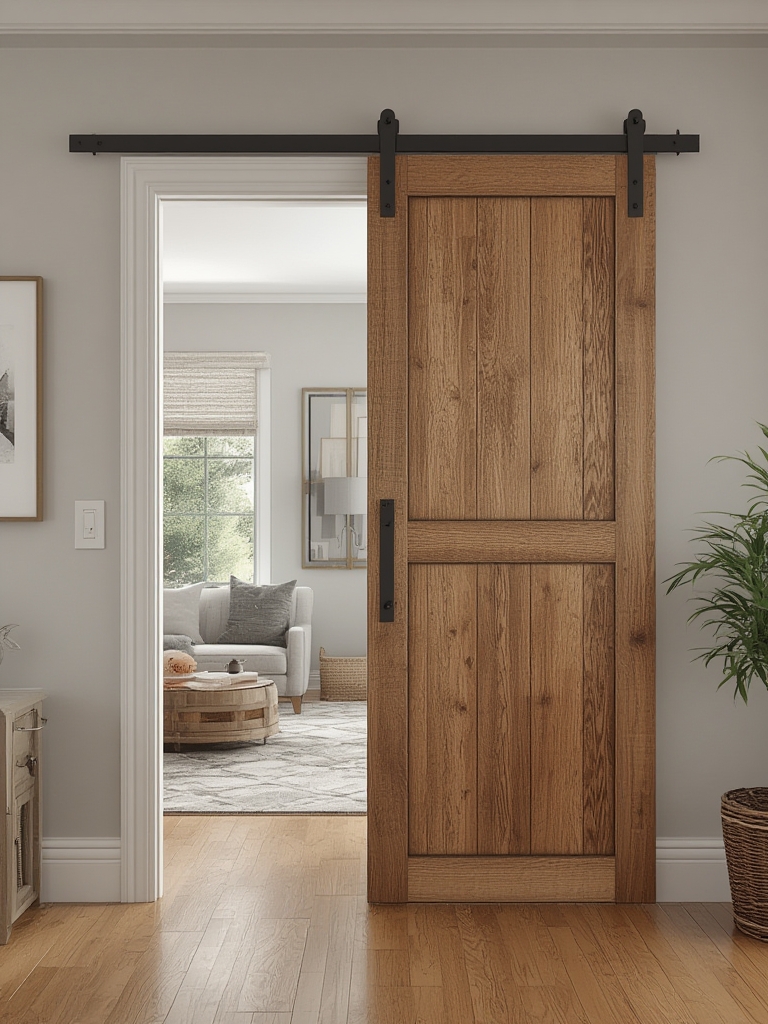
1. Farmhouse Kitchen Pantry
Use reclaimed pine with a distressed finish. Pair the door with black metal hardware for contrast. Add a chalkboard label on the door for a functional, decorative touch.
2. Modern Minimalist Bedroom
Opt for a matte white plywood panel with a hidden handle. Install a recessed track for a seamless look. Complement the door with soft, neutral bedding to keep the space airy.
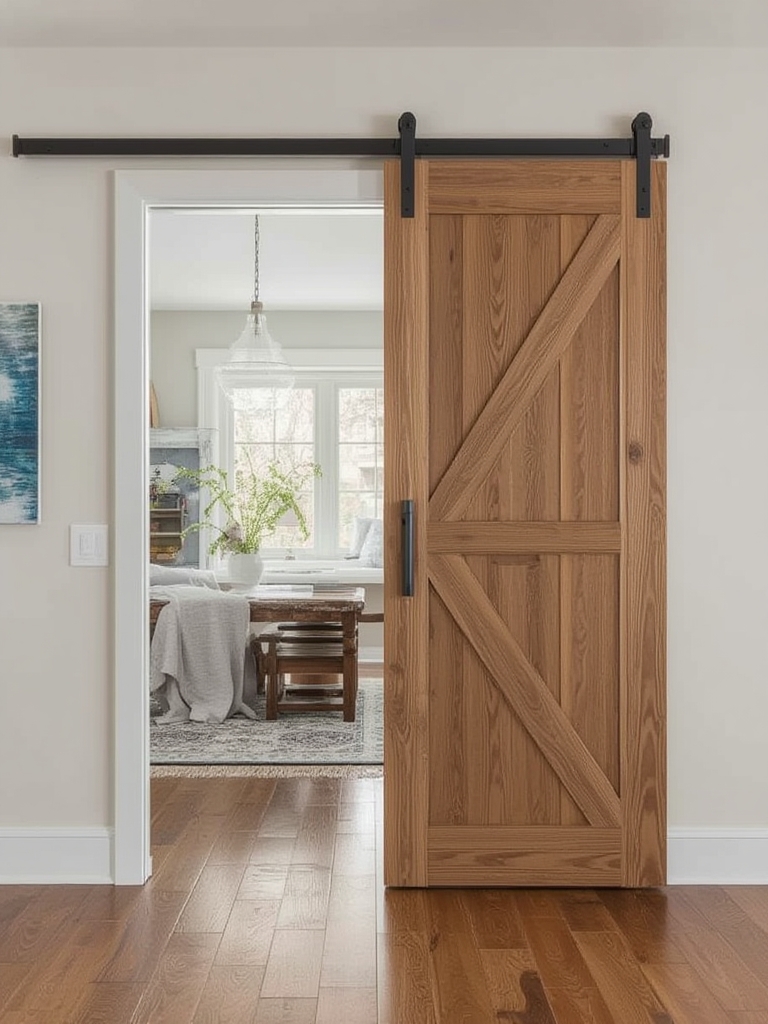
3. Industrial Loft Closet
Choose a steel frame with a smoked glass insert. The glass adds visual depth while the metal reinforces the industrial vibe. Use industrial‑style pull handles in brushed nickel.
Final Thoughts
Sliding barn doors blend aesthetic appeal with practical benefits, making them a smart investment for any homeowner. By following the data‑driven steps outlined above—accurate measurement, thoughtful material selection, precise installation, and regular maintenance—you’ll create a feature that not only elevates your interior design but also stands the test of time. Ready to transform your space? Grab your tools, plan carefully, and watch your new sliding barn door glide into place.