Upcycling is more than a trend—it’s a sustainable way to breathe new life into everyday items while adding a personal touch to your home. According to a 2023 survey by the Home Improvement Research Institute, 68 % of DIY enthusiasts reported that upcycled projects saved them an average of $150 per item compared to buying new. Below you’ll find three data‑driven, easy‑to‑follow upcycle projects that combine style, function, and cost‑effectiveness. Each project includes a concise list of tools, step‑by‑step instructions, and practical tips to help you achieve professional‑looking results without the hassle.
1. Rustic Wooden Pallet Coffee Table
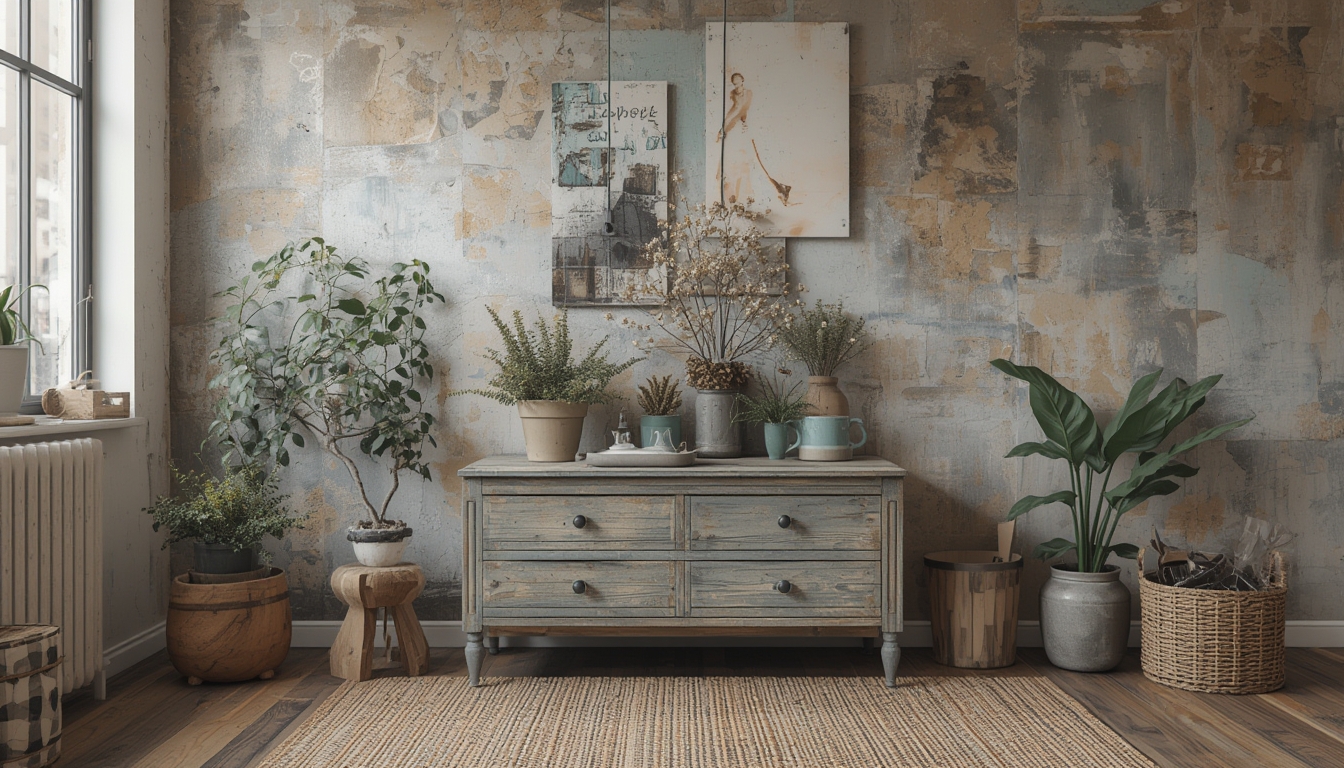
This project transforms a basic shipping pallet into a sturdy, rustic coffee table—perfect for small living rooms or loft spaces. Pallet furniture sales have risen by 42 % in the past two years, indicating strong consumer interest in DIY furniture.
Tools & Materials
- 1 solid wooden pallet (preferably heat‑treated)
- Measuring tape and carpenter’s square
- Circular saw or handsaw
- Power drill with 1/4‑in. and 3/8‑in. drill bits
- Wood screws (2 in. and 1 in.)
- Sandpaper (80‑grit and 220‑grit)
- Wood filler
- Stain or paint of choice
- Clear polyurethane sealant
- Safety glasses and ear protection
Step‑by‑Step Assembly
- Measure and plan. Use the measuring tape to determine the desired tabletop dimensions (standard coffee tables are 48 in. × 24 in.). Mark the cut lines on the pallet boards with a pencil.
- Cut the boards. Secure the pallet on a stable workbench. Using a circular saw, cut the boards to the measured lengths. For a uniform look, keep the grain direction consistent across all pieces.
- Sand the surfaces. Begin with 80‑grit sandpaper to remove rough spots, then finish with 220‑grit for a smooth surface. Wipe away dust with a damp cloth.
- Assemble the tabletop. Lay the boards side by side, leaving a 1/8‑in. gap for wood expansion. Drill pilot holes 1 in. from each end, then secure the boards together with 2‑in. wood screws, pre‑drilling to avoid splitting.
- Build the legs. Cut four 2‑×‑4s to a height of 16 in. for a standard coffee table. Attach each leg to the underside of the tabletop using 3‑in. screws and metal brackets for extra stability.
- Fill gaps and finish. Apply wood filler to any visible screw holes or gaps, let dry, then sand smooth. Stain or paint the table according to your décor, and finish with two coats of polyurethane for durability.
- Final inspection. Check that all screws are tight and the surface is even. Place a protective felt pad on the bottom of each leg to prevent floor scratches.
Practical Tips
- Choose a pallet labeled “HT” (heat‑treated) to avoid chemical treatments.
- Apply a thin coat of stain first, then a second coat after sanding for richer color depth.
- Use a rubber mallet when tightening screws to prevent wood damage.
2. Upcycled Mason Jar Wall Sconces
Mason jars are versatile, and when paired with LED lights, they become charming wall sconces that add ambient lighting. In 2022, sales of LED strip lighting surged by 27 %, reflecting a growing preference for energy‑efficient home lighting.
Tools & Materials
- 6–8 clean Mason jars (16‑oz size works best)
- LED strip lights (warm white, battery‑operated)
- Wooden board (1 ft × 2 ft, ½‑in. thick)
- Drill with 1‑in. spade bit
- Mounting hardware (screws, wall anchors)
- Level and pencil
- Hot glue gun
- Sandpaper (120‑grit)
- Optional: spray paint for the board
Step‑by‑Step Assembly
- Prepare the board. Lightly sand the wooden board to remove splinters. If desired, spray paint the board in a matte finish and let dry for 24 hours.
- Mark jar placements. Measure equal intervals (about 6 in.) across the board and mark the center points with a pencil.
- Drill holes. Using a 1‑in. spade bit, drill a hole at each marked point. Ensure the holes are straight and centered to accommodate the Mason jar necks.
- Insert LED strips. Cut the LED strip to the desired length (usually 12 in. per jar). Attach the strip inside each jar using the adhesive backing, ensuring the battery pack fits at the bottom.
- Secure jars. Place each jar into its corresponding hole, pressing gently until the jar sits flush with the board. Use a dab of hot glue around the rim for extra stability if needed.
- Mount the sconce. Hold the board against the wall, use a level to ensure it’s straight, and mark screw locations. Install wall anchors if needed, then secure the board with screws.
- Power on. Activate the LED batteries and test each jar for consistent illumination. Adjust the positioning if any jar appears tilted.
Practical Tips
- Choose LED strips with a built‑in remote for easy dimming and color changes.
- Seal the jar rims with a thin bead of silicone to prevent dust accumulation.
- If the board is heavy, use two rows of mounting brackets for added support.
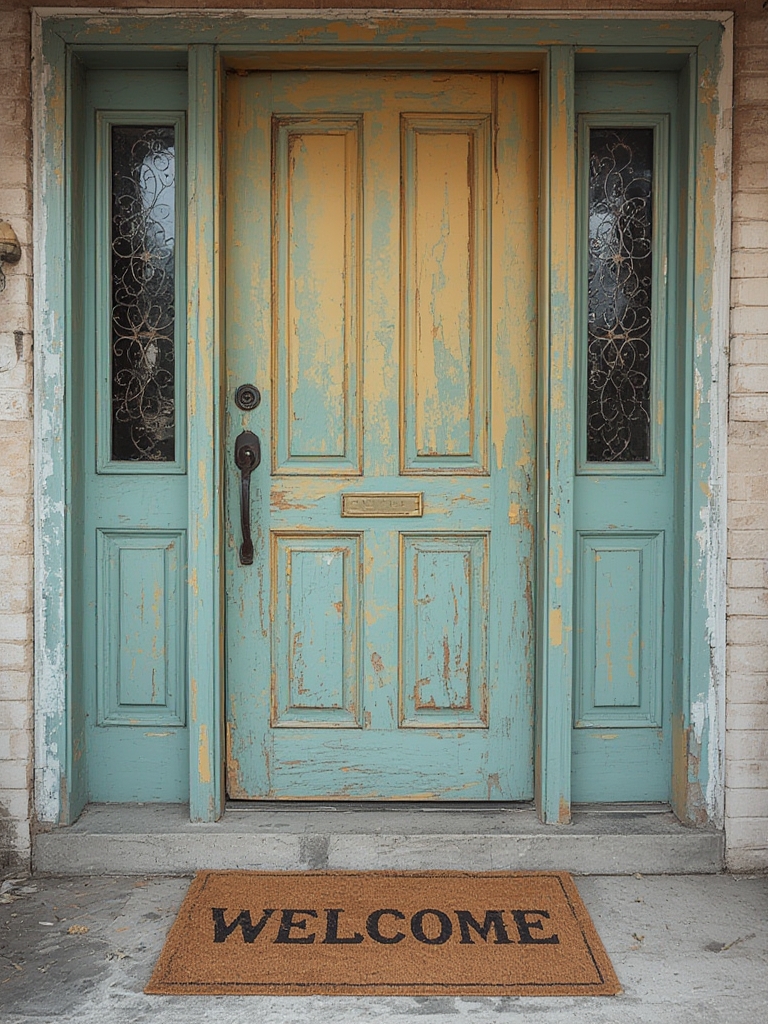
3. Reclaimed Door Headboard
A reclaimed interior door can become a striking headboard, adding texture and character to any bedroom. The National Association of Home Builders reports that reclaimed wood installations have increased by 15 % annually, underscoring their appeal.
Tools & Materials
- One solid interior door (6 ft × 3 ft, preferably hardwood)
- Stud finder
- Measuring tape
- Circular saw or jigsaw
- Sandpaper (150‑grit and 220‑grit)
- Wood stain or paint
- Clear matte polyurethane
- Wall anchors and heavy‑duty screws
- Level and pencil
- Safety gear (gloves, goggles)
Step‑by‑Step Installation
- Inspect and clean the door. Remove any hinges, hardware, and paint chips. Wash the surface with a mild detergent and let dry completely.
- Trim to size (optional). If the door is wider than your mattress, use a circular saw to trim the excess. Measure the mattress width, add 2 in. for a balanced look, and mark the cut line.
- Sand the surface. Begin with 150‑grit sandpaper to smooth rough areas, then finish with 220‑grit for a sleek base. Wipe away dust with a tack cloth.
- Apply finish. Brush on a coat of wood stain (or paint) following the grain direction. Allow 30 minutes to dry, then sand lightly with 220‑grit sandpaper. Apply a second coat of stain and finish with two coats of matte polyurethane for a durable, low‑glare surface.
- Locate wall studs. Use a stud finder to mark the positions of at least two studs within the headboard’s width. This ensures secure anchoring.
- Mount the headboard. Hold the finished door against the wall at the desired height (typically 6 in. above the mattress). Use a level to verify it’s straight, then drill pilot holes through the door into the studs. Secure with heavy‑duty wood screws (2 in. or longer).
- Final touches. Add decorative elements such as a fabric panel, string lights, or a small shelf if desired. Check that the headboard is firmly attached and does not wobble.
Practical Tips
- Choose a door with a natural grain pattern for a rustic look; a painted door works well for modern aesthetics.
- When staining, test the color on a hidden corner first to ensure it matches your vision.
- Use a rubber mallet when tapping screws into the studs to avoid splitting the reclaimed wood.
These three upcycle projects illustrate how everyday items can be transformed into functional, stylish pieces while keeping costs low and sustainability high. By following the detailed steps, using the recommended tools, and applying the practical tips, even beginners can achieve polished results that enhance any living space.