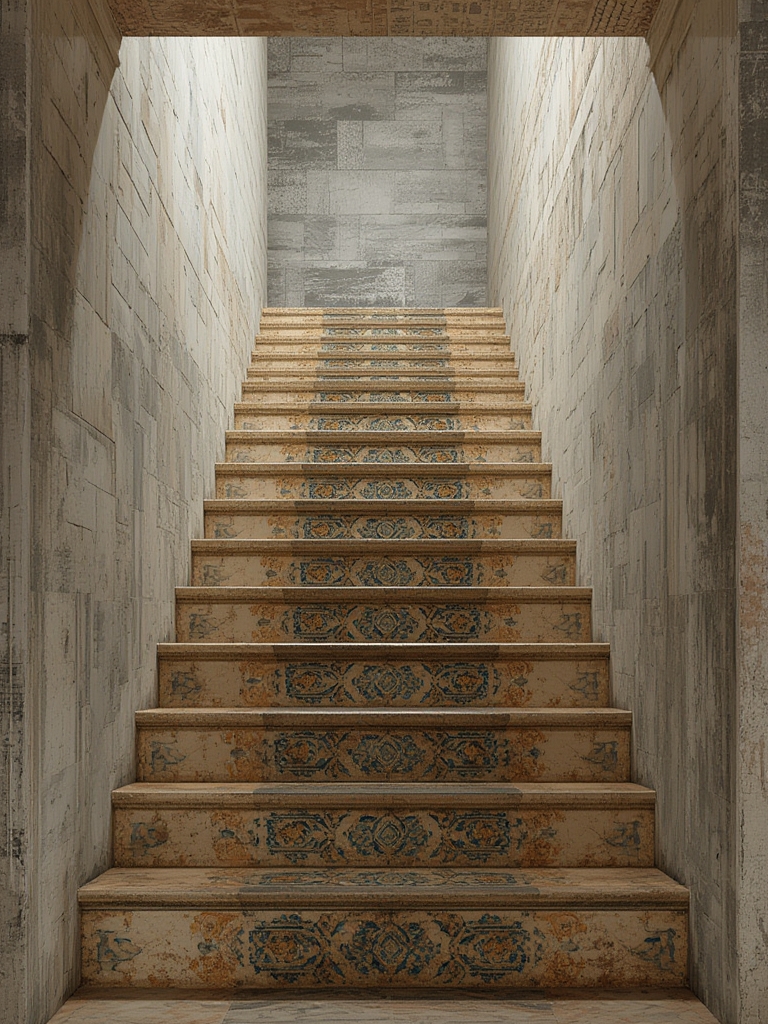
Staircases are more than just a means of moving between levels; they are a focal point of interior design and a critical safety element in any building. Recent studies reveal that falls on stairs account for nearly 30% of all residential injuries and up to 45% of workplace accidents. By combining thoughtful design with proven safety measures, you can revitalize your staircase to be both stylish and secure. Below is a data‑driven, step‑by‑step guide that walks you through the entire process—from initial assessment to ongoing maintenance—so you can create a staircase that meets modern aesthetic standards while dramatically reducing the risk of falls.
Step 1: Conduct a Thorough Site Assessment
1.1 Measure Key Dimensions
- Rise and run: Use a tape measure to record the vertical rise (usually 7–7.75 in) and horizontal tread depth (10–11 in). These numbers determine compliance with local building codes.
- Width: Minimum clear width for residential stairs is 36 in; commercial spaces often require 44 in.
- Headroom: Ensure at least 80 in of vertical clearance to prevent head injuries.
1.2 Identify Traffic Patterns
- Track peak usage times (e.g., morning rush in an office). High‑traffic areas benefit from durable, low‑maintenance materials.
- Note any bottlenecks where people tend to pause; these spots are prime candidates for additional lighting or handrail extensions.
1.3 Gather Safety Data
- Review past incident reports or maintenance logs for slips, trips, or handrail failures.
- Consult local accident statistics: in the U.S., the National Safety Council reports an average of 1.2 stair‑related injuries per 1,000 occupants annually.
Step 2: Define Design Goals Aligned with Safety Standards
2.1 Choose a Design Style
Whether you prefer a sleek modern look, classic Victorian, or rustic industrial vibe, select a style that accommodates safety features without compromising aesthetics. For example, a floating stair design can look light and airy, but it must incorporate sturdy, concealed supports to meet load requirements.
2.2 Align with Building Codes
- Reference the International Building Code (IBC) or local equivalents for minimum requirements on tread depth, riser height, handrail diameter (1.25–2 in), and baluster spacing (max 4 in).
- Document any variances you plan to request (e.g., custom tread shapes) and prepare supporting calculations.
2.3 Set Performance Metrics
- Slip resistance rating: Aim for a COF (Coefficient of Friction) of ≥0.5 for wet conditions.
- Load capacity: Design for at least 150 lb/ft² for residential, 300 lb/ft² for commercial use.
- Illuminance: Target 100–150 lux on each step, per the Illuminating Engineering Society (IES) guidelines.
Step 3: Select Materials That Blend Form and Function
3.1 Tread Surfaces
- Hardwood with anti‑slip finish: Offers warmth and can be treated with a polyurethane coating that achieves a COF of 0.55.
- Engineered stone or porcelain tiles: Provide excellent durability and naturally high slip resistance (COF 0.6+).
- Rubberized composites: Ideal for high‑traffic commercial stairs; they absorb impact and reduce noise.
3.2 Handrails and Balusters
- Choose solid wood, metal, or glass with a smooth, ergonomic grip. Round handrails reduce pressure points compared to square profiles.
- For glass balusters, use laminated safety glass (≥10 mm thick) to meet impact standards while maintaining visual openness.
3.3 Lighting Fixtures
- Install LED step lights recessed into the tread or riser; they consume <0.5 W per fixture and have a lifespan of 50,000 hours.
- Consider motion‑sensor wall sconces for energy efficiency and added safety during night‑time use.
Step 4: Draft Detailed Construction Plans
4.1 Create Scaled Drawings
Use CAD software (e.g., SketchUp, Revit) to produce 1:20 scale plans that show each tread, riser, handrail, and lighting element. Include a “safety overlay” that highlights compliance checkpoints.
4.2 Perform Structural Calculations
- Calculate load distribution using the formula F = w × A (force = weight × area). Verify that joists and supports exceed the required load capacity by at least 25% for a safety margin.
- Run a finite‑element analysis (FEA) if you’re using unconventional materials like cantilevered glass.
4.3 Obtain Permits
Submit your plans to the local building department with a checklist that includes:
- Riser and tread dimensions
- Handrail height and grip diameter
- Baluster spacing
- Lighting specifications
Step 5: Execute Construction with Safety‑First Practices
5.1 Prepare the Site
- Clear the area of debris and set up temporary guardrails to protect workers.
- Use laser levels to ensure each tread is perfectly horizontal; a deviation of >2 mm can cause tripping hazards.
5.2 Install Treads and Risers
- Apply a high‑adhesion construction adhesive before screwing down each tread to minimize movement.
- Check each installed step with a digital inclinometer to confirm the rise/run ratio stays within 7–7.75 in rise and 10–11 in run.
5.3 Fit Handrails and Balusters
- Secure handrails with at least three anchor points per 4 ft segment.
- Test handrail strength by applying a 200 lb pull force; it should not deflect more than 0.25 in.
5.4 Add Lighting and Finish
- Wire LED step lights to a dimmable circuit with a minimum of 2 A capacity.
- Seal all seams with a silicone caulk rated for the chosen material to prevent water infiltration.
Step 6: Conduct Post‑Installation Safety Audits
6.1 Walk‑Through Inspection
Use a checklist to verify:
- Uniform tread height (±0.125 in)
- Secure handrail grip and no wobble
- Even illumination across all steps
- Non‑slip surface integrity (COF test with a slip meter)
6.2 User Testing
Invite a small group of occupants to use the stairs during peak hours. Collect feedback on comfort, visibility, and perceived safety. Adjust lighting angles or add tactile markers if any concerns arise.
Step 7: Implement Ongoing Maintenance for Long‑Term Safety
7.1 Routine Cleaning
- Sweep daily to remove dust and grit that can reduce slip resistance.
- Use a pH‑neutral cleaner weekly; avoid abrasive pads that can wear down anti‑slip coatings.
7.2 Periodic Inspections
- Quarterly: Check handrail tightness, test lighting functionality, and measure tread wear (replace if depth loss exceeds 1 mm).
- Annually: Conduct a full compliance audit with a certified building inspector to ensure continued code adherence.
7.3 Prompt Repairs
Address any cracks, loose fasteners, or faded lighting within 48 hours. Quick remediation prevents minor issues from becoming major safety hazards.
Conclusion: A Staircase That Marries Aesthetics and Safety
By following this data‑driven roadmap, you’ll transform a simple stairwell into a showcase of design excellence and a benchmark for safety. The key lies in meticulous measurement, strategic material selection, strict adherence to codes, and a disciplined maintenance schedule. Not only will you reduce the likelihood of falls, but you’ll also boost property value and user confidence—making your staircase a true asset rather than a liability.