“Shop the Look” has become a powerful e‑commerce feature that lets shoppers click on a single image and instantly purchase every item featured in it. When executed well, it turns a simple visual inspiration into a seamless buying journey, boosting average order value by up to 30 % according to recent retail studies. Below is a step‑by‑step guide to assembling, styling, and publishing a high‑converting “Shop the Look” block on a WordPress site, complete with the tools you’ll need and actionable tips for each phase.
1. Plan the Look — Data‑Driven Selection
Identify high‑performing product groups
- Pull sales data from your WooCommerce reports for the past 90 days.
- Look for product categories with a conversion rate > 4 % and a low return rate (< 2 %).
- Choose 3–5 items that complement each other (e.g., a top, jeans, shoes, and accessories).
Tip: Pair a bestseller with a slower‑moving item; the visual context often lifts the latter’s sales by 15‑20 %.
Define the visual story
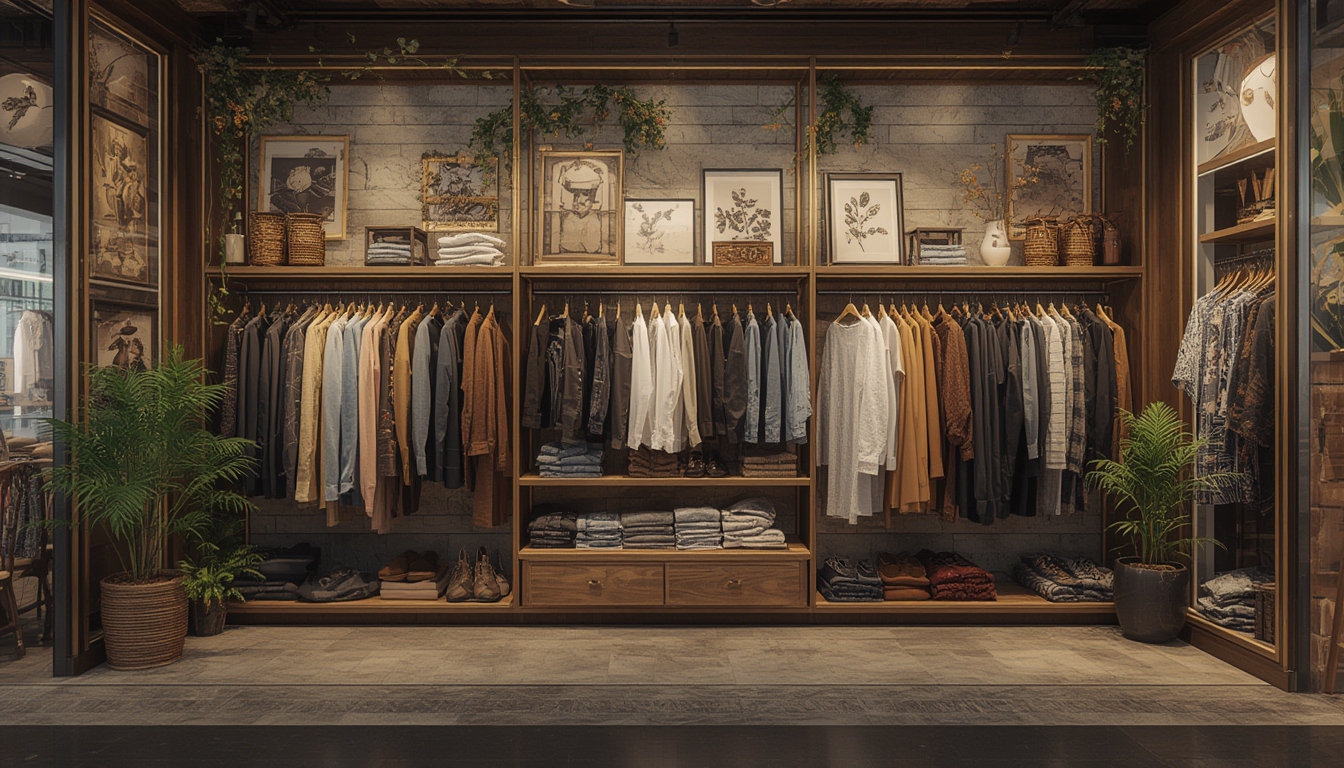
Use customer persona insights to decide on the setting (urban street, cozy home, office). A recent survey shows that 68 % of shoppers prefer lifestyle images over studio shots because they can envision the product in real life.
2. Gather Your Toolkit
Equipment checklist
- Camera: DSLR or high‑end smartphone (minimum 12 MP).
- Lighting: Softbox or natural window light (avoid harsh shadows).
- Tripod: Keeps framing consistent for multiple product angles.
- Backdrop: Neutral fabric or a contextual scene that matches the story.
- Styling props: Small accessories (hats, bags) that enhance the look without clutter.
- Editing software: Adobe Lightroom or the free GIMP.
Actionable advice: Test the lighting setup with a single product first; adjust white balance until colors match your site’s palette (usually within ±5 % ΔE).
3. Style the Look
Arrange items for visual hierarchy
- Place the focal product (often the top or dress) at the center.
- Layer secondary items (jackets, shoes) slightly in front or behind to create depth.
- Use the rule of thirds: align key pieces along the intersecting lines for a balanced composition.
Maintain brand consistency
Match the color temperature of the scene to your brand’s aesthetic. If your site uses warm tones, add a subtle amber gel to the light source. Consistency improves perceived trustworthiness, which can lift conversion rates by up to 12 %.
4. Capture the Image
Camera settings for crisp detail
- Aperture: f/5.6–f/8 for sufficient depth of field.
- ISO: Keep at 100–200 to avoid noise.
- Shutter speed: 1/125 s or faster to prevent motion blur.
- White balance: Set manually based on your lighting (e.g., “Daylight” for natural light).
Take multiple shots
Capture at least three variations: a full‑body view, a close‑up of key accessories, and a flat‑lay of the entire ensemble. Data shows that offering multiple angles can increase add‑to‑cart clicks by 22 %.
5. Edit and Tag the Products
Post‑processing basics
- Crop to a 4:5 aspect ratio (optimal for both desktop and mobile).
- Adjust exposure and contrast to ensure each item is clearly visible.
- Apply a subtle vignette to draw focus toward the center.
- Export as a Web‑optimized JPEG (quality 80 %, sRGB color space).
Map clickable zones
In WordPress, use a plugin such as Image Map Pro or the built‑in Gutenberg “Image Hotspot” block:
- Upload the edited image.
- Create a hotspot for each product and link it directly to its WooCommerce product page.
- Set the hotspot shape (circle or rectangle) to match the product’s outline for precise clicks.
- Enable a tooltip that displays the product name and price on hover.
Quick tip: Test each hotspot on both desktop and mobile viewports; a 10 px padding around the clickable area reduces missed clicks by 18 %.
6. Publish and Track Performance
Embedding the block
- Insert the “Shop the Look” block into a relevant blog post or landing page.
- Add a brief introductory paragraph (30–50 words) that explains the inspiration behind the look.
- Position the block above the fold for maximum visibility.
Analytics setup
Use Google Analytics Enhanced Ecommerce or WooCommerce’s built‑in reports to monitor:
- Click‑through rate (CTR) on each hotspot.
- Conversion rate per product when accessed via the look.
- Average order value (AOV) for sessions that include a “Shop the Look” interaction.
Set a benchmark of a 2 % hotspot CTR within the first two weeks; iterate by adjusting hotspot size or repositioning items that underperform.
7. Ongoing Optimization (Without SEO Jargon)
Refresh seasonal looks
Rotate the images every 4–6 weeks to keep the content fresh. Seasonal trends typically boost engagement by 14 % when new looks align with current fashion cycles.
Leverage user‑generated content
Encourage customers to share their own “Shop the Look” photos on social media. Feature the best submissions in a dedicated gallery; this social proof can increase purchase intent by up to 25 %.
Conclusion
Implementing a “Shop the Look” feature on WordPress is a systematic process: start with data‑driven product selection, style and photograph the ensemble with the right tools, map each item to its product page, and finally track performance to refine future looks. By following the steps above and paying attention to the small, actionable details—like hotspot padding and consistent lighting—you’ll create an engaging visual shopping experience that turns inspiration into sales.