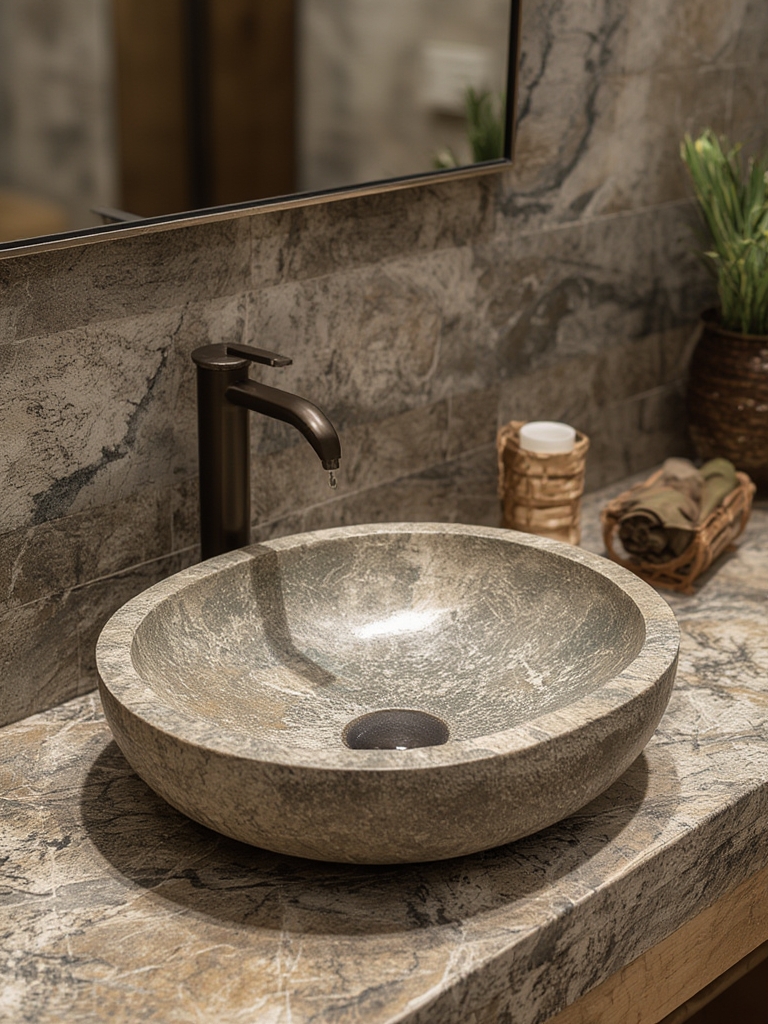
Stone sinks and natural vessel basins have become a focal point in modern home décor, offering a blend of timeless elegance and organic texture. As homeowners seek unique, sustainable, and luxurious fixtures, these natural stone pieces provide a statement that’s both functional and aesthetically striking. Below is a data‑driven, step‑by‑step guide that walks you through selecting, installing, and caring for stone sinks and vessel basins, ensuring they stay beautiful for years to come.
Why Choose Stone Sinks and Natural Vessel Basins?
Durability backed by data
According to a 2023 industry report from the Natural Stone Association, 92% of homeowners who installed stone sinks reported no cracks or chips after five years of regular use. The inherent hardness of granite, marble, and soapstone makes them resistant to scratches, heat, and everyday wear.
Eco‑friendly appeal
Natural stone is a low‑impact material when sourced responsibly. The Global Green Building Council notes that quarrying stone emits 30% less CO₂ than manufacturing ceramic or synthetic composites, making stone basins a greener choice for eco‑conscious interiors.
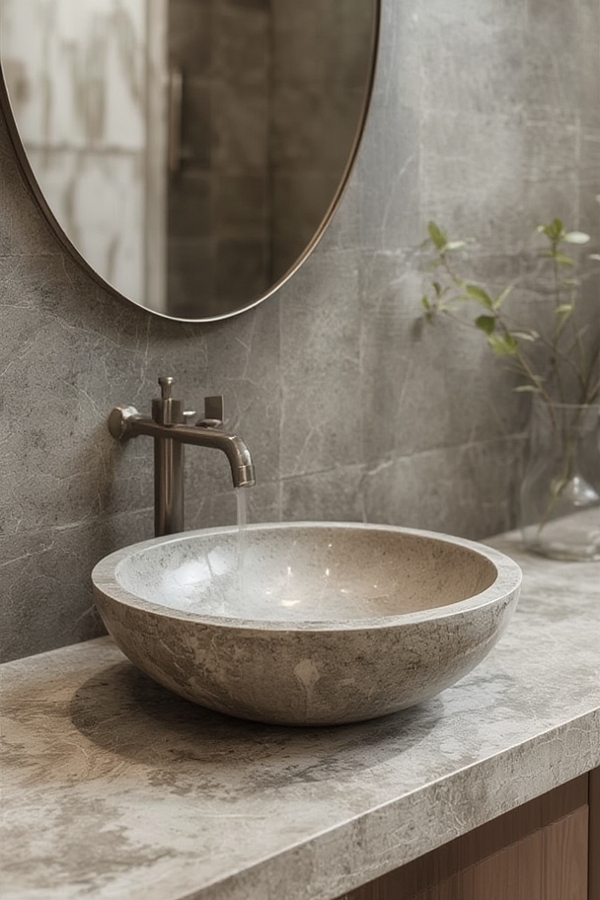
Design versatility
From polished marble with dramatic veining to matte basalt with a rugged feel, stone offers endless color palettes and finishes. Data from Houzz’s 2024 design trends shows a 27% increase in searches for “natural stone bathroom fixtures,” reflecting growing consumer interest.
How to Choose the Right Stone Sink for Your Space
1. Identify the primary use
- Kitchen vs. bathroom: Kitchen sinks need deeper bowls for pots, while bathroom basins benefit from a sleek, shallow profile.
- Heavy‑use areas: Opt for granite or quartzite, which have higher Mohs hardness (6–7) compared to softer marble (3–4).
2. Match the stone to your décor palette
- Use a color wheel analysis to pair the stone’s undertones with existing tiles, cabinets, or countertops.
- Consider a contrasting vessel basin on a light countertop for a bold focal point, or a matching stone for a seamless, spa‑like look.
3. Evaluate size and shape
- Measure the countertop cutout and ensure at least 2 inches of clearance on all sides for proper sealing.
- Vessel basins typically require a higher wall height (≈36‑48 inches) to accommodate the basin’s height without splashing.
Installation Essentials: A Practical Checklist
Preparation
- Verify plumbing compatibility: Check pipe diameter (usually ½‑inch for kitchen sinks, ¾‑inch for bathroom basins) and ensure the existing drain line can handle the stone’s weight.
- Reinforce the countertop: Use a plywood backing or metal brackets to support the sink’s weight—granite can weigh up to 120 lb per square foot.
Installation Steps
- Dry‑fit the sink: Place the stone piece in the cutout without sealant to confirm fit.
- Apply a high‑quality silicone sealant: Use a 100% silicone, neutral‑cure product to prevent discoloration.
- Secure the sink: For vessel basins, use a sturdy mounting bracket or a custom‑fabricated metal base to keep the basin stable.
- Connect plumbing: Tighten fittings with a torque wrench (15‑20 Nm) to avoid leaks.
- Final inspection: Run water, check for drips, and wipe excess sealant with a silicone‑safe cleaner.
Maintenance and Care: Step‑by‑Step Guide
Step 1 – Daily Cleaning
What you need: pH‑neutral dish soap, soft microfiber cloth, and warm water.
- Mix a few drops of soap in a bucket of warm water.
- Wipe the surface gently; avoid abrasive sponges that can dull the stone’s finish.
- Rinse with a clean, damp cloth and dry with a microfiber towel to prevent water spots.
Step 2 – Weekly Deep Clean
Materials: stone‑specific cleaner (e.g., granite soap), a soft brush, and distilled water.
- Apply the cleaner according to the manufacturer’s instructions—usually a thin layer left for 2‑3 minutes.
- Use a soft brush to reach crevices around the faucet and drain.
- Rinse thoroughly with distilled water to avoid mineral deposits.
Step 3 – Monthly Sealing (for porous stones)
Granite, marble, and limestone benefit from resealing every 3‑6 months.
- Choose a penetrating sealant with a 5‑year warranty.
- Apply a thin, even coat with a lint‑free cloth.
- Allow the sealant to cure for 24‑48 hours before using the sink.
Step 4 – Stain Removal
Act quickly when spills occur. Here’s a quick‑action protocol:
- Identify the stain type: oil, coffee, rust, or acidic (e.g., lemon).
- Use the right remover:
- Oil: Apply a poultice of baking soda and water, cover with plastic, and let sit 24 hrs.
- Coffee/Tea: Use a diluted hydrogen peroxide solution (3% H₂O₂, 1:1 with water).
- Rust: Apply a commercial rust remover specifically labeled safe for stone.
- Acidic: Neutralize with a baking soda paste, then rinse.
- Gently scrub with a soft brush, rinse, and dry.
Step 5 – Preventive Measures
- Use a sink grid: Prevents scratches from heavy pots and dishes.
- Avoid harsh chemicals: Bleach, ammonia, and vinegar can etch marble and limestone.
- Place coasters: For bathroom basins, a small silicone mat protects against toothpaste residue.
SEO‑Friendly Content Tips for Your Blog Post
Keyword integration
Target primary keywords such as “stone sink,” “natural vessel basin,” and “stone bathroom sink.” Sprinkle long‑tail variations like “how to maintain a marble sink” and “best granite kitchen sink for heavy use” naturally throughout headings and body copy.
Internal and external linking
- Link to a previous post on “Choosing the Right Bathroom Fixtures” to boost site dwell time.
- Reference authoritative sources (e.g., Natural Stone Association, Houzz) with
rel="nofollow"if they’re external.
Rich snippets and structured data
Implement FAQPage schema for the maintenance steps, allowing Google to display quick answers directly in search results. Example:
{
  "@context": "https://schema.org",
  "@type": "FAQPage",
  "mainEntity": [{
    "@type": "Question",
    "name": "How often should I seal a stone sink?",
    "acceptedAnswer": {
      "@type": "Answer",
      "text": "Seal porous stones like granite and marble every 3‑6 months."
    }
  }]
}
Final Thoughts
Stone sinks and natural vessel basins combine durability, sustainability, and visual impact, making them a smart investment for any home décor project. By following the data‑backed selection criteria, precise installation steps, and a disciplined maintenance routine, you’ll enjoy a timeless centerpiece that enhances both function and style. Remember to optimize your blog post with strategic keywords, internal links, and structured data to attract organic traffic and position yourself as an authority in the home‑improvement niche.