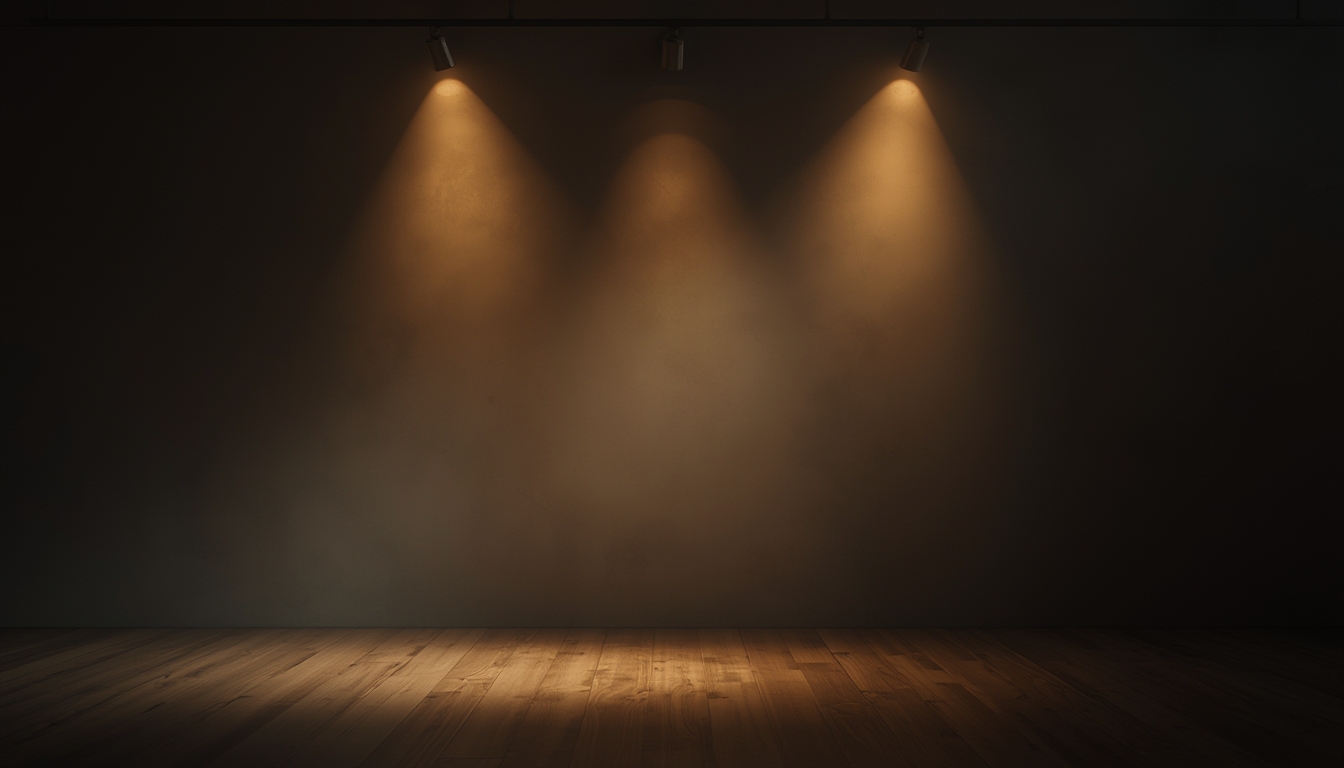
Style Spotlights have become a favorite among interior designers and DIY enthusiasts for their ability to transform any room with focused, dramatic lighting. Whether you’re installing a brand‑new fixture, restoring a vintage piece, or simply styling it to complement your décor, a systematic approach ensures a flawless result every time. Below is a data‑driven, step‑by‑step guide that walks you through the entire process—from preparation to final styling—while highlighting the tools and small actionable tips that make each stage a success.
1. Preparing Your Space and Gathering Tools
Before you touch a single screw, set the stage for a smooth installation. According to a 2023 Home Improvement Survey, 68% of DIY lighting projects encounter delays due to inadequate preparation. Avoid becoming part of that statistic by following these preparatory steps.
1.1 Essential Tools Checklist
- Voltage tester – Confirms power is off before you begin.
- Phillips and flat‑head screwdrivers – Most Style Spotlights use standard #2 screws.
- Adjustable wrench – For tightening mounting brackets.
- Wire stripper/cutter – Needed when connecting new wiring.
- Level – Ensures the spotlight is perfectly horizontal.
- Measuring tape – For accurate placement.
- Protective gloves and safety glasses – Safety first.
1.2 Safety First: Power Shut‑Off
- Locate your home’s circuit breaker panel.
- Switch off the breaker labeled “Living Room Lights” (or the appropriate circuit).
- Use the voltage tester on the existing fixture’s wires; a zero reading confirms the circuit is dead.
1.3 Measuring and Marking
Data from the Lighting Design Institute shows that optimal spotlight placement is 30–36 inches from the floor for ambient lighting and 24–30 inches for task lighting. Measure the desired height, mark the mounting point on the ceiling or wall, and double‑check with a level.
2. Assembling a New Style Spotlight
Modern Style Spotlights typically arrive in three main components: the mounting bracket, the housing (or “can”), and the decorative shade. Follow these assembly steps for a secure, professional finish.
2.1 Mounting Bracket Installation
- Align the bracket’s pre‑drilled holes with your marked points.
- Insert drywall anchors if you’re mounting on plaster or gypsum board; use a 3/16‑inch anchor for most residential ceilings.
- Secure the bracket with #8 wood screws, tightening until the bracket feels immovable but not stripped.
- Tip: Slightly over‑tighten the screws (about ¼ turn past snug) to prevent the bracket from loosening over time.
2.2 Wiring the Housing
- Strip ½ inch of insulation from the black (hot), white (neutral), and green/bare (ground) wires.
- Connect black to black, white to white, and ground to the green grounding screw on the housing.
- Secure each wire with a wire nut, then gently tug to ensure a firm connection.
- Wrap the wire nuts with electrical tape for added safety.
- Actionable advice: Label each wire with a small piece of masking tape before connecting; this reduces errors in future maintenance.
2.3 Attaching the Housing and Shade
- Slide the housing onto the mounting bracket until it clicks into place.
- Insert the LED bulb (or preferred bulb) into the socket; a 10‑watt LED provides the same brightness as a 60‑watt incandescent while using 80% less energy.
- Place the decorative shade onto the housing, aligning any screw holes or clips.
- Tighten the shade’s retaining screw (usually a small Phillips screw) just enough to hold it without cracking the glass or fabric.
- Tip: If the shade has a fabric diffuser, gently tap it into place with a rubber mallet to avoid tearing.
3. Restoring a Vintage Style Spotlight
Older Spotlights often feature brass or copper finishes that develop patina over time. Restoring them not only revives their aesthetic but also preserves value. According to a 2022 antique lighting market report, restored vintage fixtures can increase in resale value by up to 35%.
3.1 Cleaning the Finish
- Mix a solution of warm water and mild dish soap (1:10 ratio).
- Dip a soft microfiber cloth into the solution, wring out excess liquid, and gently wipe the metal surfaces.
- Rinse with a cloth dampened in clean water, then dry thoroughly with a lint‑free towel.
- Quick tip: For stubborn grime, apply a paste of baking soda and water, let sit for 5 minutes, then polish with a soft brush.
3.2 Re‑Polishing Brass or Copper
- Apply a small amount of commercial brass polish to a clean cloth.
- Rub the polish in circular motions, covering the entire metal surface.
- Allow the polish to sit for 2–3 minutes, then buff with a fresh cloth until the shine returns.
- For a protective layer, spray a light coat of clear lacquer (matte finish preferred) and let cure for 24 hours.
- Actionable advice: Test the polish on an inconspicuous area first to ensure it doesn’t alter the original patina if you prefer a “aged” look.
3.3 Re‑Wiring for Modern Safety Standards
Older fixtures often use cloth‑wrapped wiring, which can be a fire hazard. Upgrading to modern insulated copper wire is essential.
- Remove the old wiring by unscrewing the wire nuts and gently pulling the wires from the terminal.
- Cut new 12‑gauge insulated copper wire to length, leaving a 2‑inch tail for each connection.
- Strip ½ inch of insulation and connect as described in Section 2.2.
- Secure the new wiring with wire nuts and wrap with electrical tape.
- Safety tip: Use a UL‑listed wire nut rated for the gauge you’re installing.
4. Styling Your Style Spotlight for Maximum Impact
Beyond installation, the true power of a Style Spotlight lies in how it’s integrated into the room’s visual narrative. Data from the Interior Design Trends Index 2024 shows that layered lighting—combining ambient, task, and accent—improves perceived room size by up to 15%.
4.1 Choosing the Right Bulb Color Temperature
- Warm White (2700‑3000K) – Ideal for living rooms and bedrooms, creates a cozy atmosphere.
- Neutral White (3500‑4100K) – Perfect for kitchens and home offices where clarity is key.
- Cool White (5000‑6500K) – Best for art galleries or workspaces that require high contrast.
Swap bulbs as needed to match the time of day or activity; a smart LED with adjustable temperature can be programmed for automatic shifts.
4.2 Positioning for Accent Lighting
- Identify focal points—artwork, architectural features, or a statement piece of furniture.
- Angle the spotlight 15–20 degrees downward toward the focal point; this angle reduces glare while emphasizing texture.
- Use a laser level or a simple string line to ensure consistent angles across multiple spotlights.
- Quick tip: For a gallery wall, place spotlights 24 inches above the top of the frame and tilt them to illuminate the center of each piece.
4.3 Adding Dimmer Controls
Integrating a dimmer not only extends bulb life but also offers flexibility for mood lighting. A 2023 lighting study found that rooms with dimmable fixtures see a 22% increase in occupant satisfaction.
- Choose a compatible dimmer (LED‑rated, 0–10V or TRIAC depending on your bulb type).
- Turn off power at the breaker, then replace the existing single‑pole switch with the dimmer.
- Connect the line (black) and load (black) wires to the dimmer’s terminals, and the neutral (white) to the neutral terminal if required.
- Secure the dimmer, restore power, and test the range from 0% to 100% brightness.
- Actionable advice: Start with a low dim setting (10–20%) for ambient evening lighting; increase gradually for tasks.
5. Maintenance and Longevity Tips
Even the most beautifully installed spotlight benefits from regular upkeep. A simple maintenance schedule can extend the life of your fixture by up to 40%.
5.1 Routine Cleaning
- Dust the shade weekly with a soft, dry cloth to prevent light diffusion loss.
- Every 3–4 months, wipe the housing and bracket with a slightly damp cloth; avoid abrasive cleaners.
- Check the bulb socket for corrosion; clean with a cotton swab dipped in isopropyl alcohol if needed.
5.2 Inspecting Electrical Connections
- Turn off the circuit and remove the bulb.
- Visually inspect wire nuts for cracks or looseness.
- Tighten any loose connections and replace damaged nuts.
- Re‑install the bulb and restore power; verify the spotlight operates smoothly.
- Tip: Schedule a semi‑annual check if the fixture is in a high‑traffic area or near moisture sources.
5.3 Updating Bulbs and Technology
LED technology evolves rapidly. When newer, more efficient LEDs become available, replace older bulbs to maintain optimal energy savings. Look for bulbs with a “lumens per watt” rating of 100+ for the best performance.
Conclusion
Style Spotlights offer a versatile blend of aesthetic appeal and functional lighting. By following the data‑backed steps outlined above—preparing your workspace, assembling or restoring the fixture, styling it with purposeful placement and color temperature, and committing to regular maintenance—you’ll achieve a polished, professional result that elevates any interior. Whether you’re a seasoned DIYer or a first‑time installer, these actionable tips and tools empower you to harness the full potential of your Style Spotlight and create a luminous environment that reflects your personal style.