Introducing the Style Spotlight: A Versatile Home Accent
Whether you’re looking to revamp a tired side table, breathe new life into a vintage lamp, or create a striking focal point with a decorative wall panel, the Style Spotlight is the perfect piece to showcase your personal taste. This guide walks you through three distinct approaches—assembly, restoration, and styling—so you can make the most of your spotlight, no matter its current condition.
Section 1: Assembling a New Style Spotlight
Step 1: Gather Your Tools
- Phillips‑head screwdriver (medium size)
- Flat‑head screwdriver (small)
- Allen wrench set (usually included)
- Rubber mallet (optional, for gentle nudges)
- Level and measuring tape
- Soft cloth for handling glass or delicate finishes
Step 2: Unbox and Inspect
Lay out all components on a clean surface. Verify that you have the following:
- Base frame (metal or wood)
- Spotlight arm(s) and joints
- Glass or acrylic diffuser
- Bulb socket and wiring harness
- Mounting hardware (screws, anchors, brackets)
Check for any visible damage; if you spot dents or missing parts, contact the supplier before proceeding.
Step 3: Build the Frame
- Attach the base to the central column using the supplied screws. Tighten just enough to hold the pieces together—over‑tightening can strip the threads.
- Insert the spotlight arm into the column’s pivot socket. Secure it with the Allen wrench, ensuring the arm can swivel smoothly.
- If your model includes a secondary arm (for a dual‑light setup), repeat the insertion and secure it on the opposite side.
Pro tip: Apply a thin layer of silicone grease to the pivot points for smoother movement and reduced wear.
Step 4: Wire the Electrical Components
- Turn off power at the circuit breaker before handling any wiring.
- Connect the wiring harness to the bulb socket, matching the color‑coded wires (typically black to black, white to white, green to ground).
- Secure the connections with the provided wire nuts and wrap with electrical tape for added safety.
- Thread the harness through the arm’s internal channel, ensuring no sharp bends that could damage the wires.
Step 5: Install the Diffuser
Place the glass or acrylic diffuser onto the socket. If the diffuser uses a retaining clip, press it gently until it clicks into place. Use a soft cloth to wipe away fingerprints before final placement.
Step 6: Test and Mount
- Restore power and switch the spotlight on. Verify that the bulb illuminates evenly and that the arm moves without resistance.
- Position the assembled spotlight where you want it—on a side table, mantel, or wall shelf.
- Use a level to ensure the base sits flat. If mounting to a wall, drill pilot holes, insert anchors, and secure the bracket with the supplied screws.
Congratulations! Your new Style Spotlight is ready to shine.
Section 2: Restoring a Vintage Style Spotlight
Step 1: Safety First
Before you begin, unplug the fixture and work in a well‑ventilated area. Vintage pieces often contain lead‑based paint or old wiring that can be hazardous.
Step 2: Disassembly for Cleaning
- Remove the diffuser carefully—use a rubber glove to avoid smudging the glass.
- Unscrew the base and any decorative brackets. Keep screws in a small container to avoid loss.
- Take note of how the wiring is routed; photograph the setup if you’re unsure about reassembly.
Step 3: Clean the Metal and Wood
- Metal parts: Mix a solution of warm water and mild dish soap. Dip a soft brush and scrub away grime. For stubborn oxidation, apply a thin coat of white vinegar, let sit for 5 minutes, then wipe clean.
- Wooden elements: Use a gentle wood cleaner or a 1:1 mixture of olive oil and lemon juice. Rub with a soft cloth, then buff to restore shine.
Step 4: Repaint or Refinish (Optional)
If the original finish is beyond repair, consider a light sanding with 220‑grit sandpaper followed by a spray‑paint designed for metal or wood. Apply two thin coats, allowing 15 minutes between coats for optimal adhesion.
Step 5: Electrical Refresh
- Inspect the wiring for frayed insulation. Replace any compromised sections with new 18‑gauge insulated wire.
- Upgrade the bulb socket to a modern, UL‑listed version if the original is corroded.
- Install an LED bulb that matches the original wattage (e.g., 60 W equivalent) to preserve the vintage glow while saving energy.
Step 6: Reassembly and Final Touches
Reattach the diffuser, tighten all screws, and give the piece a final dust‑off. Plug it in and test the illumination. Adjust the arm angle to highlight the restored details—perhaps pointing the light toward a gallery wall or a favorite reading nook.
Section 3: Styling Your Style Spotlight for Maximum Impact
Idea 1: Create a Mini‑Gallery
Place the spotlight on a narrow console table and angle it toward a cluster of small framed prints. Use a matte black or brushed‑nickel finish for a modern look, or a polished brass for a more classic vibe. The focused beam adds depth and draws the eye to each artwork.
Idea 2: Accent a Plant Arrangement
Position the spotlight on a low wooden stool beside a tall fiddle‑leaf fig or a collection of succulents. Aim the light upward to highlight the foliage’s texture. Pair with a neutral‑colored pot to let the plant and light be the stars.
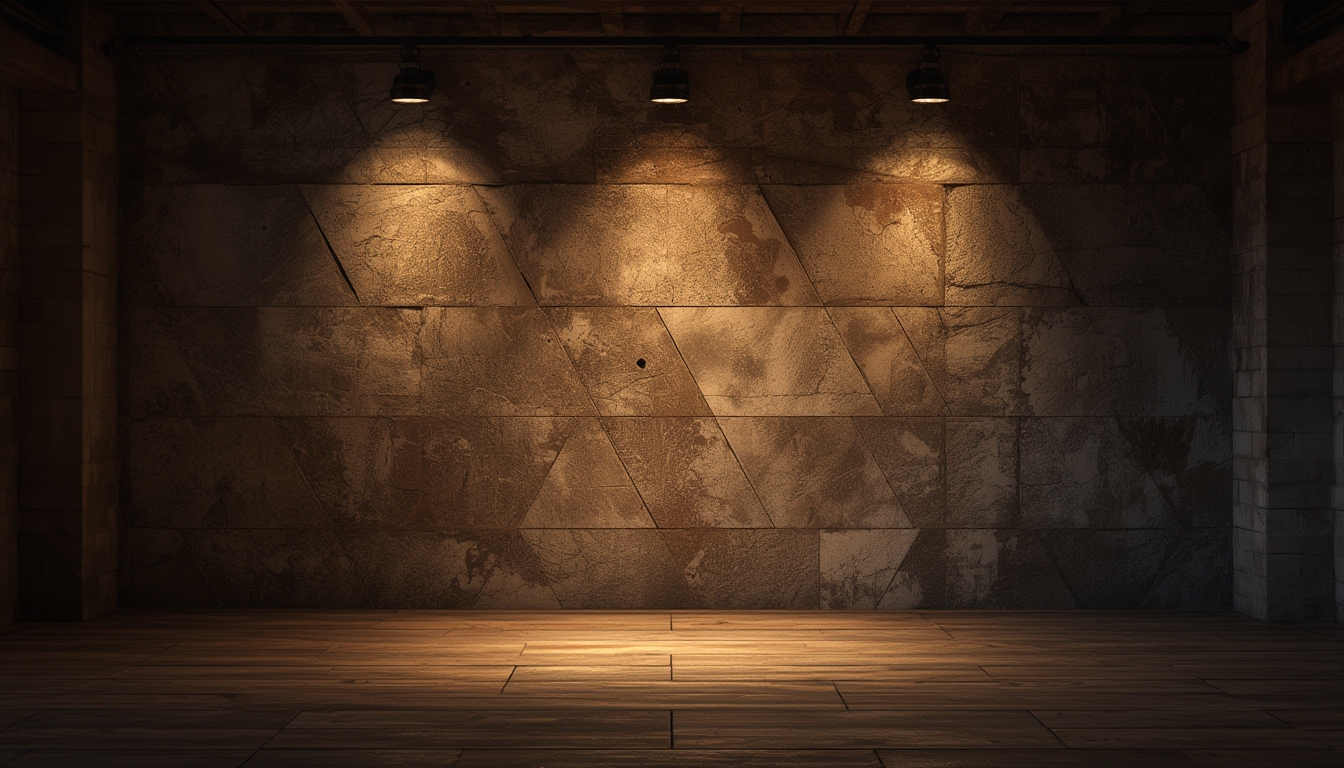
Idea 3: Highlight Architectural Features
Mount the spotlight on a wall adjacent to a textured brick or stone accent. Tilt the arm to cast gentle shadows that emphasize the material’s natural patterns. This technique works especially well in entryways or open‑plan living spaces.
Practical Styling Tips
- Control brightness: Use a dimmer switch compatible with LED bulbs to adjust the mood without swapping bulbs.
- Layer lighting: Combine the spotlight with ambient floor lamps or recessed lighting for a balanced illumination scheme.
- Keep cords tidy: Use cable clips or a decorative cord cover to hide wiring, especially when the spotlight sits on a table.
- Rotate placement: Every few months, move the spotlight to a new spot. This prevents wear on a single surface and keeps your décor fresh.
Maintenance Checklist (Monthly)
- Dust the diffuser with a microfiber cloth.
- Wipe the base and arm to remove fingerprints.
- Check the bulb for discoloration; replace if the light output dims.
- Inspect the swivel joint for looseness; tighten the set screw if needed.
Conclusion: Making the Style Spotlight Work for You
The Style Spotlight isn’t just a functional light source—it’s a design element that can transform a room with a single beam. By following the assembly steps, breathing new life into vintage pieces, and applying thoughtful styling techniques, you’ll create a dynamic focal point that reflects your personal aesthetic. Keep the tools handy, stay mindful of safety, and enjoy experimenting with angles and placements. Your space will thank you for the extra shine.