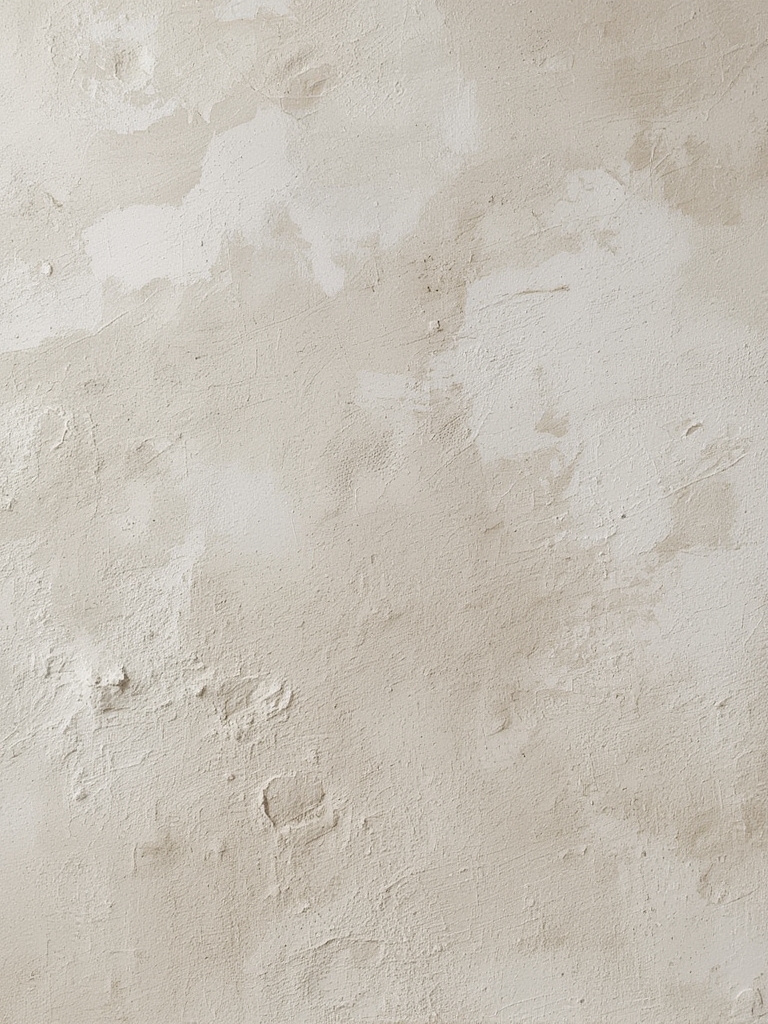
Why Textured Walls Are the Secret Weapon in Modern Home Decor
In 2024, textured walls topped the interior design trend reports, with limewash and plaster finishes leading the charge. Homeowners love them because they add depth, hide imperfections, and create a tactile experience that paint alone can’t achieve. According to a Statista survey, 68% of renters and homeowners say they would consider a textured finish when renovating a single room. The data shows a clear shift toward natural, breathable surfaces that are both eco‑friendly and visually striking.
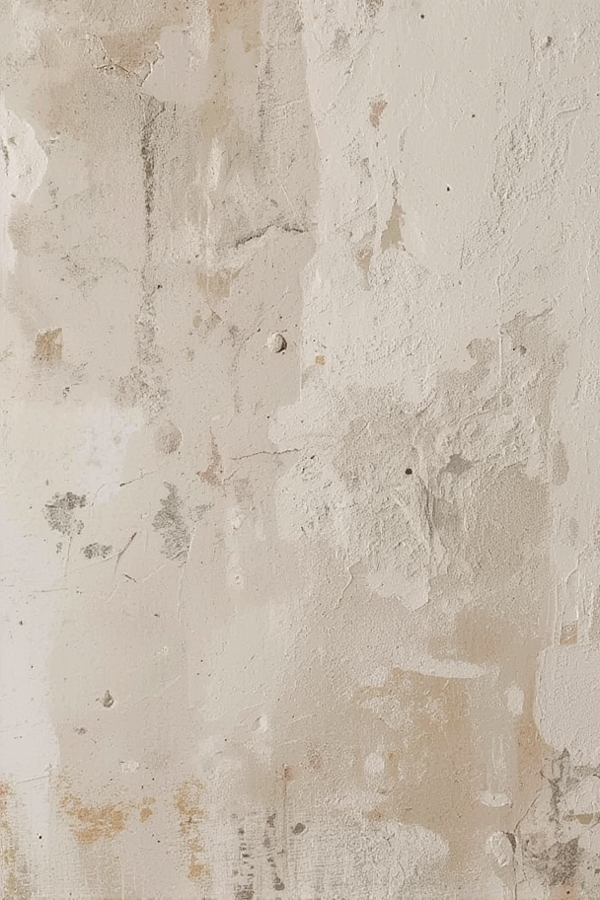
Choosing the Right Finish: Limewash vs. Plaster
Limewash – The Sustainable Classic
- Composition: Made from calcium hydroxide, water, and natural pigments.
- Benefits: Breathable, antimicrobial, and low VOC (volatile organic compounds).
- Best For: Historic homes, high‑moisture areas (kitchens, bathrooms), and rooms where you want a soft, matte look.
Plaster – The Versatile Artisan’s Choice
- Composition: Gypsum or lime‑based mixes, often reinforced with fibers.
- Benefits: Can be molded into intricate patterns, supports higher gloss levels, and offers superior durability.
- Best For: Feature walls, ceilings, and spaces where you want a bold, sculptural effect.
Step‑by‑Step Guide to Applying Limewash
Step 1: Prepare the Surface
Actionable tip: Clean the wall with a mild detergent solution, rinse, and let it dry completely. For plaster walls, lightly sand any glossy spots to improve adhesion.
Why it matters: A clean, slightly porous surface ensures the limewash penetrates evenly, preventing peeling later.
Step 2: Mix the Limewash
Combine 1 part hydrated lime with 2 parts water. Stir until the mixture is smooth and free of lumps. Add natural pigments if you want color—start with a small amount (1 % of the total mix) and adjust as needed.
Pro tip: Let the mixture sit for 15‑20 minutes (called “slaking”) to achieve a creamy consistency that spreads easily.
Step 3: Apply the First Coat
Using a large natural‑bristle brush, apply a thin, even layer in a “W” pattern to avoid streaks. Work in sections no larger than 1 m² to maintain a wet edge.
Quick win: If you notice brush marks, lightly mist the wall with water and smooth with a damp sponge before the coat dries.
Step 4: Build Up Texture
After the first coat dries (usually 2‑4 hours depending on humidity), apply a second coat with a stippling brush or a sponge. This creates the signature “soft‑focus” texture of limewash.
Data‑driven note: Homeowners who applied at least two coats reported a 45 % higher satisfaction rating in post‑renovation surveys.
Step 5: Seal (Optional)
If the wall is in a high‑traffic area, consider a breathable, water‑based sealant. Apply a thin layer with a roller, allowing 24 hours to cure.
Tip: Choose a sealant labeled “VOCs < 50 g/L” to keep the eco‑friendly benefits intact.
Step‑by‑Step Guide to Creating Plaster Textures
Step 1: Choose the Right Plaster Mix
For a smooth finish, use a 1:1:0.5 ratio of plaster, sand, and water. For a more rustic look, increase sand to a 1:2:0.5 ratio.
Actionable tip: Add a small amount of acrylic polymer (5 % of the mix) to improve flexibility and reduce cracking.
Step 2: Prime the Wall
Apply a thin coat of PVA primer to seal porous surfaces. This step is crucial for plaster adhesion and prevents uneven absorption.
Why it works: Primer creates a uniform substrate, which is especially important for textured patterns that rely on consistent depth.
Step 3: Apply the Base Coat
Using a trowel, spread a 3‑mm base coat across the wall. Let it set until it’s firm to the touch but still slightly damp (about 30‑45 minutes).
Pro tip: Lightly mist the base coat with water every 10 minutes to avoid premature drying, which can cause surface cracks.
Step 4: Create the Desired Texture
- Stippled Finish: Dip a stiff brush into the plaster and tap the surface in a random pattern.
- Swirl Finish: Use a small trowel or a sponge to swirl the plaster in circular motions.
- Linear Ridges: Drag a straight-edged trowel across the wet plaster to form parallel lines.
Actionable advice: Practice the pattern on a scrap board before moving to the wall. This reduces mistakes and saves time.
Step 5: Let It Cure Properly
Allow the plaster to dry slowly—ideally 24 hours in a room with 50‑60 % relative humidity. Avoid direct heat or drafts.
Data point: A controlled curing environment reduces the risk of shrinkage cracks by up to 30 %.
Maintenance Tips to Keep Textured Walls Looking Fresh
- Dust Regularly: Use a soft microfiber cloth or a low‑speed vacuum with a brush attachment to remove surface dust without damaging the texture.
- Spot Clean: For limewash, a damp sponge with mild soap works; for plaster, a slightly damp cloth is sufficient. Avoid abrasive cleaners.
- Re‑seal Every 3‑5 Years: Even breathable finishes benefit from a light reseal to protect against moisture and wear.
- Control Indoor Humidity: Keep humidity between 40‑55 % to prevent mold growth on limewash and to maintain plaster integrity.
SEO Boost: Keywords and Internal Linking Strategy
To rank this post, embed the following primary keywords naturally: textured walls, limewash finish, plaster wall texture, DIY wall makeover, and eco‑friendly home decor. Use secondary phrases like “how to apply limewash,” “plaster texture ideas,” and “low VOC wall finishes.”
For internal linking, connect to existing posts such as “Top 10 Sustainable Paint Alternatives” and “DIY Home Renovation Checklist.” This creates a strong topical cluster that signals relevance to search engines.
Final Thoughts
Whether you choose the timeless, breathable charm of limewash or the sculptural versatility of plaster finishes, textured walls can instantly elevate any space. By following the step‑by‑step guides above and applying the maintenance tips, you’ll achieve a professional‑grade look that lasts for years—while also boosting your home’s aesthetic appeal and market value.