Real home tours have become a powerful way for homeowners, real estate agents, and interior designers to showcase spaces in an authentic, immersive manner. By walking viewers through each room, you can highlight architectural details, design choices, and the overall flow of a property. This guide walks you through the entire process—from planning and equipment setup to filming, editing, and publishing—so you can create a polished, data‑driven home tour that engages audiences and drives interest.
1. Planning Your Real Home Tour
Define the Objective
- Target audience: Identify whether the tour is for potential buyers, design enthusiasts, or DIY hobbyists.
- Key selling points: List the three to five features that make the home unique (e.g., open‑concept kitchen, historic woodwork, smart home integration).
- Length and format: Aim for a 5‑7 minute video or a series of 2‑3 minute segments for social media.
Scout the Space
Walk through each room with a notebook or a digital note‑taking app. Record measurements, lighting conditions, and any obstacles (stairs, narrow doorways). Use a laser distance measurer for accuracy; this data will help you plan camera placements and anticipate lighting needs.
Create a Shot List
A detailed shot list ensures you capture every angle without missing crucial details. Include:
- Establishing exterior shot (wide angle)
- Entryway transition
- Room‑by‑room walkthrough (wide, medium, and close‑up shots)
- Feature highlights (e.g., fireplace, custom cabinetry)
- Transition shots (doorways, staircases)
2. Assembling the Equipment Kit
Camera Gear
- Primary camera: Mirrorless or DSLR with 4K capability (e.g., Sony A7III, Canon EOS R6).
- Wide‑angle lens: 16‑35mm for interior spaces.
- Stabilization: Gimbal (DJI Ronin‑S) or a motorized slider for smooth motion.
Audio & Lighting
- Shotgun microphone: Rode VideoMic Pro+ to capture ambient sounds.
- Portable LED panels: Two 5600K panels with diffusion for rooms with low natural light.
- Tripod: Heavy‑duty, with a fluid head for static shots.
Support Tools
- Smartphone with a QR code scanner (to label rooms for post‑production reference).
- Battery packs and spare memory cards (minimum 128GB, UHS‑II).
- Cleaning kit (lens cloth, air blower) to keep optics clear.
3. Setting Up the Shoot
Lighting Strategy
Natural light varies throughout the day. Schedule the shoot during mid‑morning or late afternoon when sunlight is soft. Supplement with LED panels to eliminate harsh shadows:
- Place a panel at a 45‑degree angle to the primary light source.
- Use a diffuser to soften the light and reduce glare on reflective surfaces.
- Adjust white balance to 5600K for consistency across rooms.
Camera Placement & Movement
Follow a consistent height (approximately 5‑6 feet) to mimic a natural eye level. For each room:
- Start with a wide establishing shot from the doorway.
- Move the gimbal forward slowly, maintaining a steady speed of 0.5‑0.7 m/s.
- Pause for 2‑3 seconds on key features before transitioning.
Audio Capture
Turn on the shotgun mic and set the gain to capture ambient room tone without distortion. If you plan to add narration later, record a silent “room tone” (30‑second clip) for each space; this helps smooth audio transitions during editing.
4. Filming the Tour – Step‑by‑Step
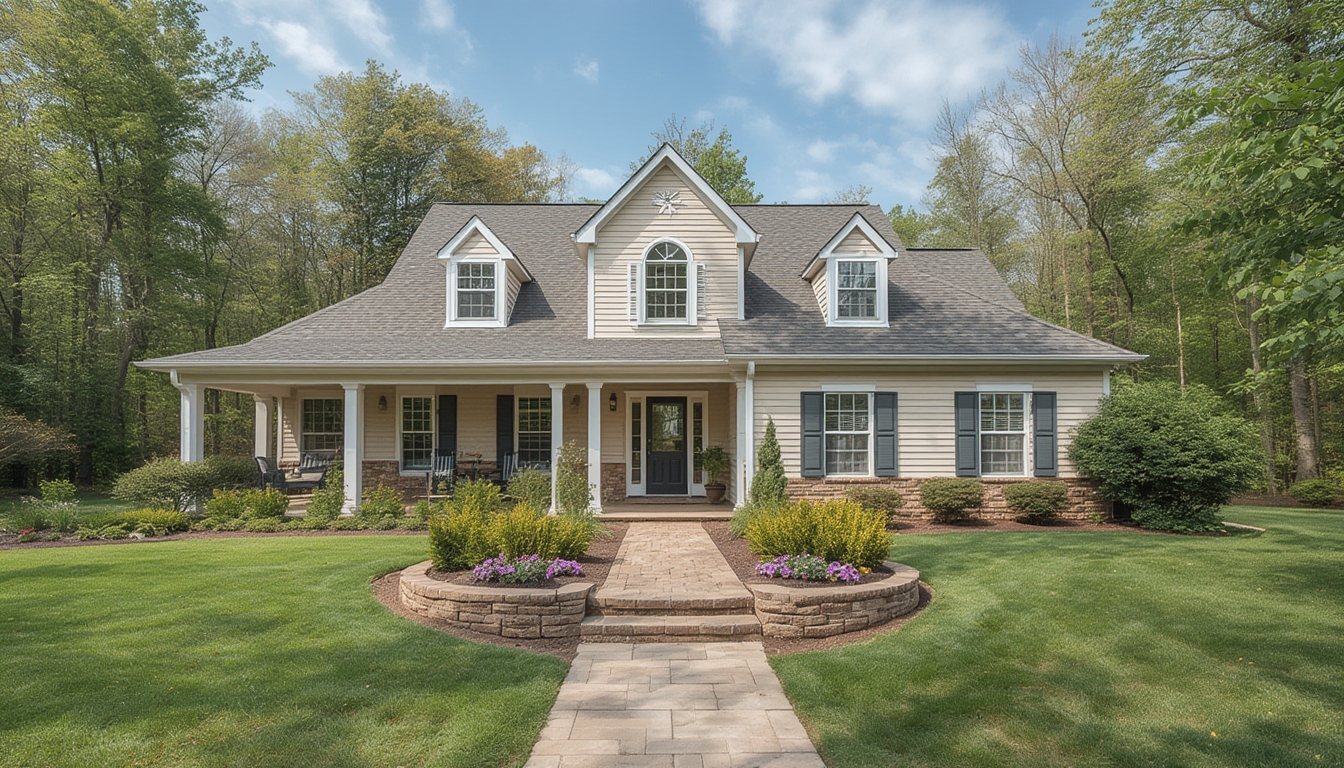
Exterior Introduction
Begin with a slow dolly‑in toward the front door. Capture the curb appeal, landscaping, and any architectural details. Use a wide‑angle lens to emphasize scale.
Entryway Transition
Open the front door and step inside, keeping the camera steady. A quick pan from left to right establishes the flow of the interior.
Room Walkthroughs
- Living Room: Start at the far corner, glide toward the focal point (fireplace or TV). Highlight ceiling height, window placement, and flooring.
- Kitchen: Showcase countertop material, appliance layout, and storage solutions. Use close‑ups for unique hardware.
- Bedrooms: Emphasize natural light, closet organization, and any built‑in features.
- Bathrooms: Focus on fixtures, tile patterns, and lighting fixtures.
- Outdoor Spaces: Capture patios, decks, and garden views with a steady pan.
Feature Highlights
For each standout element, switch to a medium shot (50‑70mm focal length) and linger for 3‑4 seconds. Add a subtle push‑in to draw attention, then return to the wider view.
5. Post‑Production Workflow
Organizing Footage
- Import clips into a folder structure:
/ProjectName/Raw,/ProjectName/Audio,/ProjectName/Exports. - Rename files using the QR‑coded room labels (e.g.,
LivingRoom_Wide_001.mp4).
Editing Steps
- Rough Cut: Place clips on the timeline in the order of the shot list. Trim to maintain a total runtime of 5‑7 minutes.
- Color Correction: Apply a neutral LUT, then adjust exposure and contrast to match lighting across rooms.
- Audio Mixing: Layer room tone under any narration. Use a low‑pass filter to reduce background hum.
- Transitions: Use simple cross‑dissolves (0.5 s) for smooth room changes; avoid flashy effects that distract from the space.
- Graphics: Insert lower‑third titles for each room (e.g., “Master Bedroom – 14 ft × 12 ft”). Keep font clean and legible.
Export Settings
Export in 4K (3840 × 2160) H.264 at 30 fps, with a bitrate of 20 Mbps. Create a secondary 1080p version for faster loading on social platforms.
6. Publishing on WordPress
Embedding the Video
Upload the 1080p MP4 to your media library or a video hosting service (YouTube/Vimeo). Use the WordPress block editor to add a “Video” block and paste the embed code. Ensure the video is set to autoplay muted for a seamless visitor experience.
Accompanying Text
Below the video, include a concise summary (150‑200 words) that highlights the property’s unique aspects. Use <h2> for section headings (“Key Features”) and <h3> for sub‑headings (“Living Room Layout”). Add bullet points for quick reference.
Call‑to‑Action (CTA)
End the post with a clear CTA—such as “Schedule a private showing” or “Download the floor plan PDF.” Place the CTA in a styled button block to encourage clicks.
7. Practical Tips for Ongoing Success
Maintain Consistency
Use the same camera settings (ISO, aperture, shutter speed) across all rooms to avoid noticeable exposure shifts. Consistency builds a professional look and reduces post‑production time.
Leverage Data
After publishing, monitor viewer retention in your video analytics. Identify drop‑off points; if viewers consistently exit at a specific segment, consider re‑filming that portion with better lighting or a tighter focus.
Iterate and Improve
Collect feedback from homeowners or agents. Small adjustments—like adding a quick “before and after” slider for renovated spaces—can dramatically increase engagement.
By following these structured steps, you’ll produce a high‑quality real home tour that not only showcases the property’s best attributes but also provides viewers with a clear, immersive experience. The combination of careful planning, the right tools, and a disciplined editing workflow ensures that each tour feels polished, data‑driven, and ready to attract the right audience.