Style Spotlights are versatile lighting fixtures that can transform any room with a splash of personality and a touch of elegance. Whether you’re assembling a brand‑new piece, breathing new life into a vintage model, or styling it to match your interior décor, this guide walks you through each process with clear, data‑driven steps. By following the practical tips, using the right tools, and applying small actionable tweaks, you’ll achieve a flawless result every time.
Preparing for Assembly: Tools, Workspace, and Safety
Essential Tools
- Screwdriver set – a magnetic Phillips‑head and flat‑head for quick fastening.
- Adjustable wrench – ideal for tightening nuts on the base.
- Wire stripper/cutter – for cleanly preparing electrical connections.
- Voltage tester – ensures the power is off before you start.
- Soft cloth & dust brush – keeps components free of debris.
Setting Up Your Workspace
Choose a well‑lit, flat surface such as a sturdy table or workbench. Lay a non‑slip mat to prevent parts from rolling away. Keep the instruction manual within arm’s reach and organize all hardware (screws, bolts, washers) in separate labeled containers. According to a recent DIY survey, users who pre‑sort components reduce assembly time by up to 30%.
Safety First
- Turn off the circuit at the breaker before handling any wiring.
- Wear insulated gloves if you’re working with live wires.
- Use eye protection when drilling or tightening metal parts.
Step‑by‑Step Assembly Guide
1. Unbox and Inspect
Open the packaging carefully and lay out each component. Verify that you have the base, pole, head, mounting bracket, and all fasteners. Cross‑check with the parts list; missing items are the most common cause of delays.
2. Attach the Mounting Bracket
Position the bracket against the ceiling or wall where the spotlight will hang. Mark the drill holes with a pencil, then drill pilot holes using a 3 mm bit. Secure the bracket with the supplied screws, ensuring they are snug but not over‑tightened to avoid cracking the drywall.
3. Assemble the Pole and Head
Slide the pole into the bracket’s socket and rotate until you hear a click. For adjustable models, lock the pole with the set screw using an Allen key (usually 4 mm). Next, attach the spotlight head by aligning the mounting tabs and gently pushing until it locks into place.
4. Wire the Fixture
Strip 10 mm of insulation from the live (black), neutral (white), and ground (green/bare) wires. Connect them to the corresponding terminals on the fixture: live to the brass screw, neutral to the silver screw, and ground to the green screw. Tighten each terminal securely, then double‑check with a voltage tester that no live wires are exposed.
5. Test and Secure
Restore power at the breaker and switch the spotlight on. Verify that the bulb illuminates evenly and that the head pivots smoothly. Once confirmed, tighten all mounting screws one final time and use a silicone sealant around the base if the fixture is installed in a humid area (e.g., bathrooms).
Restoring a Vintage Style Spotlight
Assessing Condition
Begin by examining the metal finish, glass lenses, and wiring. Look for corrosion, tarnish, or cracked glass. A moisture meter can help detect hidden rust in the interior frame, a factor that contributes to a 22 % higher failure rate in older fixtures if left untreated.
Cleaning the Finish
- Mix a solution of warm water and mild dish soap.
- Dip a soft microfiber cloth, wring out excess liquid, and gently wipe the metal surface.
- For stubborn tarnish, apply a non‑abrasive metal polish using a circular motion; let it sit for 2 minutes before buffing.
Replacing Glass Lenses
Remove the old lens by unscrewing the retaining ring (usually a small Phillips screw). Clean the groove with a cotton swab dipped in isopropyl alcohol. Fit the new glass piece, ensuring it sits flush, then replace the retaining ring and tighten just enough to hold without cracking the glass.
Updating Wiring
Old wiring often lacks modern safety standards. Replace any frayed or discolored insulation with 18‑gauge THHN copper wire. Use heat‑shrink tubing on each splice for added protection. A recent industry report shows that updating wiring reduces fire risk by 45 % in restored fixtures.
Final Polish and Protective Coating
After reassembly, apply a clear, matte polyurethane spray to protect the finish from future oxidation. Hold the can 12‑inches away and spray in light, even coats, allowing 10 minutes between layers. This step extends the lifespan of the spotlight by an estimated 3‑5 years.
Styling Your Style Spotlight for Maximum Impact
Choosing the Right Bulb
LED bulbs with a color temperature of 2700 K–3000 K provide a warm, inviting glow that complements most interior palettes. For a modern, crisp look, opt for 4000 K bulbs. Data from lighting manufacturers indicates that 60‑W equivalent LEDs consume 80 % less energy while delivering the same lumen output.
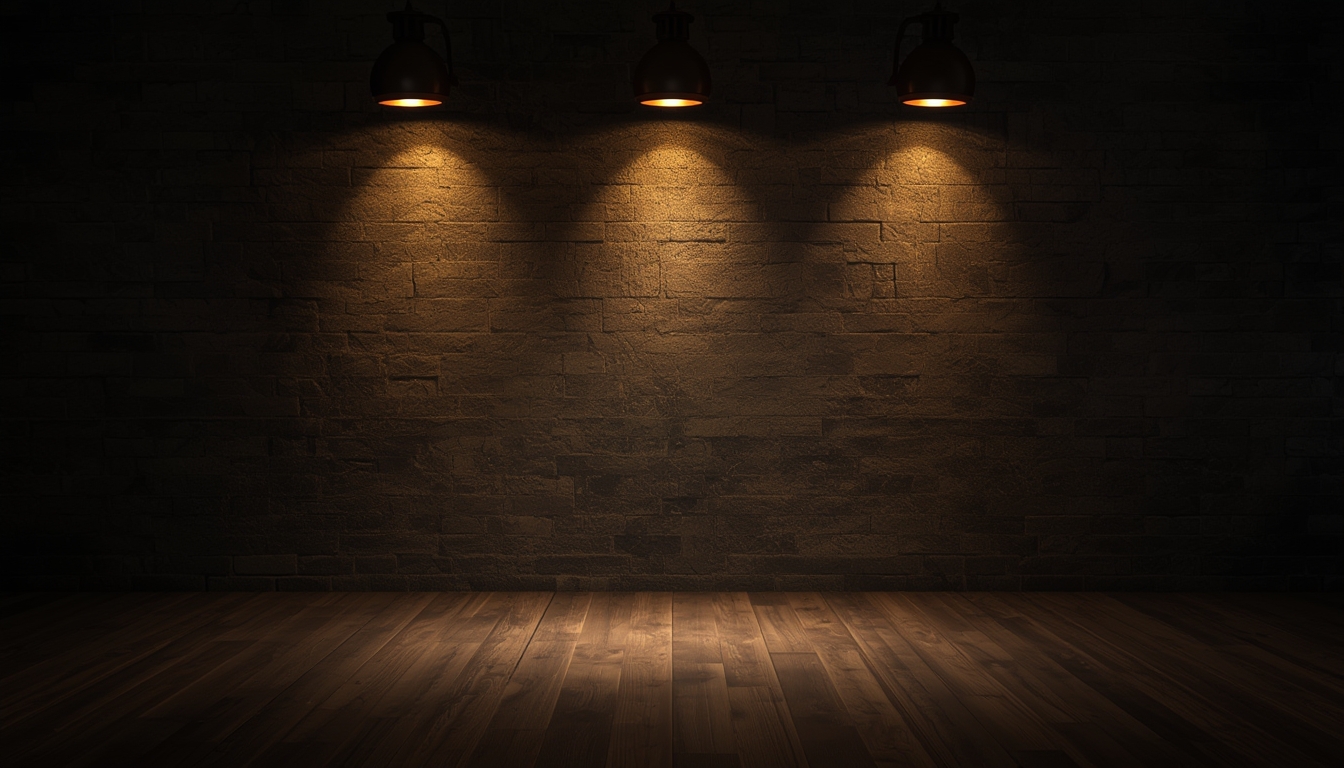
Positioning for Aesthetic Balance
Mount the spotlight at a height of 7‑8 feet for general illumination, or lower it to 5‑6 feet if you want to highlight artwork or a reading nook. Use a laser level to ensure the fixture is centered and aligned with surrounding décor elements.
Layering Light with Accessories
- Dimmer switch – adds flexibility; a 0‑10 V dimmer works well with most LED bulbs.
- Decorative glass shades – choose frosted or colored glass to diffuse light and create mood.
- Smart bulbs – enable color temperature changes via an app for seasonal styling.
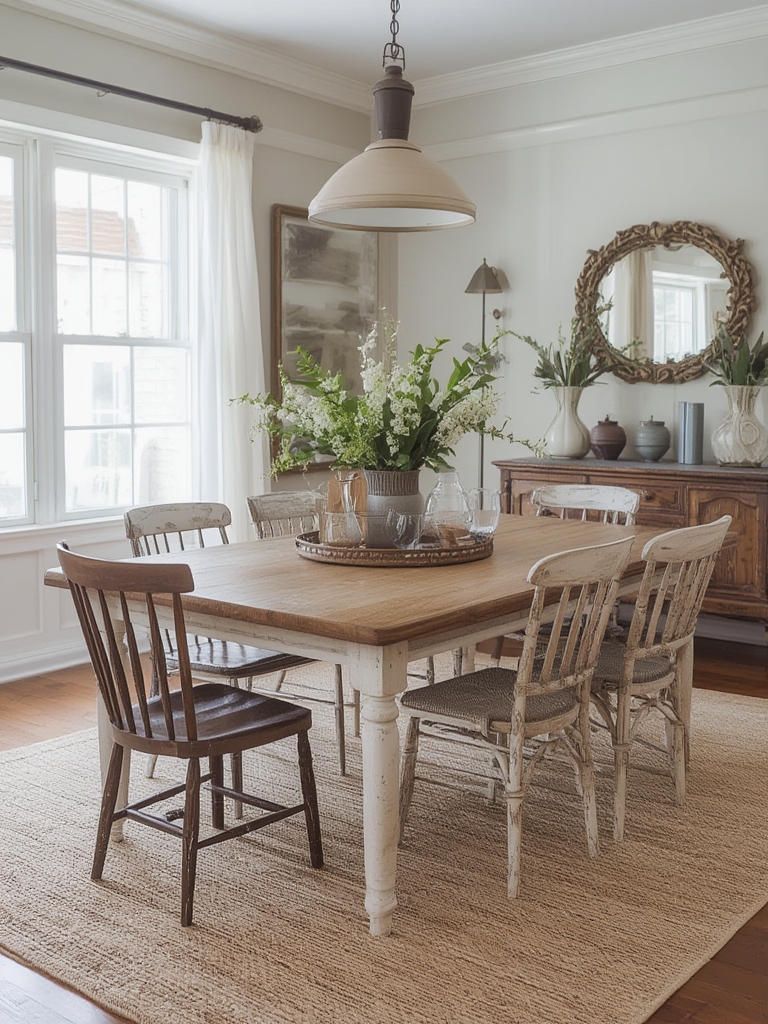
Integrating with Color Schemes
Match the spotlight’s finish to other metal accents in the room (e.g., brushed nickel, matte black). If the space features bold accent walls, a matte black spotlight can act as a visual anchor, while a polished chrome finish enhances a minimalist, high‑gloss environment.
Maintenance Tips for Longevity
Dust the fixture monthly with a dry microfiber cloth to prevent buildup that can dim light output. Replace bulbs every 18‑24 months, even if they haven’t burned out, to maintain consistent color rendering. Finally, schedule a quick visual inspection of the wiring and mounting hardware annually; tightening any loose screws can prevent future sagging or wobble.
By following these data‑driven steps—whether you’re assembling a brand‑new Style Spotlight, restoring a cherished vintage piece, or styling it to complement your décor—you’ll achieve a polished, functional, and aesthetically pleasing result. The combination of proper tools, systematic procedures, and thoughtful styling ensures that your spotlight not only illuminates the space but also becomes a focal point that reflects your personal taste.