Real home tours have become a powerful way to showcase interior design, architecture, and lifestyle inspiration. Whether you’re a homeowner preparing a personal walkthrough, a real‑estate agent staging a property, or a content creator producing a video series, a well‑planned tour can highlight the unique character of a space while engaging viewers. Below is a data‑driven, step‑by‑step guide that walks you through assembling, restoring, and styling a real home tour from start to finish. Each phase includes the essential tools, practical tips, and actionable advice to ensure a smooth, professional result.
Phase 1: Planning & Pre‑Production
1. Define the Tour’s Purpose and Audience
- Goal identification: Determine whether the tour is for sale, rental, design inspiration, or educational content.
- Audience profiling: Use analytics from previous posts (average session duration, bounce rate) to tailor the level of detail and visual style.
- Key metrics: Set measurable targets (e.g., 1,500 views in the first week, 5% click‑through to contact form).
2. Create a Detailed Floor‑Plan Blueprint
Gather existing architectural drawings or use a laser distance measurer (e.g., Leica Disto) to map each room. Input measurements into a free tool like Floorplanner to generate a scalable digital layout. This blueprint will guide camera placement, lighting decisions, and staging flow.
3. Assemble a Production Checklist
| Item | Quantity | Notes |
|---|---|---|
| Camera (4K DSLR or mirrorless) | 1 | e.g., Sony A7 IV |
| Wide‑angle lens (16‑35 mm) | 1 | Captures full rooms |
| Tripod with fluid head | 1 | Ensures smooth pans |
| Portable LED lights | 2‑3 | Adjustable color temperature |
| Gimbal stabilizer | 1 | For handheld walkthroughs |
| External microphone | 1 | Clear narration |
| Drone (optional) | 1 | Exterior aerial shots |
| Cleaning supplies | Varied | Microfiber cloths, vacuum |
| Staging accessories | Varied | Cushions, plants, artwork |
Phase 2: Preparing the Space (Restoration & Staging)
1. Deep Clean and Declutter
Data from home‑staging studies show that a clutter‑free environment can increase perceived value by up to 12%. Follow these steps:
- Remove personal items (photos, paperwork).
- Vacuum carpets and mop hard floors using a pH‑neutral cleaner.
- Dust all surfaces, paying special attention to ceiling fans and light fixtures.
Tip: Use a handheld vacuum with a brush attachment for tight corners and upholstery.
2. Minor Repairs and Touch‑Ups
Small imperfections can distract viewers. Prioritize the following based on a quick visual audit:
- Paint chips: Fill with spackle, sand smooth, and touch‑up with a matching paint.
- Loose hardware: Tighten cabinet knobs, door hinges, and drawer slides.
- Lighting fixtures: Replace burnt‑out bulbs with LEDs (3000 K for warm ambience, 5000 K for a modern look).
Keep a record of time spent on each repair; this data helps refine future budgeting.
3. Styling for Visual Appeal
Effective styling balances aesthetics with function. Use the “rule of three” – group items in odd numbers for natural balance. Recommended items per room:
- Living room: One statement rug, two side tables, three decorative pillows.
- Kitchen: Fresh fruit bowl, a small herb planter, a stylish countertop appliance.
- Bedroom: Two bedside lamps, a folded throw blanket, a framed artwork.
Choose a cohesive color palette (e.g., muted earth tones with a pop of teal) to create visual continuity throughout the tour.
Phase 3: Capturing the Tour
1. Lighting Setup
Natural light is ideal, but supplement with LED panels to avoid harsh shadows. Follow the 3‑point lighting principle for each room:
- Key light: Main source placed at a 45° angle.
- Fill light: Reduces shadows, positioned opposite the key.
- Back light: Highlights edges and adds depth.
Measure light intensity with a lux meter; aim for 300–500 lux in living spaces and 200–300 lux in bedrooms.
2. Camera Settings
Set your camera to the following baseline configuration:
- Resolution: 4K (3840 × 2160)
- Frame rate: 24 fps for a cinematic feel
- ISO: 100–400 (adjust based on ambient light)
- Aperture: f/4–f/5.6 for adequate depth of field
- White balance: Custom, based on measured color temperature
Use manual focus to lock on a central point in each room, preventing focus hunting during movement.
3. Shooting Technique
- Establish a smooth path: Walk the route outlined in your floor‑plan, keeping the camera level.
- Use a gimbal for fluid motion: Maintain a steady speed of ~0.5 m/s to avoid motion blur.
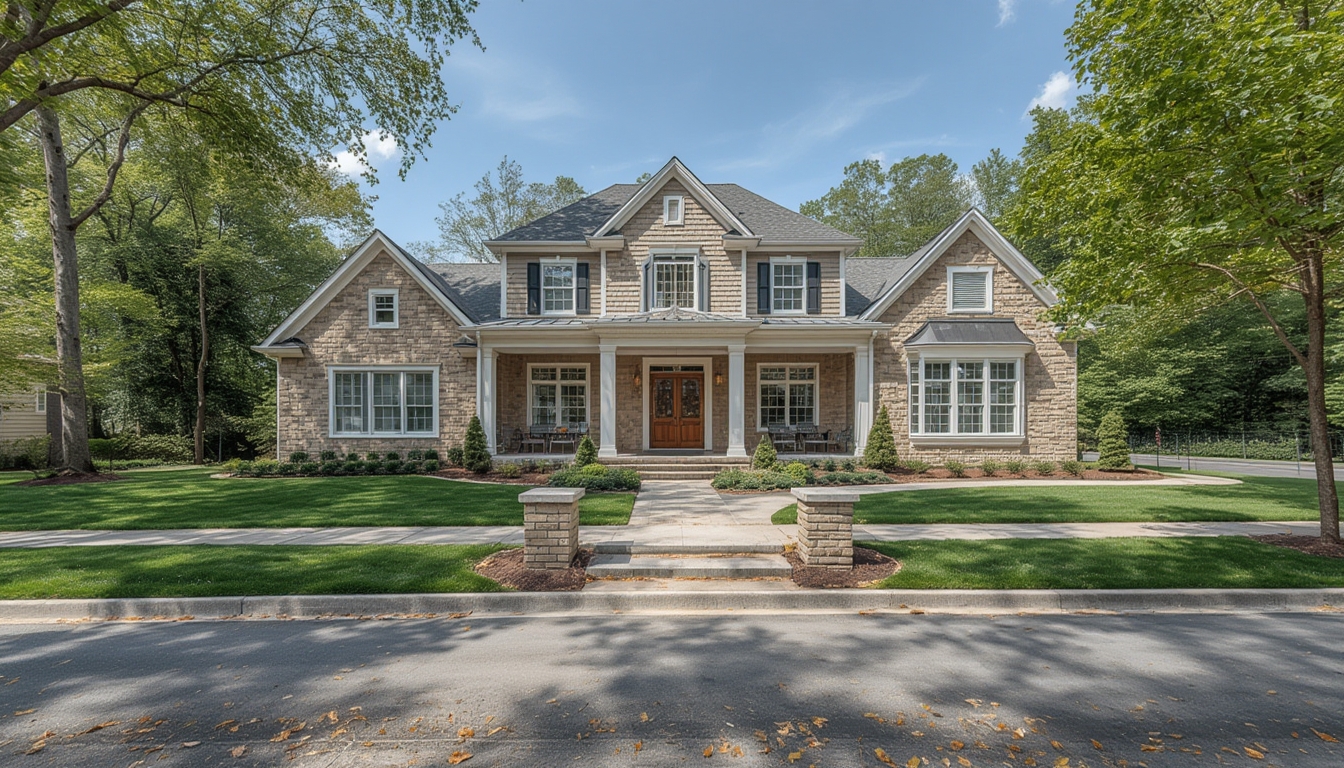
- Capture establishing shots: Start with an exterior wide shot, then transition to the front door.
- Include detail shots: Close‑up of unique features (e.g., custom backsplash, built‑in shelving).
- Record narration on‑the‑fly: Speak clearly, describing materials, dimensions, and design intent.
4. Drone Footage (Optional)
If the property has appealing outdoor space, launch a drone at 30 m altitude for a 360° orbit. Follow local regulations and keep the flight time under 5 minutes to conserve battery.
Phase 4: Post‑Production & Publishing
1. Editing Workflow
Import footage into a non‑linear editor (e.g., DaVinci Resolve). Follow this streamlined sequence:
- Sync audio narration with video clips.
- Trim each room segment to 15–20 seconds, ensuring a total runtime of 3–4 minutes.
- Apply color correction using the built‑in scopes; target a balanced histogram with a slight lift in the shadows for a warm feel.
- Add lower‑third graphics that label each room and highlight key specs (square footage, year built).
- Insert royalty‑free background music at –20 dB to avoid overpowering narration.
2. Optimizing File Size for WordPress
Export the final video in MP4 (H.264 codec) with a bitrate of 8 Mbps. This yields high quality while keeping the file under 150 MB, which loads quickly on most hosting plans.
3. Embedding the Tour in WordPress
- Upload the MP4 file to the Media Library.
- Insert a
<video>block in the post editor:
<video controls preload="metadata" width="100%">
  <source src="https://yourdomain.com/wp-content/uploads/2026/02/real-home-tour.mp4" type="video/mp4">
  Your browser does not support the video tag.
</video>
Enable captions by adding a <track> element if you have a .vtt file.
4. Adding Supporting Images and Text
Complement the video with high‑resolution stills. Use the <figure> tag for each image, paired with a concise <figcaption> that reinforces the spoken description.
<figure>
  <img src="https://yourdomain.com/wp-content/uploads/2026/02/kitchen-detail.jpg" alt="Modern kitchen with quartz countertop">
  <figcaption>Modern kitchen featuring a quartz countertop and stainless‑steel appliances.</figcaption>
</figure>
Phase 5: Post‑Launch Follow‑Up
1. Collect Viewer Data
Use WordPress’s built‑in analytics or a plugin like MonsterInsights to track:
- Video play rate (percentage of viewers who watch beyond 30 seconds)
- Average watch time per room segment
- Click‑throughs to contact forms or property listings
Analyze the data after one week and note which rooms generated the most interest. Adjust future tours to emphasize those features.
2. Maintenance and Updates
Properties evolve; schedule a quarterly refresh of the tour to reflect any renovations or seasonal décor changes. Replace outdated footage and update captions accordingly.
3. Repurpose Content
Extract short 10‑second clips for social media platforms (Instagram Reels, TikTok). Use a consistent branding overlay (logo and URL) to drive traffic back to the full WordPress post.
By following this data‑driven, step‑by‑step framework, you’ll create a polished real home tour that not only showcases the property’s best attributes but also engages viewers, drives interaction, and supports your broader marketing goals.