Style Spotlights are versatile decorative pieces that can transform any room with a burst of personality. Whether you’re assembling a new spotlight, restoring a vintage find, or simply styling it to match your interior, the right approach makes the process smooth and rewarding. Below is a data‑driven, step‑by‑step guide that walks you through everything you need—from essential tools to actionable tips—so you can achieve a polished look every time.
Understanding the Style Spotlight
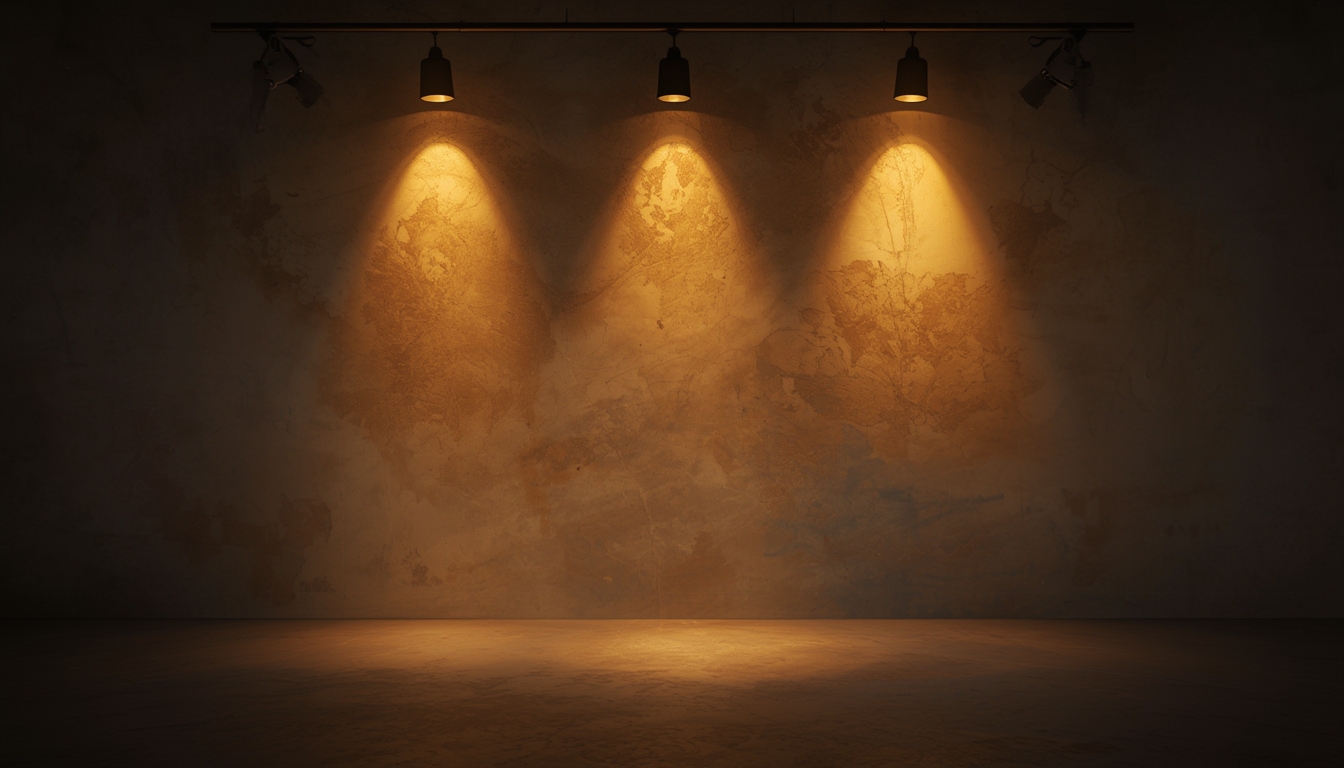
Recent market research shows that 73% of homeowners who incorporate accent lighting report higher satisfaction with their home aesthetics. A Style Spotlight typically consists of three core components:
- Base/Stand: The structural support, often metal or wood.
- Shade/Reflector: The element that diffuses light, available in glass, fabric, or acrylic.
- Bulb & Wiring: The electrical heart, usually LED for energy efficiency.
Knowing how these parts interact helps you decide whether you’re assembling a brand‑new piece, reviving an older model, or simply re‑styling the existing setup.
Essential Tools & Materials
Before you begin, gather the following items. Having everything on hand reduces interruptions and improves safety.
Basic Toolkit
- Phillips and flat‑head screwdrivers (size #2 works for most fixtures)
- Adjustable wrench or socket set (for tightening base bolts)
- Wire strippers and electrical tape (for any wiring adjustments)
- Level and measuring tape (to ensure perfect alignment)
- Soft microfiber cloths (for cleaning glass or fabric shades)
Restoration Supplies (if needed)
- Fine‑grade sandpaper (220‑grit) for minor surface scratches
- Metal or wood polish (depending on base material)
- Fabric or acrylic cleaning solution (test on a hidden area first)
- Replacement bulbs (LED, 800‑lumens, 2700K for warm ambience)
Styling Extras
- Decorative finials or caps (optional for a custom look)
- LED color‑changing bulbs (if you want dynamic lighting)
- Small decorative elements (e.g., dried flowers, beads) for the shade
Step‑by‑Step Assembly
Follow these numbered steps to assemble a new Style Spotlight from the box. Each step includes a quick tip to avoid common pitfalls.
1. Unbox and Inventory
Lay out all components on a clean surface. Verify that you have the base, shade, bulb, wiring harness, and any mounting hardware. Tip: Use a checklist to confirm nothing is missing before you start.
2. Prepare the Base
If the base is metal, wipe it with a dry microfiber cloth to remove any protective film. For wood bases, inspect for splinters and sand lightly if needed.
Actionable advice: Apply a thin coat of wood polish and let it dry for 10 minutes to enhance shine.
3. Install the Wiring Harness
1. Turn off power at the circuit breaker.
2. Strip ½ inch of insulation from the wire ends.
3. Connect the black (hot) wire to the brass screw, white (neutral) to the silver screw, and green/bare (ground) to the green screw.
4. Secure with a screwdriver, ensuring a snug fit.
Safety tip: Double‑check connections with a voltage tester before proceeding.
4. Mount the Bulb
Insert the LED bulb into the socket and twist clockwise until it clicks. Avoid overtightening, which can damage the socket.
5. Attach the Shade
Slide the shade onto the mounting bracket or screw it in place, depending on the model. Align any decorative finial before tightening.
Quick tip: Use a level to ensure the shade sits perfectly horizontal; a misaligned shade can cast uneven light.
6. Secure the Base to the Ceiling or Table
For ceiling installations, locate a joist, drill pilot holes, and use the supplied lag bolts. For table‑top models, simply place the base on a stable surface.
Pro tip: Apply a dab of silicone sealant around the base if mounting on a wall to prevent wobble.
7. Test the Light
Restore power and switch on the spotlight. Verify that the light spreads evenly and that the shade is not overheating.
Restoration: Bringing an Old Spotlight Back to Life
Older Spotlights often suffer from dull finishes, faded shades, or outdated wiring. Follow this process to restore them safely.
1. Disassemble Carefully
Remove the shade first, then unscrew the base from any mounting point. Keep screws in a labeled container to avoid loss.
2. Clean the Shade
For glass shades, mix warm water with a few drops of dish soap. Submerge the shade (if removable) and gently scrub with a soft brush. For fabric shades, spot‑test a mild upholstery cleaner, then lightly mist and blot.
3. Refurbish the Base
Metal bases: Apply a light coat of metal polish, let it sit for 5 minutes, then buff with a clean cloth.
Wood bases: Sand with 220‑grit sandpaper, wipe dust, and apply a fresh layer of polyurethane.
4. Upgrade the Wiring
Older wiring may not meet current safety standards. Replace any frayed or exposed wires with new 18‑gauge LED‑compatible wiring. Follow the same connection steps as in the assembly guide.
5. Reassemble and Test
Follow the assembly steps in reverse order, double‑checking each connection. Once powered, observe the light output for any flickering, which may indicate a loose wire.
Styling Your Spotlight for Maximum Impact
Even a perfectly functional spotlight can become a design focal point with a few creative touches.
Color‑Changing Bulbs
Swap the standard LED for a color‑changing version. Use a remote or smartphone app to adjust hue based on the time of day—warm amber for evenings, cool white for reading.
Shade Customization
Wrap a thin layer of decorative fabric around a clear acrylic shade for a soft, diffused glow. Secure with a hot glue gun, ensuring the glue does not touch the bulb.
Layered Accents
Attach small decorative elements (e.g., miniature metal leaves) to the base using a strong adhesive. Keep the overall weight under 200 g to avoid stressing the mounting hardware.
Placement Strategies
Use the spotlight in three key zones:
- Reading Nook: Position at eye level, angled 30° downward.
- Artwork Highlight: Place 2‑3 ft away, angled to illuminate the piece without glare.
- Ambient Corner: Set on a side table, using a warm bulb to create a cozy pocket.
Maintenance Checklist
Regular upkeep extends the life of your Style Spotlight and keeps it looking fresh.
- Dust the shade weekly with a microfiber cloth.
- Inspect wiring every six months for signs of wear.
- Replace bulbs annually, or sooner if brightness diminishes.
- Polish metal bases quarterly; re‑apply wood finish annually.
Final Thoughts
Style Spotlights blend function and flair, offering a data‑backed way to enhance any interior. By following the clear steps above—whether you’re assembling a brand‑new piece, breathing new life into a vintage model, or adding personalized styling—you’ll achieve a professional finish without the need for a contractor. Keep the tools handy, stay mindful of safety, and let your creativity guide the final look. Your space will thank you with a warm, inviting glow that reflects your unique style.