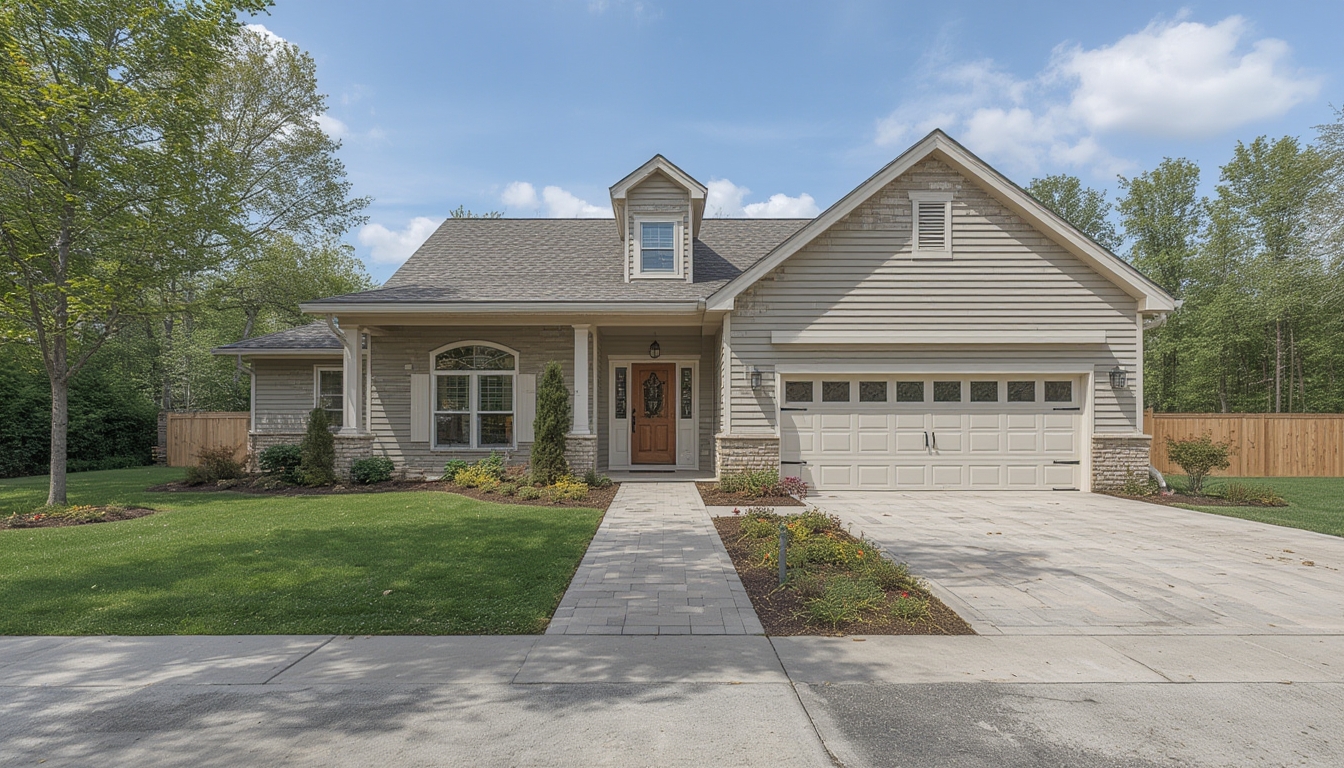
Real home tours have become a powerful way to showcase interior design, architecture, and lifestyle inspiration. Whether you’re a homeowner, a real‑estate agent, or a content creator, assembling a compelling tour involves careful planning, thoughtful restoration of any historic elements, and strategic styling that highlights each space’s unique character. Below is a step‑by‑step guide that walks you through the entire process—from initial concept to the final polished video or photo series—so you can produce a professional‑grade tour that feels authentic and engaging.
Planning Your Real Home Tour
Define the Goal and Audience
Start by answering two simple questions: What do you want viewers to take away, and who will be watching? A luxury‑market tour emphasizes high‑end finishes and smart‑home tech, while a family‑friendly tour focuses on functionality and comfort. Write a one‑sentence mission statement (e.g., “Showcase sustainable design in a mid‑century modern home”) and keep it visible throughout the project.
Create a Detailed Floor Plan
Use a free tool like SketchUp or a simple graph paper layout to map each room’s dimensions. Mark doors, windows, and any architectural quirks (nooks, built‑ins, exposed beams). This visual reference helps you decide camera paths, lighting placement, and where to stage furniture. For larger homes, break the plan into zones (public, private, service) to keep the narrative organized.
Scout the Space and List Required Resources
Walk through the house with a notebook or a note‑taking app. Jot down:
- Areas that need repair or cleaning
- Existing décor pieces you want to keep
- Potential focal points (fireplaces, artwork, view)
- Any obstacles (clutter, pets, ongoing construction)
From this list, compile a “tools & supplies” checklist (see sections below). Having everything on hand prevents last‑minute trips to the hardware store.
Assembling the Tour Elements
Gather Visual Assets
High‑quality visuals are the backbone of any tour. You’ll need:
- DSLR or mirrorless camera with a wide‑angle lens (16‑35mm is ideal)
- Tripod with a fluid head for smooth pans
- External microphone for ambient sound (if you’re recording narration)
- Smartphone gimbal for handheld walkthroughs
Before shooting, clean lenses, charge batteries, and format memory cards. Test the white balance in a well‑lit area to avoid color shifts later.
Stage Each Room
Staging is about creating a story that guides the viewer’s eye. Follow these quick actions for every space:
- Declutter: Remove personal items, excess décor, and any items that distract from the room’s purpose.
- Define a Focal Point: Position a striking piece (e.g., a statement sofa, a piece of art) directly opposite the entry point.
- Add Layered Textures: Use cushions, throws, and rugs to add depth without overcrowding.
- Balance Light: Place lamps or floor lighting to fill shadows, especially in corners.
- Final Walk‑Through: Stand at the entry and ask, “What would I notice first?” Adjust as needed.
Set Up Lighting
Natural light is your best friend, but it can be unpredictable. Combine it with artificial sources for consistency:
- Key Light: A softbox positioned at a 45° angle from the main subject.
- Fill Light: A reflector or a smaller LED panel to soften shadows.
- Back Light: A rim light behind the subject to separate it from the background.
For rooms with large windows, use sheer curtains to diffuse harsh sunlight and prevent overexposure.
Restoring Historical Features
Identify Original Details
If the home has historic elements—crown molding, original hardwood floors, or vintage tiles—catalog them early. Photograph each detail at close range and note its condition. This documentation helps you decide whether to repair, preserve, or accentuate the feature.
Basic Restoration Techniques
Here are three common tasks and the tools you’ll need:
- Floor Refinishing: Orbital sander, wood filler, polyurethane finish, and a high‑quality brush.
- Paint Touch‑Ups: Small angled brush, painter’s tape, and a matching paint swatch (use a color-matching app if needed).
- Tile Repair: Grout removal tool, matching grout mix, and a rubber float.
Work in small sections, test a hidden area first, and always wear protective gear (gloves, mask, eye protection).
Integrate Modern Comforts Respectfully
When adding new elements (e.g., smart thermostats, LED lighting), choose designs that blend with the period style. For instance, select a retro‑styled thermostat or a vintage‑look lamp that houses modern LED bulbs. This approach maintains authenticity while improving functionality.
Styling for Impact
Lighting Design for Mood
Beyond functional lighting, think about ambiance:
- Warm Light (2700‑3000K): Ideal for living rooms and bedrooms to create a cozy atmosphere.
- Cool Light (4000‑5000K): Works well in kitchens and home offices for a crisp, focused feel.
- Accent Lighting: Use LED strips or spotlights to highlight artwork, shelves, or architectural details.
Install dimmer switches where possible; they give you control over the mood with a single tap.
Furniture Placement Strategies
Follow the “traffic flow” principle: arrange furniture so that natural pathways are at least 36‑48 inches wide. In open‑plan spaces, use rugs or console tables to define zones without erecting walls. When dealing with small rooms, opt for multi‑functional pieces (e.g., a storage ottoman or a sofa bed) to maximize utility.
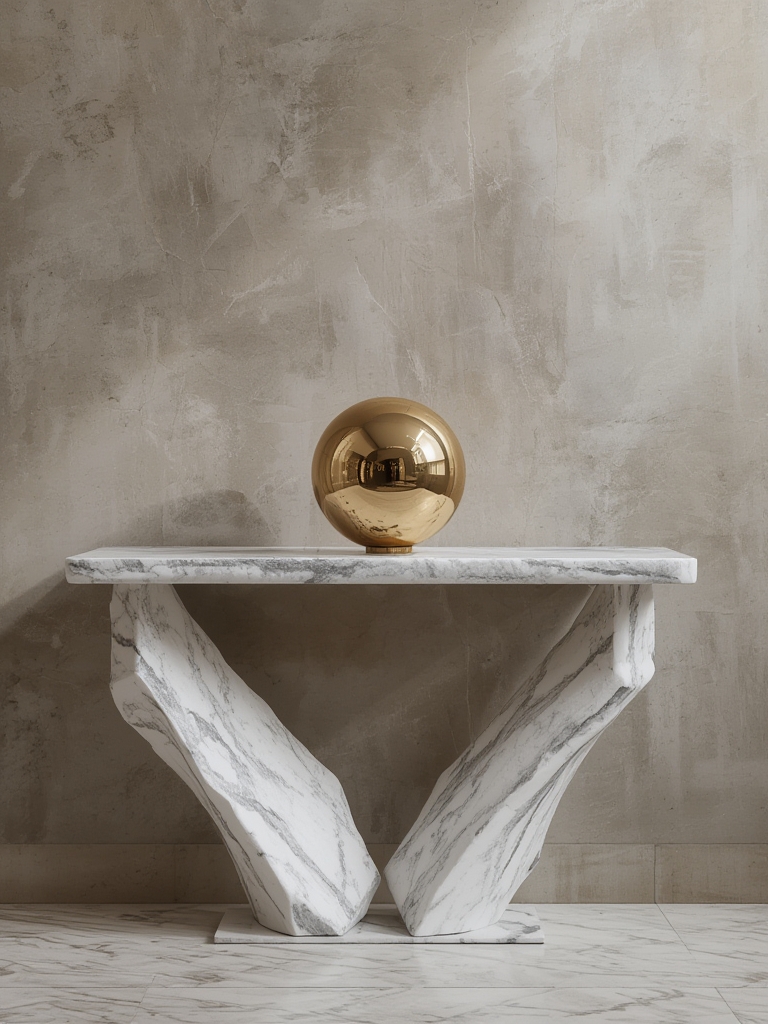
Accessorizing with Purpose
Accessories should reinforce the story you’re telling. Choose items that reflect the home’s character:
- Art: Select one or two statement pieces per room; avoid overcrowding walls.
- Plants: Add greenery for a fresh feel—choose low‑maintenance varieties like snake plants or ZZ plants for low‑light areas.
- Personal Touches: Include a few curated books, a decorative tray, or a vintage vase that ties back to the home’s history.
Keep a “one‑in, one‑out” rule: for every new accessory added, remove an existing one to maintain visual balance.
Final Walk‑Through and Quality Check
Before filming or photographing, conduct a final inspection:
- Turn on all lights and ensure none flicker.
- Check that all cords are hidden or neatly taped.
- Confirm that doors and drawers close smoothly.
- Take a quick video walk‑through to spot any missed details.
Make a checklist of these items and tick them off; it saves you from costly reshoots.
Capturing and Publishing the Tour
Filming Techniques
Use a combination of static shots and smooth motion:
- Static Shots: Position the camera on a tripod for each focal point; use a remote shutter to avoid camera shake.
- Slider or Gimbal Moves: Glide the camera slowly along a slider or gimbal to reveal room depth.
- Audio: Record ambient sound (creaking floorboards, distant traffic) and a brief voice‑over describing each space.
Keep each clip under 30 seconds to maintain viewer interest.
Editing for Cohesion
In your editing software (e.g., Adobe Premiere Pro or DaVinci Resolve), follow these steps:
- Import all footage and audio tracks.
- Trim clips to the most compelling 10‑20 second segments.
- Add transitions (cross‑fade or dissolve) to smooth room changes.
- Overlay lower‑third titles with room names and key features.
- Adjust color balance to ensure consistent warmth across all rooms.
- Export in 1080p or 4K, depending on your platform’s requirements.
Uploading to WordPress
When you’re ready to share the tour on your WordPress site:
- Navigate to Posts → Add New and paste the HTML content below.
- Use the “Add Media” button to insert your video or a gallery of high‑resolution images.
- Set a featured image that captures the home’s most striking angle.
- Publish and preview on desktop, tablet, and mobile to verify responsive layout.
By following these data‑driven steps, you’ll transform any property into a captivating real home tour that resonates with viewers, showcases the home’s best attributes, and reflects a polished, professional aesthetic.