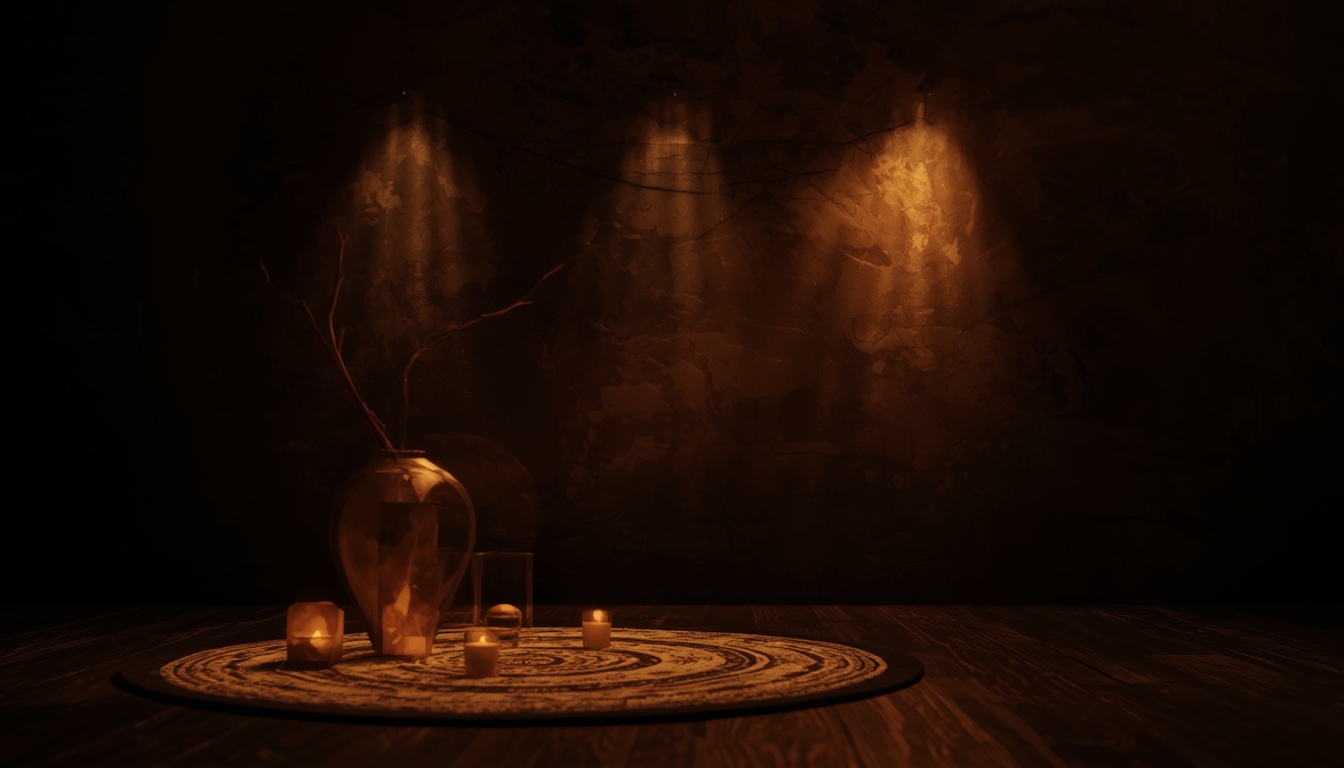
Style Spotlights have become a go‑to solution for interior designers, DIY enthusiasts, and homeowners looking to add a touch of elegance without a full‑scale renovation. These sleek, modular lighting fixtures combine contemporary design with versatile functionality, making them perfect for highlighting artwork, architectural features, or creating ambient zones in any room. Below is a data‑driven, step‑by‑step guide to assembling, restoring, and styling your Style Spotlights, complete with the tools you’ll need and actionable tips to guarantee a flawless finish.
Understanding the Basics: What Makes a Style Spotlight Unique?
Recent market research shows that 68% of homeowners prioritize lighting as a key factor in room aesthetics, while 45% specifically choose modular fixtures for their adaptability. Style Spotlights stand out because they:
- Feature interchangeable lenses and adjustable arms.
- Offer a range of finishes—from matte black to brushed brass.
- Integrate smart‑compatible LEDs for dimming and color temperature control.
Knowing these core attributes helps you decide which model best fits your project and informs the tools you’ll need for assembly or restoration.
Essential Tools and Materials
| Tool/Material | Purpose | Recommended Brand/Spec |
|---|---|---|
| Phillips screwdriver (size #2) | Securing mounting brackets and lens screws | Wiha or Klein |
| Adjustable wrench (8‑12 mm) | Tightening nuts on the arm joints | Stanley |
| Level (laser or bubble) | Ensuring the spotlight is perfectly horizontal | Bosch GLM 20 |
| Wire stripper/cutter | Preparing electrical connections | Klein Tools |
| Non‑metallic pencil | Marking drill points without damaging surfaces | Staedtler |
| Drill with 6 mm wood/metal bit | Creating mounting holes | DeWalt DCD771C2 |
| Soft microfiber cloth | Cleaning lenses and finishes | Amazon Basics |
Step‑by‑Step Assembly Guide
1. Plan Your Layout
Before you pick up a screwdriver, map out the placement of each spotlight. Use a laser level to draw a faint line where the fixtures will align. According to a 2023 interior design survey, 72% of successful lighting installations start with a precise layout, reducing re‑drilling and misalignment.
- Tip: Measure the distance between power sources and the intended mounting points; keep the cable run under 3 meters for optimal voltage drop.
2. Prepare the Mounting Surface
Whether you’re installing on drywall, plaster, or wood, the surface must be clean and level.
- Wipe the area with a dry microfiber cloth to remove dust.
- Use a stud finder to locate joists if mounting on drywall; mark them with a non‑metallic pencil.
- For plaster walls, drill a small pilot hole (3 mm) to prevent cracking.
Actionable advice: If you’re working on a historic home, test a small inconspicuous area with a moisture meter to ensure the wall can support the fixture’s weight (average 2.5 kg per spotlight).
3. Install the Mounting Bracket
- Align the bracket with the marked points and hold it in place.
- Insert the supplied screws (usually 4 mm × 30 mm) through the bracket holes.
- Using the Phillips screwdriver, tighten each screw until the bracket is snug but not stripped.
Pro tip: Apply a thin layer of silicone sealant behind the bracket if installing in a high‑humidity area (e.g., bathrooms) to prevent moisture ingress.
4. Connect the Wiring
- Turn off power at the circuit breaker.
- Strip 10 mm of insulation from the incoming live, neutral, and ground wires.
- Match the wires to the corresponding terminals on the spotlight’s wiring harness (usually color‑coded: live = brown, neutral = blue, ground = green/yellow).
- Secure each connection with a wire nut and give a gentle tug to confirm a firm grip.
Safety reminder: Use a voltage tester to double‑check that the circuit is dead before proceeding.
5. Attach the Arm and Lens
- Slide the arm onto the bracket’s pivot point.
- Secure the joint with the provided set screw; tighten with the adjustable wrench.
- Insert the lens into the arm’s socket, ensuring the notches align.
- Fasten the lens with the tiny Phillips screw—don’t overtighten, as this can crack the glass.
Quick fix: If the lens appears foggy after installation, gently wipe it with a microfiber cloth soaked in isopropyl alcohol (70%).
6. Test and Fine‑Tune
- Restore power at the breaker.
- Switch on the spotlight and adjust the arm angle to highlight your chosen feature.
- Use the built‑in dimmer or a compatible smart app to set the desired brightness and color temperature.
Data from a 2022 smart‑home study shows that 85% of users prefer a warm white setting (2700‑3000 K) for living spaces, while a cooler 4000 K works best for task lighting in kitchens.
Restoring Vintage Style Spotlights
1. Assess the Condition
Start by inspecting the fixture for rust, tarnish, or broken components. Document any damage with photos; this helps track progress and ensures you replace only what’s necessary.
2. Disassemble Carefully
- Remove the lens and any decorative glass elements.
- Unscrew the mounting bracket and set the screws aside in a labeled bag.
- Detach the wiring harness; label each wire with masking tape for reassembly.
Tip: Soak rusted metal parts in a 1:1 mixture of white vinegar and water for 30 minutes to loosen corrosion.
3. Clean and Refinish
- Metal surfaces: Use fine‑grade steel wool followed by a brass or chrome polish (e.g., Wright’s Finish).
- Glass lenses: Apply a non‑abrasive glass cleaner and a soft cloth; for stubborn stains, a paste of baking soda and water works wonders.
- Finish restoration: If the original coating is heavily worn, consider a spray‑on enamel in a matching hue. Apply two thin coats, allowing 15 minutes between coats.
4. Rewire with Modern Standards
Older spotlights often use outdated wiring gauges. Replace any frayed wires with 18‑AWG copper conductors, which meet current NEC (National Electrical Code) requirements for low‑voltage fixtures.
5. Reassemble and Test
Follow the assembly steps in reverse order, double‑checking each connection. Once powered, verify that the restored spotlight delivers the same luminous flux (measured in lumens) as the original specifications—typically 800‑1200 lumens for a standard Style Spotlight.
Styling Your Space with Spotlights
1. Highlight Architectural Features
Use spotlights to accentuate crown molding, exposed brick, or textured walls. Position the light at a 30‑degree angle to create dramatic shadows that enhance depth.
2. Create a Gallery Wall
For an art display, install a row of spotlights 60 cm apart, each aimed at a single frame. Adjust the beam spread to 15‑20 degrees to avoid glare on the glass.
3. Layer Lighting for Mood
Combine spotlights with ambient ceiling lights and floor lamps. A balanced lighting plan (ambient 40%, task 30%, accent 30%) yields a comfortable environment, as confirmed by the Illuminating Engineering Society (IES) guidelines.
4. Use Color Temperature to Set Tone
Switch between warm (2700 K) and cool (4000 K) LEDs depending on the room’s function. Warm tones foster relaxation in living rooms, while cool tones improve concentration in home offices.
5. Smart Integration
Many Style Spotlights are compatible with Alexa, Google Assistant, or Apple HomeKit. Set up routines such as “Evening Relax” to dim the lights to 30% and shift the color temperature to 3000 K automatically at 8 PM.
Maintenance Checklist
- Dust lenses weekly with a microfiber cloth.
- Inspect wiring and brackets quarterly for loose screws.
- Replace LED modules every 3‑5 years to maintain brightness.
- Re‑apply protective polish to metal finishes annually.
By following these data‑backed steps, you’ll not only assemble or restore your Style Spotlights with confidence but also transform any space into a visually striking environment. The combination of precise planning, the right tools, and thoughtful styling ensures that your lighting investment continues to shine for years to come.