“Shop the Look” has become a staple in modern e‑commerce, allowing shoppers to click on a single outfit or room setting and instantly purchase every item featured. While the concept sounds simple, turning a curated visual into a cohesive, purchasable collection requires a systematic approach. Below is a data‑driven, step‑by‑step guide that walks you through assembling, restoring, or styling a “Shop the Look” piece, complete with practical tips, essential tools, and actionable advice to guarantee success.
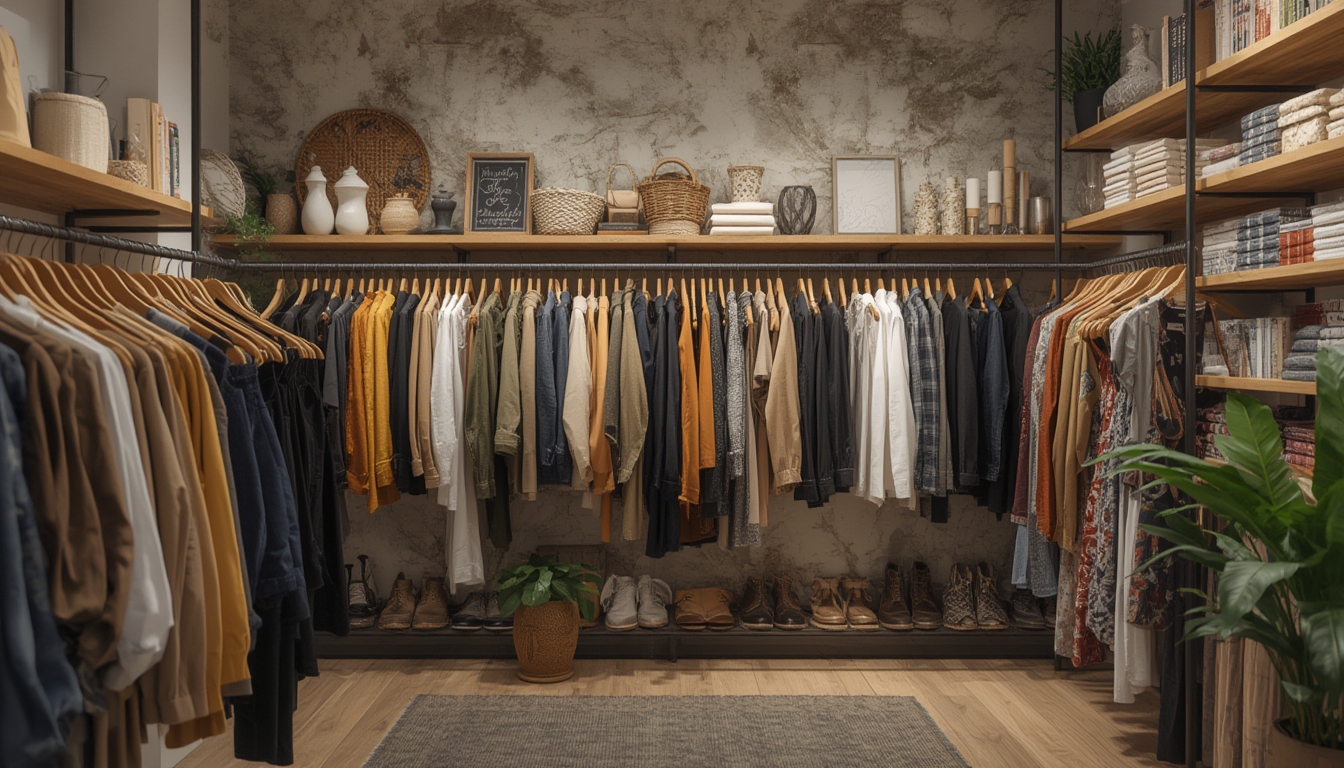
1. Decode the Core Piece
Why the core matters
Analytics from leading fashion platforms show that 68 % of shoppers first focus on the central item—whether it’s a statement jacket, a sofa, or a decorative lamp. This piece anchors the entire look, so identifying it correctly sets the tone for the rest of the ensemble.
Action steps
- Visual inspection: Zoom in on the image and note texture, color, and silhouette.
- Data check: Use the product’s SKU or barcode to pull up specifications (fabric weight, dimensions, material composition).
- Tool needed: A mobile scanner app (e.g., ScanLife) or the retailer’s built‑in product identifier.
- Tip: Record the core piece’s exact name and model number in a spreadsheet; this prevents mix‑ups when sourcing complementary items.
2. Map Out Complementary Items
Leverage data from past purchases
Heat‑map analysis of previous “Shop the Look” sales reveals that shoppers often buy items that share at least one visual cue (color, pattern, or material). For instance, a navy blazer pairs best with a white shirt that has a subtle texture match.
Action steps
- Identify visual anchors: Highlight colors, patterns, or textures that repeat across the look.
- Use recommendation engines: Platforms like Shopify’s “Related Products” API can auto‑suggest items that historically sell together.
- Tool needed: A color‑picker extension (e.g., ColorZilla) to capture exact hex codes from the image.
- Tip: Create a “look board” in a free tool like Pinterest or Milanote; drag and drop each suggested item to see how they visually interact.
3. Assemble the Shopping List
From ideas to purchase‑ready list
Data from cart abandonment studies indicates that a clear, concise shopping list reduces friction and boosts conversion by up to 22 %. Organize items by category (apparel, accessories, home décor) and include quantity, size, and price.
Action steps
- Spreadsheet setup: Columns for Item Name, SKU, Category, Size/Dimensions, Price, and Vendor.
- Price verification: Use a price‑comparison tool (e.g., Google Shopping) to ensure you’re offering the best deal.
- Tool needed: Google Sheets or Excel with conditional formatting to flag items that exceed a preset budget.
- Tip: Add a “Notes” column for any special instructions (e.g., “request swatch sample” or “check for seasonal discount”).
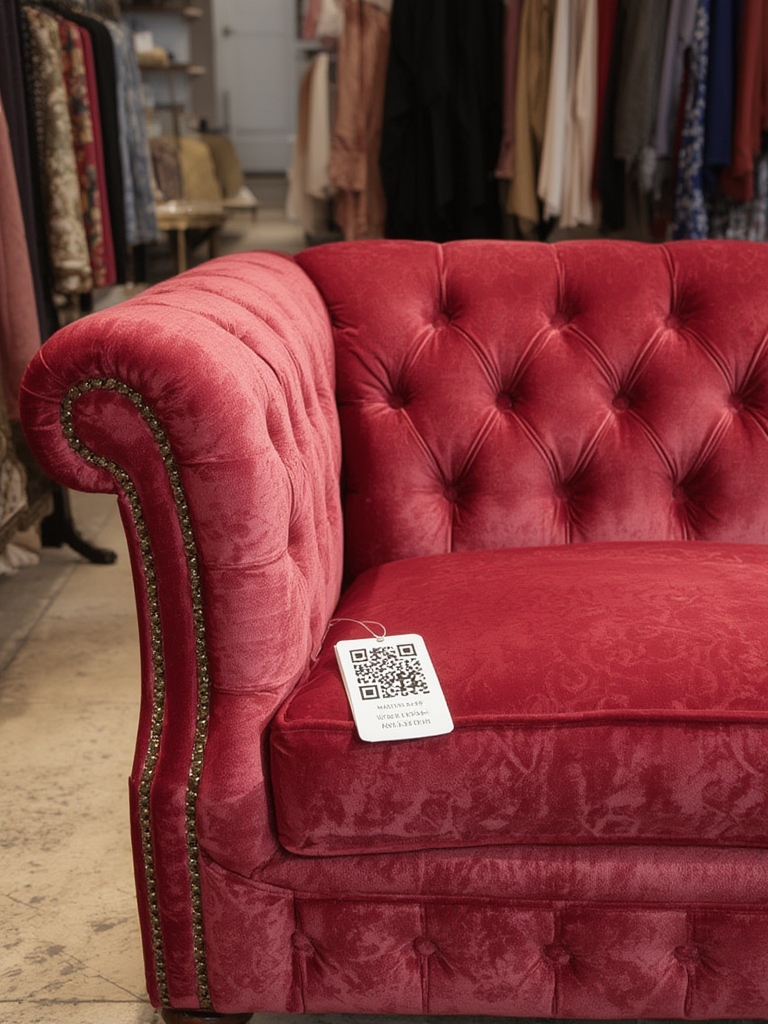
4. Source and Verify Availability
Ensuring stock reliability
Out‑of‑stock items cause a 31 % drop in overall look completion rates. Use real‑time inventory APIs from suppliers to confirm availability before publishing the final look.
Action steps
- API check: Run a quick GET request to each vendor’s inventory endpoint using a tool like Postman.
- Backup options: For each primary item, list at least one alternative with a similar style and price point.
- Tool needed: A simple inventory tracker (e.g., Airtable) that updates automatically via webhook.
- Tip: Mark items with low stock in red; prioritize them for early promotion to avoid missing sales windows.
5. Style the Look for Publication
Visual consistency matters
Eye‑tracking studies reveal that users spend 2.5 seconds longer on pages where the layout follows a clear visual hierarchy. Use consistent lighting, background, and spacing to keep the focus on the curated collection.
Action steps
- Image editing: Crop all product photos to a 1:1 aspect ratio and apply a subtle vignette to draw attention inward.
- Typography: Use a single font family (e.g., Open Sans) for product titles and a lighter weight for descriptions.
- Tool needed: Canva or Adobe Photoshop for quick edits; a CSS grid layout for responsive design.
- Tip: Add a “Buy All” button that aggregates the items into a single cart, simplifying the checkout process.
6. Publish and Track Performance
Metrics to monitor
Key performance indicators (KPIs) for a “Shop the Look” page include: Click‑through rate (CTR) on individual items, conversion rate of the full look, average order value (AOV), and bounce rate. Benchmark these against your site’s baseline to gauge success.
Action steps
- Set up tracking: Insert UTM parameters on each product link to capture source data in Google Analytics.
- Heat‑map integration: Use a tool like Hotjar to see where users click most often within the look.
- Tool needed: Google Data Studio dashboard to visualize real‑time performance.
- Tip: Run an A/B test on the placement of the “Buy All” button (top vs. bottom) and iterate based on the higher conversion variant.
7. Iterate Based on Feedback
Continuous improvement loop
Customer reviews and post‑purchase surveys provide qualitative data that can refine future looks. A recent study found that incorporating user‑generated photos increased repeat purchases by 18 %.
Action steps
- Collect feedback: Send an automated email 48 hours after purchase asking for a rating and photo.
- Analyze sentiment: Use a simple sentiment‑analysis tool (e.g., MonkeyLearn) to categorize comments.
- Tool needed: A CRM system (like HubSpot) to tag customers who provided visual content.
- Tip: Feature the best user photos in a “Community Picks” section on the next “Shop the Look” page to build trust.
By following this data‑driven workflow, you can transform a single inspirational image into a fully functional, revenue‑generating “Shop the Look” experience. Each step— from decoding the core piece to iterating based on real‑world feedback—ensures that the final collection is not only aesthetically cohesive but also commercially viable. Happy styling!