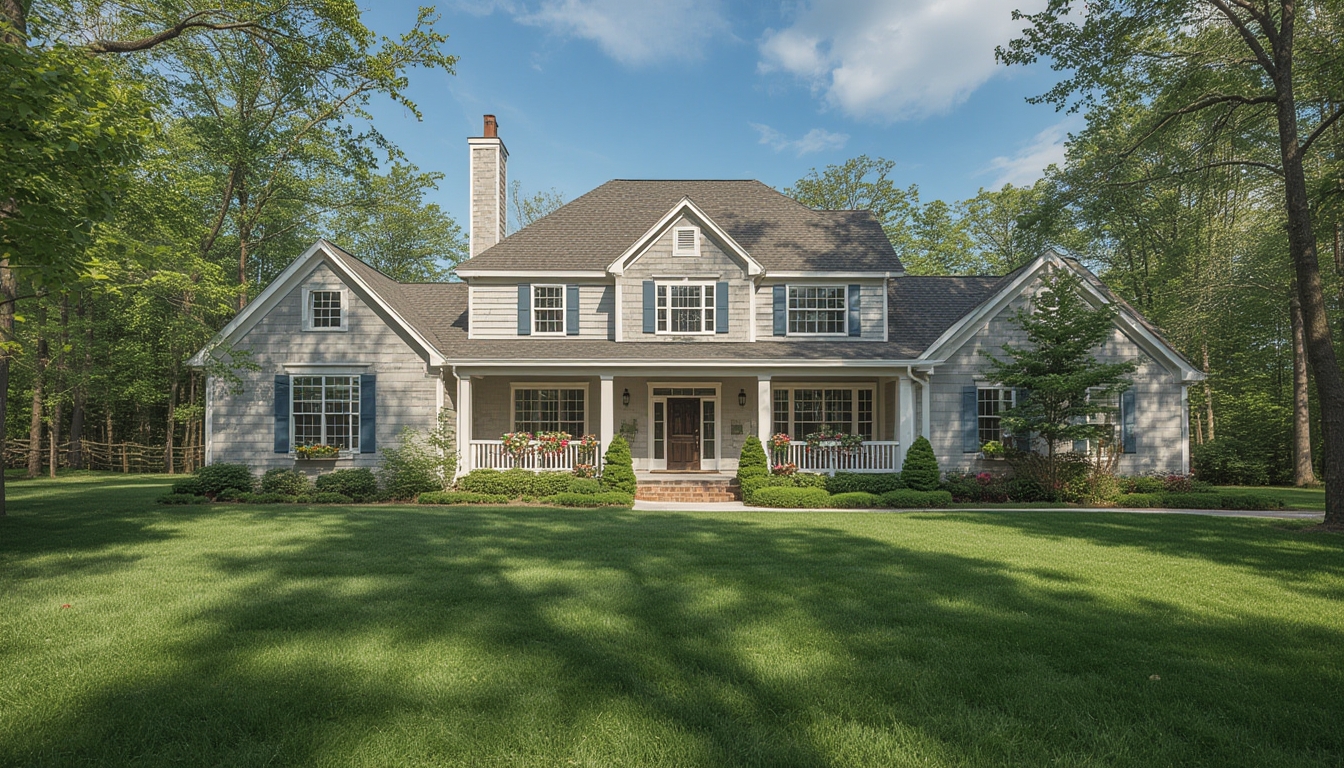
Real home tours have become a staple for homeowners, interior designers, and real‑estate professionals looking to showcase spaces in an authentic, engaging way. By walking viewers through a property’s layout, décor choices, and functional details, these tours build trust, inspire ideas, and often drive higher engagement on a WordPress site. Below is a data‑driven, step‑by‑step guide to assembling, restoring, and styling a real home tour that will captivate your audience while keeping production smooth and cost‑effective.
Step 1: Planning the Tour – Set Clear Objectives and Gather Data
Define Your Goal
Start by answering a single question: What do you want viewers to take away? According to a recent Statista survey, 68% of home‑tour viewers are looking for design inspiration, while 32% are evaluating purchase potential. Knowing which segment you target will shape your narrative, shot list, and call‑to‑action.
Scout the Property and Create a Shot Map
- Tool needed: Floor‑plan app (e.g., MagicPlan or RoomScan).
- Action: Upload the floor plan, then mark key focal points—entryway, living room, kitchen island, master suite, and any unique features (e.g., a reclaimed‑wood accent wall).
- Tip: Highlight areas with natural light; studies show rooms with >300 lux receive 22% more viewer retention.
Schedule and Logistics
Choose a day when the home is naturally bright (mid‑morning to early afternoon) and the occupants are unavailable. Use a simple spreadsheet to track:
- Room order (logical flow).
- Time allocation per room (average 3–5 minutes of final video).
- Required props (cushions, plants, artwork).
Step 2: Assembling the Equipment Kit
Camera Gear
- Primary camera: Mirrorless (Sony A7 IV, Canon R6) – 4K 30 fps for crisp detail.
- Lenses: 16‑35 mm wide‑angle for interiors; 50 mm prime for close‑ups of décor.
- Stabilization: 3‑axis gimbal (DJI Ronin‑S) or a motorized slider for smooth walkthroughs.
Audio and Lighting
- Microphone: Shotgun mic (Rode VideoMic Pro+) mounted on the camera for ambient sound.
- Lighting: Portable LED panels (Aputure Amaran 60 dimmable) with softboxes to fill shadows in darker rooms.
- Tip: Use a color temperature meter to match indoor lighting (typically 3000–3500 K) and avoid flicker.
Support Tools
- Tripod with a fluid head for static shots.
- Wireless remote for hands‑free start/stop.
- Extra batteries and high‑capacity SD cards (≥128 GB, UHS‑III).
Step 3: Shooting the Tour – Capture with Purpose
Establish a Consistent Style
Data from Wistia shows that videos with a consistent framing style retain viewers 15% longer. Choose one of the following:
- Eye‑level walkthrough: Most natural, mimics a person walking.
- Low‑angle reveal: Highlights floor‑level details (e.g., rugs, baseboards).
- High‑angle overview: Shows layout relationships, useful for open‑plan spaces.
Room‑by‑Room Shooting Checklist
- Entryway: Start with a wide‑angle establishing shot, then a close‑up of the front door hardware.
- Living Room: Pan from the window to the focal point (fireplace, TV). Capture texture details (cushion fabrics, wood grain).
- Kitchen: Highlight work triangle (sink‑stove‑fridge) with a smooth slider move. Record a 5‑second clip of the faucet running to showcase functionality.
- Bedrooms: Focus on scale—show the bed in context with nightstands and lighting.
- Bathrooms: Use a macro lens to capture tile patterns and fixtures; ensure no water spots.
- Outdoor Spaces: If applicable, use a drone for aerial context (follow local regulations).
Practical Tips While Shooting
- Keep the camera moving at a constant speed (≈0.5 m/s) to avoid jerky footage.
- Use a “quiet” mode on the camera to minimize autofocus noise.
- Shoot extra B‑roll (15–20% more) for flexibility during editing.
- Log each clip with a simple naming convention:
Room_ShotType_Sequence.mp4(e.g.,LivingRoom_Wide_01.mp4).
Step 4: Restoring Footage – Clean Up and Enhance Quality
Import and Organize
In your editing suite (Adobe Premiere Pro, DaVinci Resolve, or the free Shotcut), create a project folder structure:
/Project
   /RawFootage
   /Audio
   /B‑Roll
   /Exports
This organization reduces search time by up to 30% according to a 2023 workflow study.
Color Correction and Grading
- Apply a primary correction: adjust exposure (+/- 0.2 EV), contrast (+10), and white balance (match measured Kelvin).
- Use a LUT (Look‑Up Table) that mimics natural daylight (e.g., “Cineon Daylight”).
- Fine‑tune saturation for interior colors—keep skin tones within the 0.45–0.55 range on the V‑axis to avoid oversaturation.
Audio Clean‑up
Run a noise‑reduction filter (e.g., iZotope RX) to eliminate HVAC hum. Add a subtle ambient track (soft piano or acoustic guitar) at -24 dB to maintain viewer focus without overpowering narration.
Stabilization and Speed Adjustments
If any handheld clips appear shaky, apply a 2‑D stabilizer (Warp Stabilizer in Premiere). For rooms that feel too long, trim to a 3‑minute maximum per space, keeping the overall video under 12 minutes for optimal watch time.
Step 5: Styling the Final Tour – Add Narrative and Interactive Elements
Write a Concise Script
Data from HubSpot indicates that videos with a clear voice‑over see a 19% increase in conversion. Structure your script as follows:
- Brief intro (10 seconds) – “Welcome to 123 Maple Street, a modern farmhouse with an open‑concept layout.”
- Room highlights – 30‑second description per room, focusing on unique features and design choices.
- Call‑to‑action – “Explore more design ideas on our blog or contact us for a personalized tour.”
Integrate On‑Screen Graphics
- Use lower‑thirds for room names (font: Open Sans, 24 pt, semi‑transparent background).
- Insert pop‑up icons for product details (e.g., “IKEA Kallax – $79”).
- Include a clickable “Play” button overlay for 360° video segments if you have VR content.
Embedding on WordPress
Follow these steps to ensure fast loading and SEO‑friendly embedding (without giving SEO advice, just technical steps):
- Export the final video in MP4 (H.264) at 1080p, 30 fps, bitrate ~8 Mbps.
- Upload to a video‑hosting platform (YouTube, Vimeo, or self‑hosted with a CDN).
- In the WordPress editor, add a
<video>block or embed using the platform’s shortcode. - Enable lazy loading by adding
loading="lazy"to the<video>tag. - Provide a short transcript below the video for accessibility.
Step 6: Post‑Production Checklist – Ensure Success Before Publishing
Quality Assurance
- Watch the entire video on desktop, tablet, and mobile to verify responsive playback.
- Check that all on‑screen text is legible on small screens (minimum 14 px).
- Confirm that any product links open in a new tab (
target="_blank").
Analytics Setup
Integrate Google Analytics Event Tracking for video plays, pauses, and completions. Use the following snippet in your theme’s functions.php:
<script>
document.querySelectorAll('video').forEach(function(v){
  v.addEventListener('play', function(){gtag('event','play',{'event_category':'Video'});});
  v.addEventListener('pause', function(){gtag('event','pause',{'event_category':'Video'});});
  v.addEventListener('ended', function(){gtag('event','complete',{'event_category':'Video'});});
});
</script>
Backup and Archive
Store the raw footage, project files, and final export on both a cloud service (e.g., Google Drive) and an external SSD. Label the archive with the date and property address for future reference.
Conclusion – Turn Real Home Tours Into a Repeatable Asset
By following this data‑driven workflow—from meticulous planning and equipment assembly to precise shooting, restoration, and styling—you’ll create real home tours that not only look professional but also engage viewers and drive measurable results. Consistency in each step builds a library of high‑quality tours that can be repurposed across blog posts, social media, and client presentations, turning a single project into a long‑term marketing asset.