Real home tours have become a powerful way to showcase interior design, architecture, and lifestyle inspiration. By walking viewers through a space, you create an immersive experience that builds trust, sparks ideas, and drives engagement. This guide walks you through every stage—planning, filming, editing, and publishing—so you can produce a polished, data‑driven home tour that feels authentic and professional.
1. Define Your Objective and Audience
Before you lift a camera, clarify the purpose of the tour. Are you highlighting a renovation, promoting a real‑estate listing, or curating design trends? Knowing the goal informs every decision, from the rooms you feature to the style of narration.
Actionable Steps
- Set a measurable KPI. For example, aim for a 30% increase in page dwell time or 200 new newsletter sign‑ups within two weeks.
- Identify the target persona. Use existing analytics to pinpoint age, interests, and buying stage. A millennial first‑time buyer will value budget‑friendly tips, while a luxury‑focused audience expects high‑end finishes.
- Create a brief. Write a one‑paragraph summary that includes the property type, key features, and the primary call‑to‑action (CTA) you’ll embed at the end.
2. Scout the Property and Create a Shot List
A thorough pre‑visit saves time on set and ensures you capture every detail that matters to your audience.
Tools Needed
- Smartphone or tablet with a note‑taking app (e.g., Evernote, Notion)
- Laser measuring tool or tape measure
- Floor plan template (PDF or printable)
- Digital camera or smartphone for quick reference photos
Actionable Steps
- Measure each room. Record dimensions to the nearest inch. These numbers will later appear as on‑screen graphics, adding credibility.
- Identify focal points. Note architectural features (e.g., a vaulted ceiling, custom millwork) and high‑impact décor (e.g., a statement chandelier).
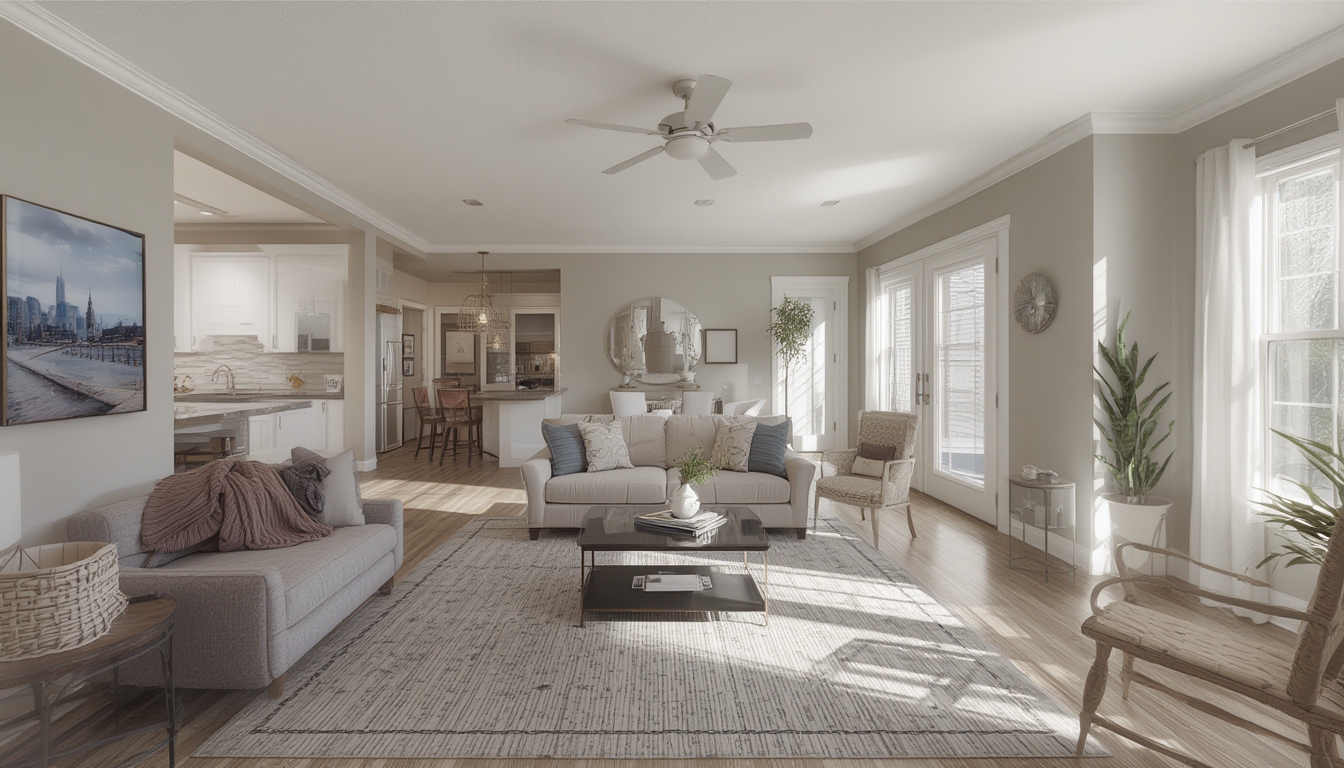
- Draft a logical flow. Start at the entrance, move through public spaces, then private rooms. This mirrors how visitors naturally explore a home.
- Assign shot types. For each room, list wide‑angle shots, close‑ups of details, and any “before‑and‑after” comparisons you plan to include.
3. Gather Equipment and Prepare the Space
High‑quality visuals are the backbone of a successful home tour. Invest in reliable gear and set the environment for optimal lighting.
Essential Gear
- Mirrorless or DSLR camera with a 16‑35mm wide‑angle lens
- Tripod with a fluid head for smooth pans
- External microphone (shotgun or lapel) for clear narration
- Portable LED light panels (bi‑color) with diffusers
- Gimbal stabilizer (optional for dynamic walkthroughs)
- Backup batteries and SD cards (minimum 64 GB)
Pre‑Shoot Checklist
- Declutter each room. Remove personal items that distract from the design narrative.
- Stage strategically. Add fresh towels, a vase of flowers, or a neatly folded throw to convey lived‑in comfort.
- Control natural light. Shoot during mid‑morning or late afternoon when sunlight is soft. Use blackout curtains to eliminate harsh glare if needed.
- Set white balance. Use a gray card or the camera’s custom white‑balance setting to keep colors accurate across all rooms.
4. Capture the Tour – Filming Techniques
Consistent framing and smooth movement keep viewers engaged and reduce post‑production workload.
Step‑by‑Step Filming Process
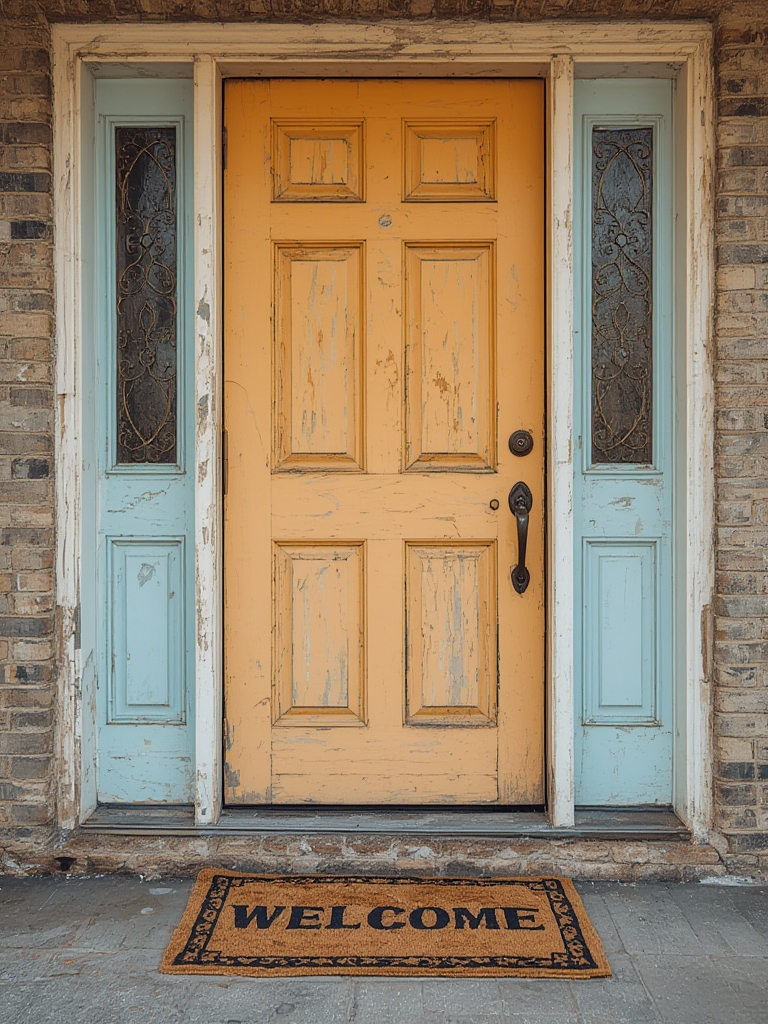
- Establish a static opening shot. Position the camera on a tripod at the front door, frame the entryway, and record a 5‑second establishing clip.
- Use a slow, steady glide. Walk at a measured pace (≈1.2 m/s) while keeping the camera level. If using a gimbal, lock the horizon and maintain a slight forward tilt to reveal depth.
- Incorporate “look‑at” points. Pause briefly (2–3 seconds) in front of each focal point, then pan slowly to highlight details.
- Capture close‑ups. Switch to a handheld mode or use the tripod’s swivel head for tight shots of textures, hardware, and finishes.
- Record ambient sound. Capture a few seconds of natural room acoustics (e.g., a gentle fan, distant traffic) to layer under narration for realism.
- Take “before” footage. If the property has been renovated, film the pre‑renovation state for side‑by‑side comparison.
Practical Tips
- Keep the camera at eye level (≈1.6 m) to mimic a natural viewer perspective.
- Use a remote shutter or timer to avoid camera shake when starting/stopping recordings.
- Monitor audio levels on the external mic; aim for peaks around –12 dB to –6 dB.
5. Edit the Footage – Post‑Production Workflow
Editing transforms raw clips into a compelling narrative. Follow a structured workflow to stay efficient and maintain consistency.
Software Recommendations
- Adobe Premiere Pro (professional)
- DaVinci Resolve (free, robust color grading)
- Final Cut Pro X (Mac users)
Editing Steps
- Import and organize. Create bins for “Establishing Shots,” “Room Walkthroughs,” “Close‑Ups,” and “Audio.” Rename clips with descriptive labels (e.g., “LivingRoom_Wide_01”).
- Rough cut the sequence. Drag clips onto the timeline following the shot list flow. Trim excess footage to keep each segment under 30 seconds.
- Add transitions. Use simple cross‑dissolves (0.5 seconds) between rooms to maintain continuity without distracting the viewer.
- Overlay graphics. Insert dimension callouts, material tags, and a floor‑plan overlay. Use a clean sans‑serif font (e.g., Open Sans) and keep text on screen for no longer than 4 seconds.
- Color correct and grade. Balance white balance across clips, then apply a subtle warm LUT to enhance the home’s inviting feel.
- Sync narration. Record a concise voice‑over (≈150 words per room) that highlights key features, then align it with the corresponding visuals.
- Mix audio. Level the narration at –3 dB, background music at –18 dB, and ambient room sounds at –12 dB. Use a royalty‑free track that matches the home’s style (e.g., acoustic for a cozy cottage).
- Export. Choose H.264 codec, 1080p resolution, 30 fps, and a bitrate of 12 Mbps for optimal web playback.
6. Publish on WordPress and Optimize for Engagement
With the video ready, embed it within a well‑structured blog post that guides readers through the tour.
Embedding and Layout
- Upload the video to a streaming platform (YouTube or Vimeo) and use the “Embed” block in Gutenberg.
- Place a featured image that captures the home’s most striking angle.
- Break the post into sections using H2 headings for each room, and H3 subheadings for design details.
- Include a “Key Takeaways” box after each room, summarizing the main design elements.
Actionable Publishing Checklist
- Insert timestamps. Add a table of contents with anchor links to each room for easy navigation.
- Add alt text. Describe each image and video thumbnail with concise, descriptive text for accessibility.
- Enable comments. Pose a question at the end of the post (“Which room inspired you the most?”) to encourage interaction.
- Set up a CTA. Link to a contact form, a downloadable floor plan PDF, or a related blog series.
- Schedule social sharing. Use a plugin like “Social Snap” to auto‑publish snippets on Instagram, Facebook, and Pinterest.
7. Measure Success and Iterate
Data‑driven refinement ensures each subsequent home tour outperforms the last.
Key Metrics to Track
- Average watch time (aim for >60% of video length)
- Scroll depth on the page (percentage of content viewed)
- Conversion rate on the CTA (e.g., form submissions)
- Social shares and comments per post
Iterative Improvements
- Analyze drop‑off points. If viewers exit at a specific room, revisit the editing or narration for that segment.
- Test different intros. A 5‑second teaser of the most visually striking space can boost initial engagement.
- Gather feedback. Send a short survey to email subscribers asking what they liked and what could be clearer.
- Update the post. Add new photos, revised measurements, or a short “update” video if the property undergoes changes.
By following these data‑backed steps—from pre‑planning to post‑publish analysis—you’ll create real home tours that not only look stunning but also drive measurable results. Each phase is designed to be repeatable, allowing you to scale your content production while maintaining high quality and audience trust.