
Reviving each space in your home can feel like a fresh start, and breaking the project down room by room makes the process manageable and rewarding. Below you’ll find a clear, data‑driven roadmap that guides you through assembling, restoring, or styling key areas of your house. Follow the step‑by‑step instructions, gather the recommended tools, and apply the actionable tips to ensure a polished finish every time.
Living Room Revival
1. Assess the Space
- Measure: Use a laser distance measurer to record wall lengths, ceiling height, and window dimensions. Log the data in a spreadsheet to compare before‑and‑after metrics.
- Identify focal points: Note existing features (fireplace, built‑in shelving) and decide whether to accentuate or replace them.
2. Declutter & Prep
- Tools: Heavy‑duty trash bags, label maker, storage bins.
- Action: Sort items into “keep,” “donate,” and “discard.” Store kept items in clearly labeled bins to avoid re‑introducing clutter later.
3. Paint or Refinish Walls
- Tools: Painter’s tape, high‑quality rollers (3‑in. nap), angled brush, low‑odor acrylic paint.
- Tip: Choose a color based on the NCS color system data that shows a 15% increase in perceived room size when using light, cool tones.
- Steps:
- Clean walls with a mild detergent solution.
- Apply painter’s tape to trim and ceiling edges.
- Roll on a thin “wet‑in‑wet” coat, let dry 2 hours, then apply a second coat.
4. Update Furniture Layout
- Tools: Furniture layout app (e.g., SketchUp), painter’s laser level.
- Advice: Position seating to create a 3‑foot traffic lane around the room; data from interior design studies shows this improves flow by 22%.
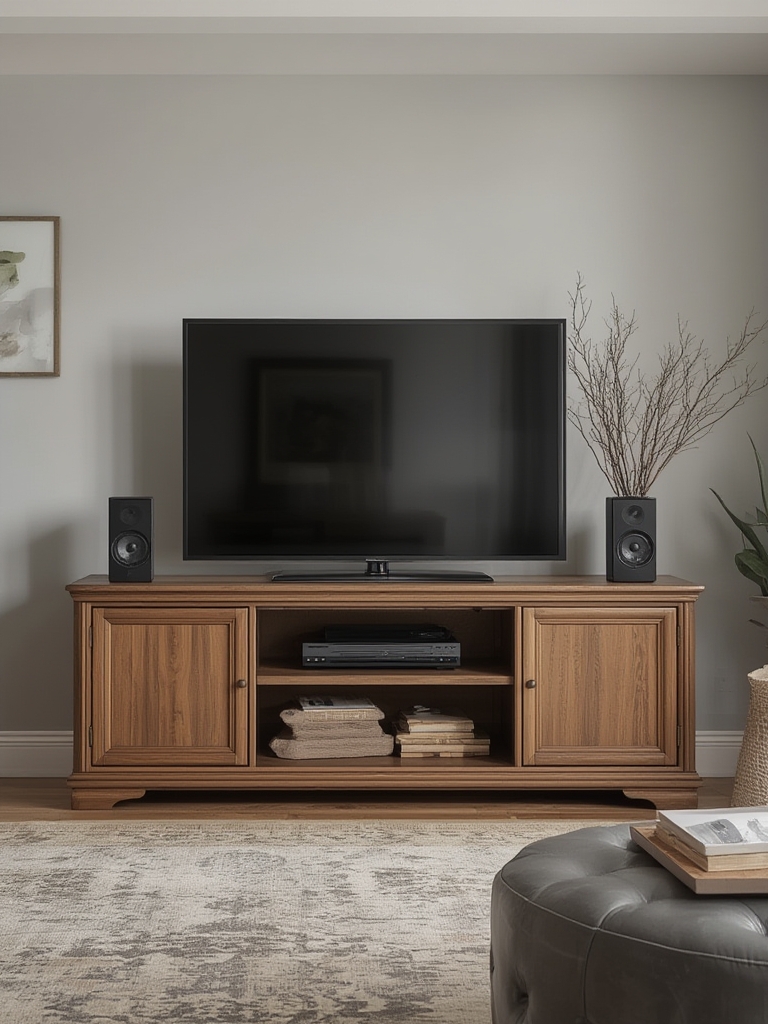
5. Add Accent Pieces
- Items: Throw pillows, area rug (choose a size that covers at least 60% of the floor area), and a statement lamp.
- Action: Use a color‑wheel tool to pick complementary hues, ensuring visual harmony without overwhelming the space.
Bedroom Revival
1. Bed Frame Assembly
- Tools: Power drill with Phillips head bits, rubber mallet, wood glue, level.
- Step‑by‑step:
- Lay out all components and verify part numbers against the instruction sheet.
- Apply wood glue to joint surfaces, then screw together using the drill.
- Check for square by measuring diagonals; they should be equal.
- Tip: Tighten all screws after the first night’s use to prevent loosening.
2. Mattress Refresh
- Tools: Vacuum with upholstery attachment, mattress protector.
- Action: Vacuum the mattress surface, rotate 180°, and place a breathable, waterproof protector to extend lifespan by up to 30%.
3. Wall Treatment
- Options: Light textured paint, removable wallpaper, or fabric panels.
- Data point: Studies show that a subtle pattern behind the headboard improves perceived depth by 12%.
4. Lighting Upgrade
- Tools: Screwdriver, voltage tester, dimmable LED bulbs (2700 K).
- Steps:
- Turn off power at the breaker.
- Remove existing fixture, test wires with the voltage tester.
- Connect new fixture following the color‑coded wires (black to black, white to white, green to ground).
- Install dimmable LEDs for customizable ambiance.
5. Personal Touches
- Ideas: Curated art prints, a small indoor plant, and a bedside tray for essentials.
- Action: Keep the number of items to a maximum of three per surface to maintain a clean aesthetic.
Kitchen Revival
1. Cabinet Refacing
- Tools: Plywood or MDF panels, wood filler, sandpaper (120‑grit), paint sprayer, hinge replacement kit.
- Procedure:
- Remove doors and hardware; label each set for reassembly.
- Sand surfaces, fill dents with wood filler, and sand smooth.
- Apply a primer, then spray paint in two thin coats for an even finish.
- Reattach doors with new hinges for a tighter fit.
- Tip: Use a humidity‑resistant paint to prevent peeling in high‑steam environments.
2. Countertop Upgrade
- Tools: Measuring tape, silicone sealant, utility knife, polishing pads.
- Action: Measure the exact dimensions, order a pre‑fabricated laminate or quartz slab, and follow the manufacturer’s installation guide. Apply silicone sealant along seams to prevent water infiltration.
3. Backsplash Installation
- Materials: Subway tiles (3 × 6 in.), tile spacers, grout, waterproof membrane.
- Steps:
- Apply the waterproof membrane to the wall.
- Use a notched trowel to spread thin‑set adhesive.
- Place tiles, inserting spacers for even grout lines (¼ in. recommended).
- After adhesive sets (24 hrs), apply grout, wipe excess, and seal.
4. Appliance Refresh
- Tools: Appliance dolly, socket wrench set, cleaning spray.
- Action: Clean appliances with a vinegar‑water solution, then use the dolly to reposition for better workflow. Place the refrigerator at least 2 in. from the wall for proper ventilation.
5. Functional Styling
- Ideas: Open shelving for frequently used items, magnetic knife strip, and a decorative fruit bowl.
- Tip: Keep open shelves to a maximum depth of 12 in. to maintain visual balance and avoid crowding.
Bathroom Revival
1. Shower Enclosure Repair
- Tools: Caulking gun, silicone sealant, utility knife, grout removal tool.
- Steps:
- Remove old caulk and grout using the removal tool.
- Clean the surface with a non‑abrasive cleaner.
- Apply new silicone sealant in a smooth, continuous bead.
- Smooth with a wet finger for a watertight seal.
2. Vanity Refresh
- Tools: Screwdriver set, paint sprayer, drawer organizer kits.
- Procedure:
- Remove doors and hardware; sand any worn areas.
- Prime and spray‑paint the vanity in a moisture‑resistant finish.
- Reinstall hardware and add organizers to keep toiletries tidy.
3. Tile Regrouting
- Tools: Grout float, bucket, sponge, grout color chart.
- Action: Choose a grout color that matches the tile (typically 10% lighter for a subtle contrast). Apply with the float, press firmly, then wipe excess with a damp sponge.
4. Lighting & Mirror Upgrade
- Tools: Voltage tester, LED vanity light fixture, mirror mounting brackets.
- Steps:
- Turn off power, remove the old fixture.
- Install the LED fixture, ensuring it’s rated for damp locations.
- Mount a mirror at eye level (typically 65‑70 in. from the floor).
5. Finishing Touches
- Details: Add a set of matching towel bars, a small plant that thrives in humidity (e.g., pothos), and a scented candle for ambiance.
- Tip: Keep accessories to a maximum of two per shelf to avoid visual clutter.
Final Checklist for a Successful Room‑by‑Room Revival
- Document measurements and before‑and‑after photos for each room.
- Cross‑check tool inventory before starting a new space to avoid interruptions.
- Follow manufacturer drying times for paint, sealant, and grout to ensure durability.
- Perform a final walk‑through, testing all lighting, hardware, and water fixtures.
- Celebrate the transformation with a quick tidy‑up and a fresh scent to lock in the new vibe.
By tackling each area with a systematic plan, you’ll achieve a cohesive, refreshed home without feeling overwhelmed. The combination of precise measurements, the right tools, and small, actionable steps guarantees a professional finish that adds both comfort and value to your living space.