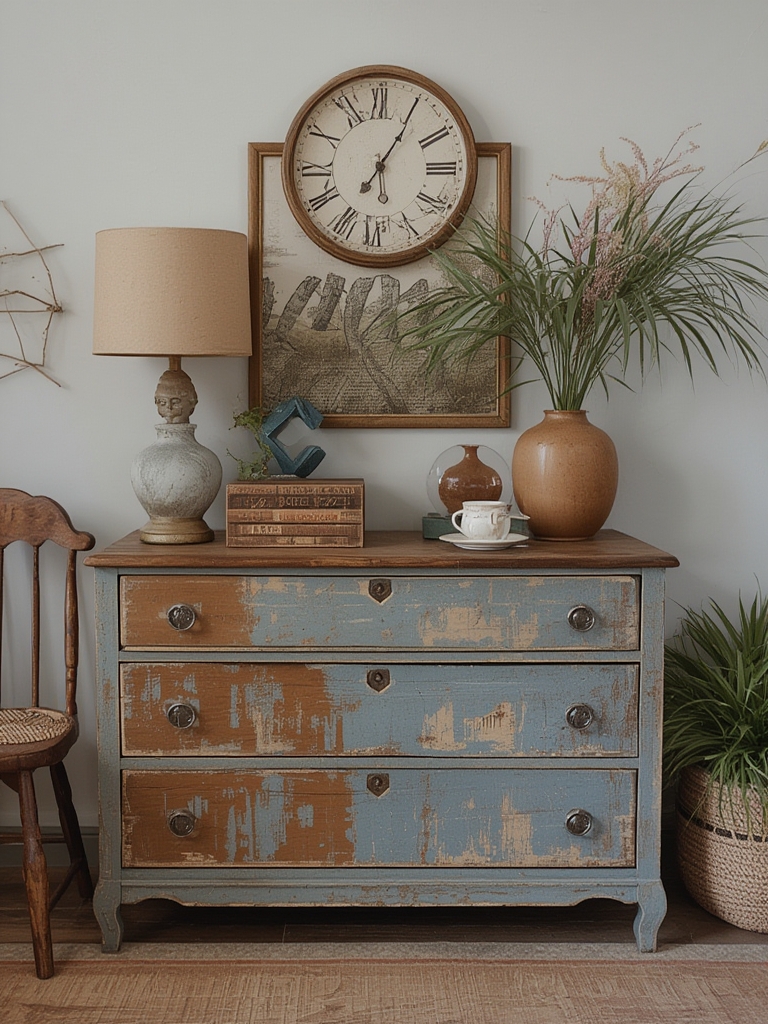
Vintage furniture is more than just a nostalgic nod to the past—it’s a sustainable, stylish solution that can transform any space into a curated haven. By upcycling and repurposing these timeless pieces, you not only reduce waste but also add character that mass‑produced items simply can’t match. Below is a data‑driven, step‑by‑step guide to sourcing, refurbishing, and styling vintage finds, plus a quick plant‑care cheat sheet for the greenery that often completes the look.
Why Upcycled Vintage Furniture Works: The Numbers
- Environmental impact: According to the EPA, furniture accounts for 6% of landfill waste. Refurbishing a single piece can prevent up to 150 kg of CO₂ emissions compared to buying new.
- Cost savings: The average markup on new mid‑century modern furniture is 45–60%. A well‑chosen vintage item can be 30–70% cheaper after a modest refresh.
- Resale value: A 2023 Houzz survey found that 42% of homeowners who invested in upcycled pieces reported a 20% increase in home appraisal value.
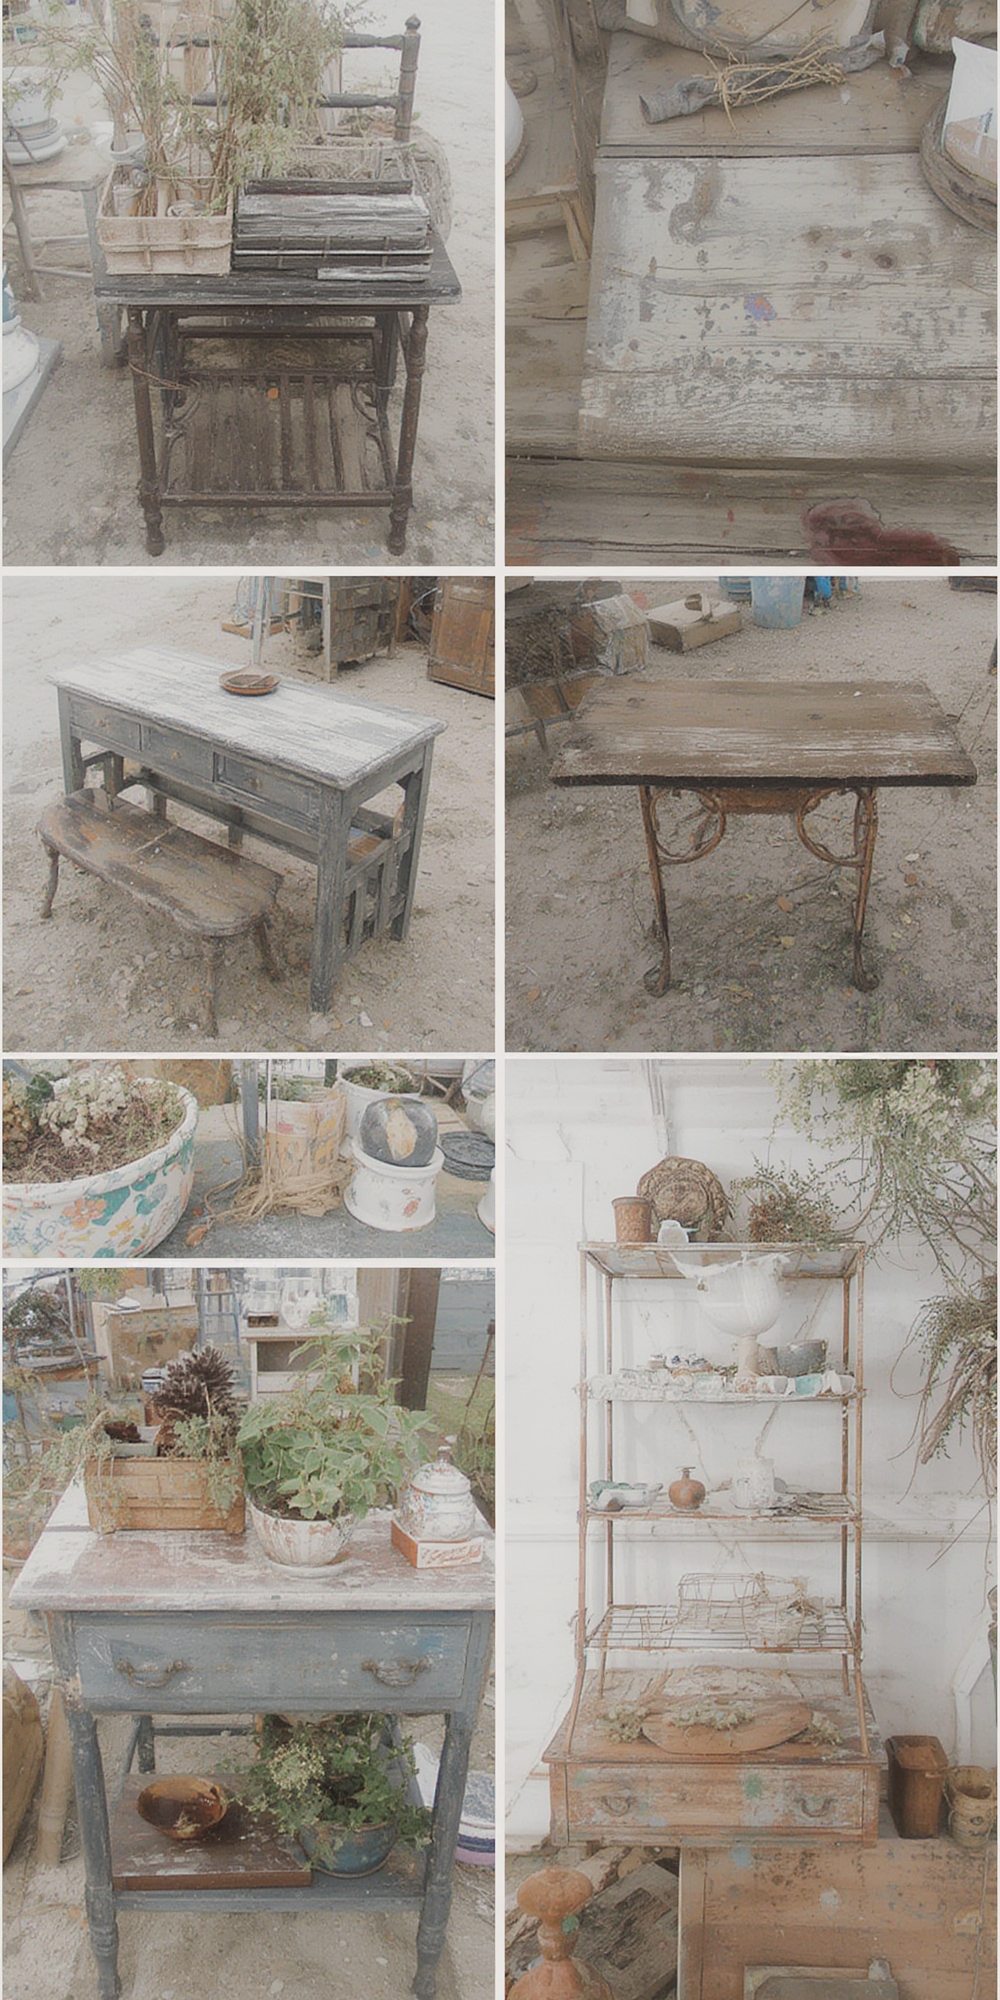
Step 1: Hunt for the Right Piece
Where to Look
- Thrift stores & flea markets: These venues often rotate inventory weekly, giving you fresh options.
- Estate sales & auctions: Look for items from the 1940s‑1970s, a period rich in solid wood and iconic design.
- Online marketplaces: Use filters for “vintage,” “mid‑century,” or “retro” and set alerts for price drops.
What to Inspect
- Structural integrity: Check for wobbling joints, loose screws, or cracked wood.
- Finish condition: Minor scratches are easy to sand; deep gouges may need filler.
- Hardware compatibility: Original knobs and pulls can be reused or swapped for a fresh look.
Step 2: Clean and Prep the Surface
Materials Needed
- Gentle all‑purpose cleaner or diluted vinegar solution
- Soft cloths and a soft‑bristle brush
- Sandpaper (120‑grit for rough work, 220‑grit for finishing)
- Wood filler (if needed)
Process
- Dust removal: Use a brush to clear crevices, then wipe with a damp cloth.
- Degreasing: Apply the vinegar solution, let sit 5 minutes, then rinse with a clean damp cloth.
- Sanding: Lightly sand the entire surface to create a “tooth” for new paint or stain. Wipe away dust with a tack cloth.
- Repair: Fill any cracks or holes with wood filler, sand smooth once dry.
Step 3: Choose a Finish That Matches Your Aesthetic
Popular Options
- Chalk paint: Gives a matte, lived‑in feel; great for distressed looks.
- Oil‑based stain: Enhances grain; ideal for mid‑century wood.
- Milk paint: Eco‑friendly, low VOC, and creates a soft, vintage patina.
Application Tips
- Test on a hidden area first to ensure color accuracy.
- Apply in thin, even coats; allow 2–4 hours between layers.
- Seal with a water‑based polyurethane for durability, especially on high‑traffic pieces.
Step 4: Add Personality with Hardware & Accents
Hardware Swaps
- Brass pulls add warmth; matte black knobs create a modern contrast.
- Use a screwdriver with a torque limiter to avoid over‑tightening vintage screws.
Creative Accents
- Decoupage: Apply vintage postcards or botanical prints for a curated collage.
- Stenciling: Simple geometric patterns can modernize a 1950s sideboard.
- Fabric upholstery: Swap out worn cushions with linen or velvet in complementary hues.
Step 5: Style the Space – Pairing Furniture with Greenery
Plants soften the hard lines of vintage furniture and reinforce the sustainable narrative. Below is a quick care guide for the Snake Plant (Sansevieria trifasciata), a low‑maintenance favorite that thrives alongside upcycled pieces.
Plant‑Care Cheat Sheet
- Light: Bright, indirect light; tolerates low‑light corners.
- Watering: Water every 3‑4 weeks; let soil dry completely between waterings.
- Soil: Use a well‑draining cactus mix (1 part potting soil, 1 part perlite).
- Fertilizer: Apply a balanced liquid fertilizer (½ strength) once in spring and once in summer.
- Cleaning: Wipe leaves with a damp cloth monthly to remove dust and improve photosynthesis.
Practical Placement Tips
- Contrast textures: Place the upright leaves on a reclaimed‑wood coffee table for visual balance.
- Height layering: Use a vintage ladder shelf as a plant stand; the Snake Plant’s vertical growth complements the ladder’s linear form.
- Color coordination: Choose a pot in a muted terracotta or brushed metal to echo the furniture’s finish.
Step 6: Maintain Your Upcycled Piece
Routine Checks
- Quarterly inspection: Tighten any loose hardware and re‑sand any wear spots.
- Seasonal touch‑ups: Reapply a thin coat of sealant every 12–18 months to protect against humidity.
Long‑Term Longevity Hacks
- Use felt pads under legs to prevent floor scratches.
- Rotate decorative items (e.g., cushions, throws) to distribute wear evenly.
- Keep the piece out of direct sunlight to avoid fading of paint or stain.
Final Thoughts
Upcycling vintage furniture isn’t just a DIY project—it’s a conscious design choice that blends sustainability, style, and personal storytelling. By following the data‑backed steps above, you’ll create a cohesive home aesthetic that feels both timeless and fresh. Pairing your refurbished pieces with hardy houseplants like the Snake Plant adds a living touch, reinforcing the eco‑friendly vibe while keeping maintenance simple. Happy hunting, restoring, and styling!