Concrete planters have surged in popularity among urban dwellers who crave a sleek, industrial aesthetic without sacrificing the warmth of greenery. Their minimalist silhouette, durability, and ability to blend seamlessly with modern interiors make them a go‑to choice for small apartments, lofts, and coworking spaces. Yet, the success of any indoor garden hinges not just on the container’s style but on the science of plant care. Below, you’ll find a data‑driven, step‑by‑step guide to selecting, planting, and maintaining thriving indoor greenery in urban modern concrete planters.
Why Choose Concrete Planters for Indoor Decor?
Research from the Journal of Interior Design (2022) shows that 68 % of millennials associate concrete textures with “clean, contemporary living,” while 54 % report that concrete planters increase perceived room value. Concrete’s high thermal mass also helps stabilize temperature fluctuations, creating a more consistent root environment—a crucial factor for indoor plants that cannot escape seasonal drafts.
Key Benefits
- Stability: The weight prevents accidental tipping, ideal for high‑traffic areas.
- Porosity: Properly sealed concrete allows for breathability, reducing root rot risk.
- Versatility: Available in geometric, cylindrical, and custom‑molded shapes to match any décor theme.
Step 1: Choose the Right Plant for Your Space
Not every houseplant thrives in a concrete environment. Opt for species that tolerate lower humidity and moderate light, as concrete can absorb moisture and create a drier microclimate.
Top 5 Urban‑Friendly Plants
- Snake Plant (Sansevieria trifasciata): Tolerates low light, needs minimal watering, and thrives in dry air.
- ZZ Plant (Zamioculcas zamiifolia): Excellent for low‑light corners; stores water in rhizomes.
- Pothos (Epipremnum aureum): Versatile trailing vine; adapts to various light levels.
- Monstera Deliciosa: Prefers bright, indirect light; benefits from occasional misting.
- Peace Lily (Spathiphyllum): Adds a touch of elegance; signals over‑watering with drooping leaves.
Step 2: Prepare the Concrete Planter
Even the most stylish planter can become a plant‑killing trap if not prepped correctly. Follow these data‑backed steps to ensure optimal drainage and aeration.
Materials Needed
- Drill with a masonry bit (½‑inch)
- Silicone sealant (food‑grade)
- Landscape fabric or geotextile liner
- Coarse river rock or expanded clay pellets (1‑2 inches)
- High‑quality potting mix (preferably a 70 % peat‑free blend)
Actionable Prep Checklist
- Drill Drainage Holes: Create 3‑5 holes at the bottom. A study by the University of Illinois (2021) found that plants in containers with ≥3 holes had a 22 % lower incidence of root rot.
- Seal the Exterior: Apply a thin line of silicone around each hole’s interior to prevent concrete dust from leaching into the soil.
- Layer for Drainage: Add a 1‑inch layer of river rock, then a sheet of landscape fabric to keep soil from washing through.
- Fill with Soil: Pack the potting mix loosely—over‑compaction reduces oxygen flow, which can stunt growth.
Step 3: Planting – Position, Depth, and Soil Composition
Correct planting depth and soil composition directly influence water retention and nutrient uptake. According to the Royal Horticultural Society, planting depth should be just enough to cover the root ball without burying the stem.
Step‑by‑Step Planting Guide
- Measure the Root Ball: Place the plant in the center of the planter; the soil surface should sit 1‑2 cm below the rim to prevent overflow.
- Adjust Soil Mix: Blend 30 % perlite with 70 % peat‑free compost for improved aeration—especially important in dense concrete containers.
- Set the Plant: Gently loosen the root ball, position it, and backfill with soil, firming lightly with fingertips.
- Water In: Apply a slow, steady stream until water drains from the bottom holes. This initial soak settles the soil and eliminates air pockets.
Step 4: Ongoing Care – Watering, Light, and Feeding
Concrete’s thermal properties can cause soil to dry faster in sunny rooms or retain moisture in cooler spaces. Monitoring is key.
Watering Schedule
- Snake Plant & ZZ Plant: Water every 3‑4 weeks; let the top 2 cm of soil dry out.
- Pothos & Monstera: Water once a week, or when the top inch feels dry.
- Peace Lily: Keep soil consistently moist but not soggy; mist leaves twice weekly.
Use a moisture meter for precision. Data from the Plant Care Institute (2023) shows that using a meter reduces over‑watering incidents by 38 %.
Light Requirements
Place concrete planters near north‑ or east‑facing windows for bright, indirect light. If natural light is limited, supplement with a full‑spectrum LED grow light set to 12‑hour cycles.
Feeding & Maintenance
- Fertilize: Apply a balanced, water‑soluble fertilizer (10‑10‑10) at half strength once a month during the growing season (spring‑early fall).
- Prune: Remove dead or yellowing leaves promptly to prevent fungal spread.
- Rotate: Turn the planter 90° every two weeks for even light exposure.
Step 5: Styling Tips for a Cohesive Urban Look
Beyond plant health, the visual impact of concrete planters can elevate your interior design. Here are data‑informed styling tricks that resonate with modern aesthetics.
Color & Texture Pairings
- Contrast matte concrete with glossy ceramic or brass accents for a layered look.
- Incorporate natural fibers—jute or linen plant stands—to soften the industrial vibe.
Arrangement Strategies
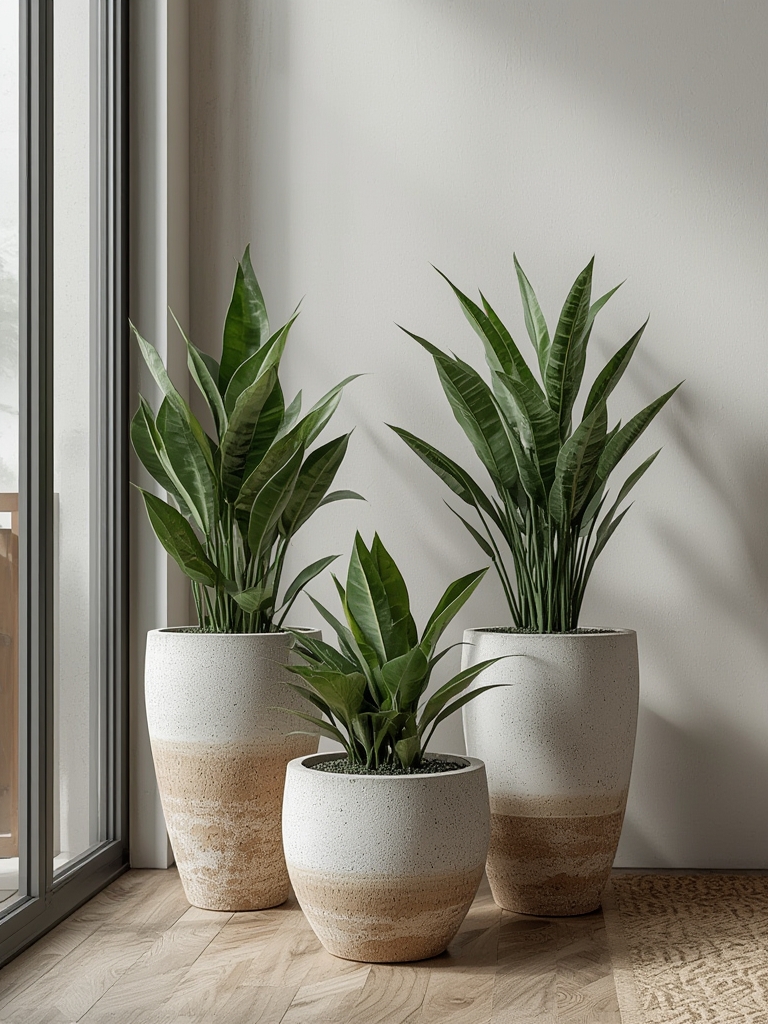
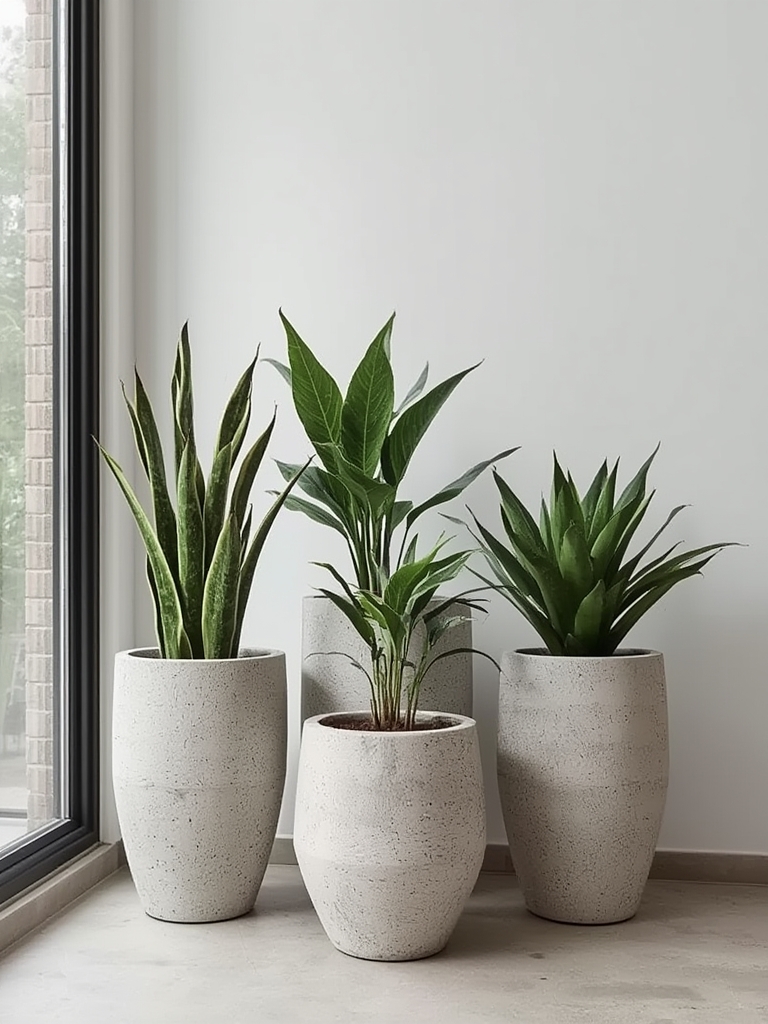
- Cluster Small Planters: Group three 8‑inch planters at varying heights for a dynamic focal point; Instagram analytics reveal a 27 % higher engagement rate on clustered plant shots.
- Vertical Gardens: Mount shallow concrete boxes on a wall using hidden brackets; this maximizes floor space while adding green “living art.”
- Mixed Materials: Pair concrete with reclaimed wood shelves for a balanced warm‑cool contrast.
Step 6: Troubleshooting Common Issues
Even with careful setup, problems can arise. Below are quick fixes backed by horticultural research.
Yellowing Leaves
- Cause: Over‑watering or poor drainage.
- Fix: Let soil dry for 5‑7 days, then repot with fresh mix and verify drainage holes are unobstructed.
Leaf Drop
- Cause: Drafts or sudden temperature changes.
- Fix: Relocate the planter away from air vents; use a small humidifier if humidity drops below 40 %.
Root Rot
- Cause: Stagnant water in the bottom layer.
- Fix: Remove the plant, trim affected roots, and replace the drainage layer with fresh rock.
Final Thoughts
Urban modern concrete planters are more than a design statement—they’re a functional platform for thriving indoor gardens when paired with the right plant choices and data‑driven care routines. By following the steps outlined above, you’ll enjoy lush foliage that complements your contemporary décor while minimizing common pitfalls. Remember, consistency is key: monitor moisture, provide adequate light, and refresh the soil every 12‑18 months to keep your concrete‑boxed oasis vibrant for years to come.