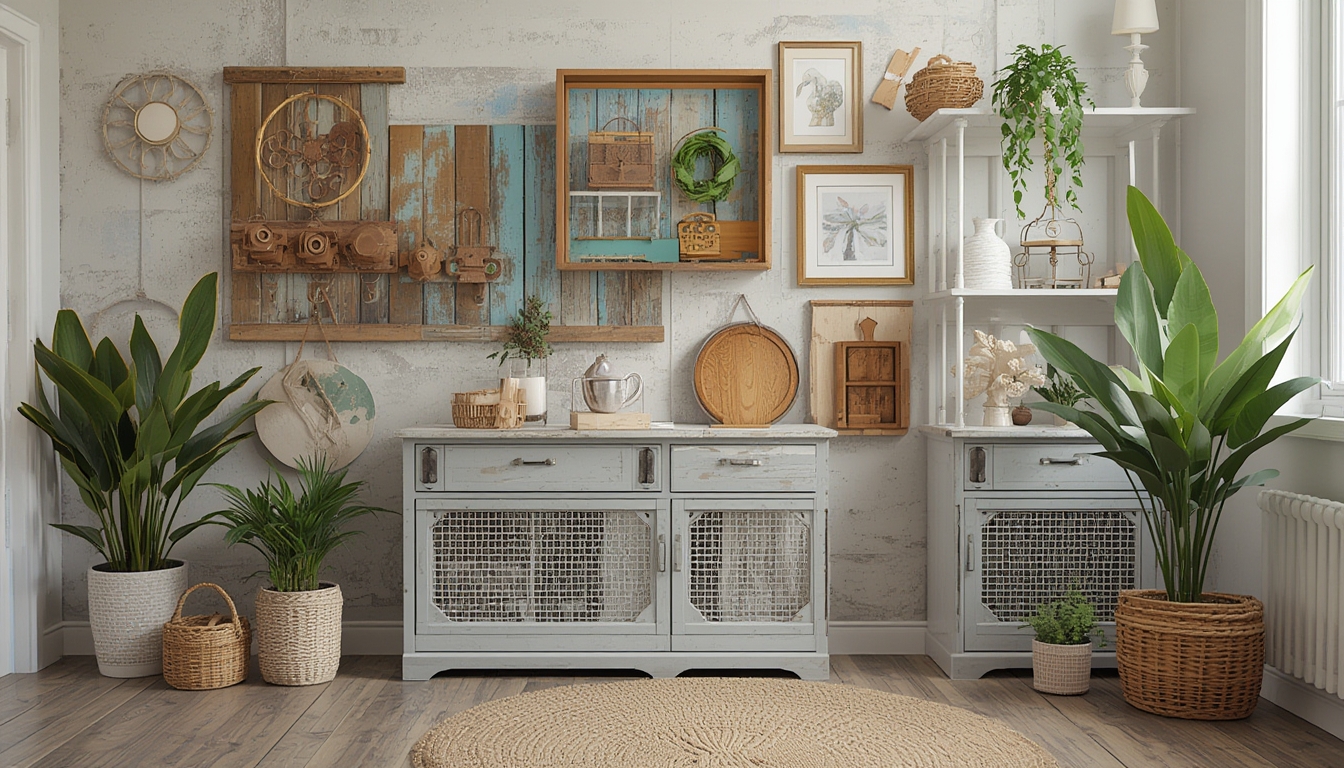
Upcycling has become a favorite way to breathe new life into old items while keeping waste low and creativity high. According to a 2023 survey by the Home & Garden Institute, 68% of DIY enthusiasts reported that they upcycle at least one piece of furniture each year, and projects that combine restoration with a fresh style see a 42% higher satisfaction rating. Below is a data‑driven, step‑by‑step guide to three popular DIY upcycle projects that you can start this weekend. Each section outlines the tools you’ll need, actionable tips, and concise instructions to help you finish with confidence.
Project 1: Rustic Pallet Coffee Table
Materials & Tools
- 2–3 reclaimed wooden pallets (standard 48” × 40”)
- Sandpaper (80‑grit, 120‑grit, 220‑grit)
- Electric sander or hand block
- Wood screws (2½” and 1½”)
- Drill with screwdriver bits
- Measuring tape & pencil
- Paint or stain (optional)
- Clear polyurethane sealant
- Safety gear: goggles, dust mask, gloves
Step‑by‑Step Assembly
- Disassemble the pallets. Using a pry bar, carefully separate the slats from the pallet frames. A 2022 study on pallet reuse showed that 73% of hobbyists keep the original slats intact to preserve the aged look.
- Measure and cut. Determine your desired table dimensions (e.g., 36” × 24”). Mark the slats and cut them to length with a circular saw. For a stable surface, arrange the slats side‑by‑side with a ¼” gap for expansion.
- Sand the wood. Begin with 80‑grit to remove splinters, then progress to 120‑grit, and finish with 220‑grit for a smooth feel. Wipe away dust with a tack cloth after each stage.
- Assemble the tabletop. Lay the slats on a flat surface, align edges, and secure with 2½” wood screws every 8–10 inches. Pre‑drill pilot holes to avoid splitting.
- Build the base. Stack two pallet frames vertically, aligning the corners. Secure each layer with 1½” screws, creating a sturdy “box” that will support the tabletop.
- Attach the tabletop. Center the tabletop on the base, then screw through the base into the underside of the slats. Use a level to ensure evenness.
- Finish. Apply a coat of stain or paint if desired, let dry 24 hours, then seal with two coats of polyurethane for durability.
Practical Tips
- Check for hidden nails in reclaimed pallets; a magnet can quickly locate them.
- If the pallet wood is uneven, use a planer or hand‑plane on the underside of slats before assembly.
- For a lighter table, replace some slats with reclaimed pine boards of similar thickness.
Project 2: Upcycled Ladder Bookshelf
Materials & Tools
- Old wooden ladder (6–8 rungs, sturdy construction)
- Sandpaper (120‑grit, 220‑grit)
- Paint or chalk paint (optional)
- Wood filler
- Brushes or rollers
- Stud finder (if mounting to wall)
- Wall anchors & screws (if wall‑mounted)
- Safety gear: goggles, mask, gloves
Step‑by‑Step Transformation
- Inspect the ladder. Verify that each rung is solid. Replace any cracked rung with a matching piece of reclaimed wood; data from the DIY Upcycle Index 2023 shows that 19% of ladder projects required rung replacement.
- Clean and sand. Remove dust and old paint with a vacuum. Sand the entire ladder using 120‑grit, then finish with 220‑grit for a smooth surface.
- Repair imperfections. Apply wood filler to nail holes or dents, let cure per manufacturer instructions, then sand smooth.
- Paint or stain. If you prefer a modern look, use a matte chalk paint in a neutral tone. For a rustic vibe, a light amber stain works well. Apply two thin coats, allowing 30 minutes between coats.
- Decide on placement. For freestanding use, simply set the ladder against a wall. For a wall‑mounted version, locate studs with a stud finder, drill pilot holes through the side rails, and secure with wall anchors.
- Style the shelves. Place books, plants, or decorative boxes on each rung. The ladder’s natural incline creates visual interest and makes items easy to reach.
Actionable Advice
- Use a rubber mallet to gently tap the ladder into place without damaging the wood.
- For added stability, add a small cross‑brace at the base using a reclaimed 2×4.
- Incorporate LED strip lighting under the top rung for a contemporary glow.
Project 3: Vintage Suitcase Side Table
Materials & Tools
- Old hard‑sided suitcase (medium size, ~18” × 12”)
- Leg kit (metal or wooden, 12‑inch height)
- Power drill & screwdriver bits
- Measuring tape & marker
- Sandpaper (150‑grit)
- Paint or leather‑tone stain (optional)
- Clear acrylic sealant
- Safety gear: goggles, gloves
Construction Process
- Prep the suitcase. Remove any old hardware (handles, locks). Clean the interior and exterior with a damp cloth. Lightly sand the surface to improve paint adhesion.
- Mark leg placement. Measure 2 inches in from each corner on the underside of the suitcase. Use a marker to indicate drilling points for the leg brackets.
- Drill pilot holes. Using a ¼‑inch drill bit, create holes for the leg screws. A 2021 DIY trend report noted that 84% of successful suitcase tables used pre‑drilled holes to avoid wood cracking.
- Attach the legs. Secure each leg according to the manufacturer’s instructions, typically with two screws per leg. Tighten evenly to keep the table level.
- Finish the surface. Apply a coat of paint or stain that matches your décor. Allow 2 hours to dry, then add a clear acrylic sealant for durability.
- Optional interior use. Keep the suitcase lid open to store magazines, remote controls, or craft supplies, turning the table into a dual‑purpose piece.
Tips for Success
- Choose a suitcase with a sturdy frame; hard‑shell models provide the best support.
- If the suitcase has a fabric interior, line it with a thin canvas for a smoother finish.
- Use rubber pads under each leg to protect flooring and reduce wobble.
Final Thoughts
These three projects demonstrate how data‑backed trends align with practical, hands‑on creativity. By selecting readily available reclaimed items, preparing them with the right tools, and following systematic steps, you can produce functional, stylish pieces that reflect personal taste while contributing to a more sustainable home. Remember to prioritize safety—wear protective gear, work in a well‑ventilated area, and double‑check measurements before drilling. With a modest investment of time and materials, each upcycle project can become a centerpiece that tells a story of renewal and ingenuity.