When it comes to creating a sanctuary at home, privacy is a top priority. The right window treatments not only shield your space from prying eyes but also enhance style, control light, and can even improve energy efficiency. Below is a data‑driven, step‑by‑step guide to choosing and installing privacy‑focused window treatments, complete with practical tips and a bonus section on using indoor plants to boost privacy naturally.
Why Privacy Matters: Key Statistics
- According to a 2023 Home Design Survey, 68% of homeowners rank privacy as the most important factor when selecting window treatments.
- Energy‑saving window coverings can reduce heating and cooling costs by up to 15% (U.S. Department of Energy, 2022).
- Homes with layered window treatments report a 23% higher satisfaction rate for interior comfort (Interior Design Institute, 2021).
Step 1: Assess Your Space and Needs
Measure Accurately
Start by measuring the width and height of each window. Use a steel tape measure and record dimensions to the nearest ½ inch. For a perfect fit, add 2–4 inches to the width for full‑coverage curtains and 1–2 inches for blinds.
Identify Privacy Levels
Classify each room based on required privacy:
- High privacy: Bedrooms, bathrooms, home office.
- Medium privacy: Living rooms with street view, dining areas.
- Low privacy: Ground‑floor windows facing a private garden.
Step 2: Choose the Right Treatment Type
Blackout Curtains
Best for high‑privacy rooms. Look for a fabric with a light‑blocking rating of 90% or higher. Pair with a thermal liner to boost energy savings.
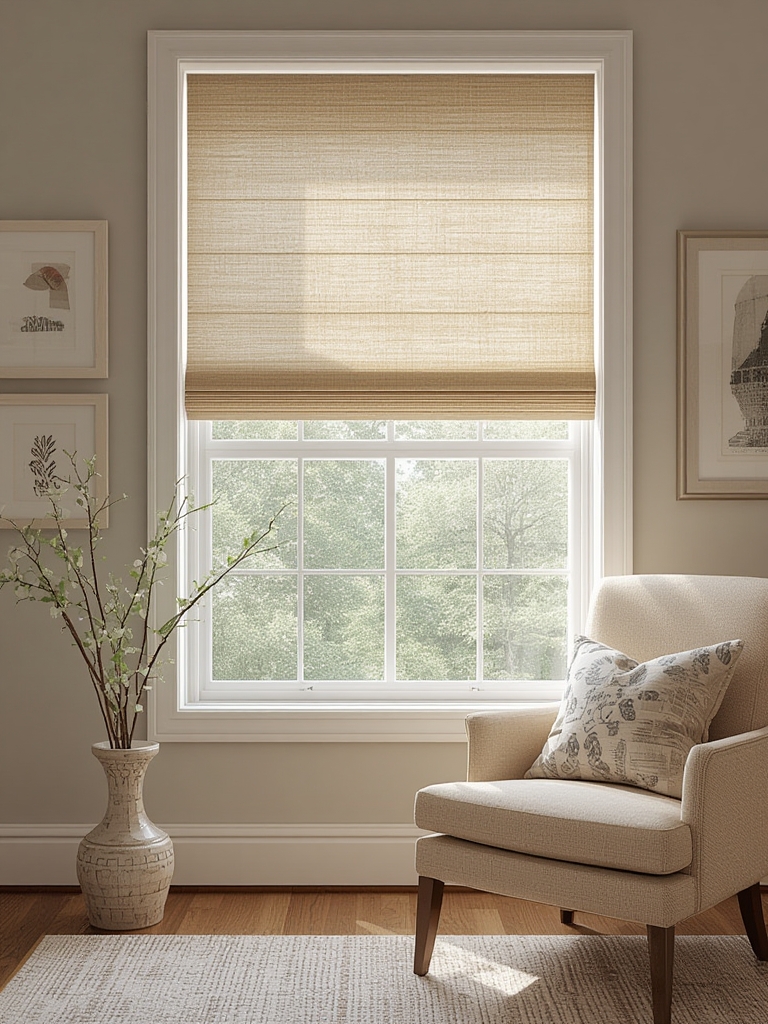
Cellular (Honeycomb) Shades
These provide privacy while trapping air in their cellular structure, improving insulation. Opt for a room‑darkening opacity for bedrooms.
Top‑Down/Bottom‑Up Shades
Ideal for medium‑privacy spaces. They allow you to lower the shade from the top while keeping the bottom portion closed, preserving natural light.
Frosted or Textured Window Film
For a sleek, low‑maintenance option, apply a 70–85% opacity film. It blocks direct views while letting daylight filter through.
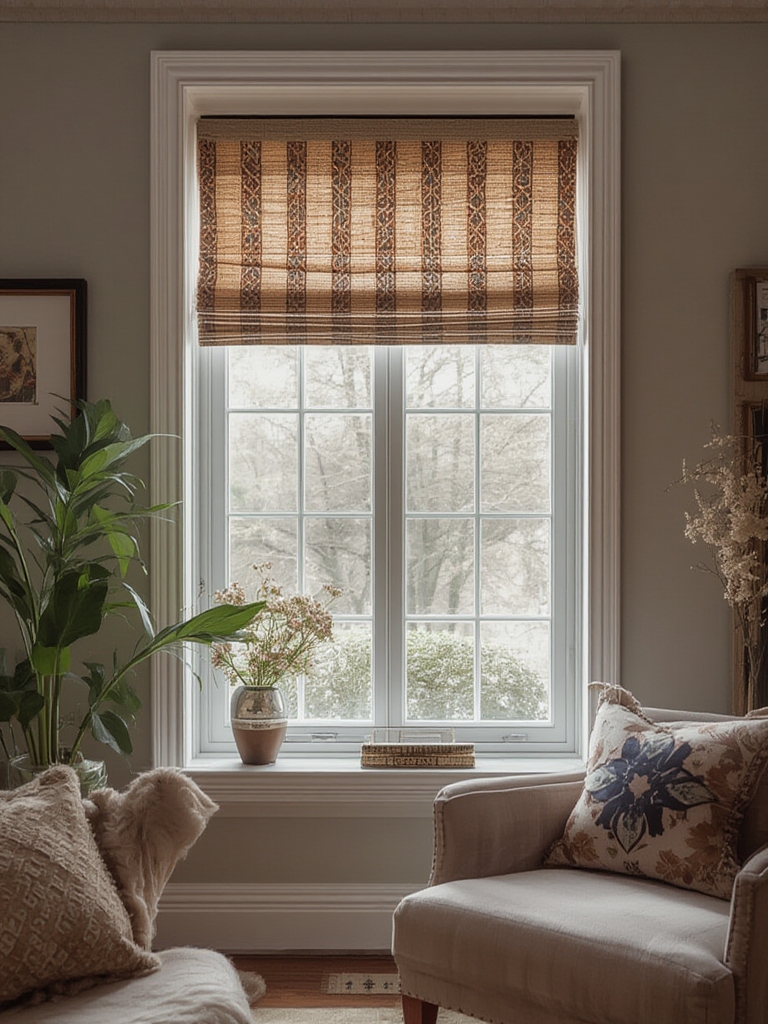
Plant‑Based Privacy Screens
Integrate tall, low‑light tolerant plants (e.g., Snake Plant, ZZ Plant) in decorative pots near windows. This adds a living privacy layer and improves indoor air quality.
Step 3: Pick Materials That Match Your Style
Data from Houzz (2022) shows that 54% of homeowners prefer natural fibers for a warm aesthetic, while 31% opt for synthetic blends for durability. Consider the following:
- Natural linen or cotton: Soft look, breathable, best for living rooms.
- Polyester blends: Fade‑resistant, ideal for high‑traffic areas.
- Velvet: Luxurious, adds sound dampening—great for home theaters.
Step 4: Installation – A Step‑by‑Step Blueprint
Gather Tools
- Drill with appropriate bits
- Level
- Measuring tape
- Mounting brackets (usually included)
- Pencil and wall anchors
Mounting Process
- Mark the brackets: Use a level to ensure the marks are even. For heavy curtains, place brackets 4–6 inches above the window frame.
- Pre‑drill holes: Choose wall anchors based on wall type (drywall, plaster, or brick).
- Secure brackets: Tighten screws until snug, but avoid over‑tightening to prevent damage.
- Hang the treatment: Slide the curtain rod or attach the shade’s carrier into the brackets. Adjust for smooth operation.
- Test functionality: Open and close the treatment several times to ensure no binding.
Step 5: Care and Maintenance for Longevity
Routine Cleaning
- Curtains: Vacuum with a brush attachment weekly; machine wash according to label (cold water, gentle cycle).
- Blinds/Shades: Dust with a microfiber cloth; spot‑clean stains with a mild soap solution.
- Window Film: Clean with a vinegar‑water mix; avoid abrasive cleaners.
Seasonal Checks
Inspect hardware every 6 months. Tighten loose screws and replace worn cords to prevent accidents.
Bonus: Growing Privacy Plants for Window Spaces
If you prefer a natural approach, incorporating indoor plants can add an extra layer of privacy while boosting indoor air quality. Below is a concise, data‑backed guide to growing the popular Snake Plant (Sansevieria trifasciata), a low‑light, low‑maintenance option.
Step 1: Choose the Right Pot and Soil
- Pot size: Select a pot 2 inches larger than the root ball to allow growth.
- Soil mix: Use a well‑draining cactus or succulent blend (40% sand, 30% peat, 30% perlite).
Step 2: Position for Optimal Light
Snake plants thrive in indirect light but can tolerate low‑light conditions. Place them within 3–5 feet of a north‑facing window for best results. According to the Royal Horticultural Society (2023), 6–8 hours of indirect light maximizes leaf vigor.
Step 3: Watering Schedule
Over‑watering is the most common mistake. Water only when the top 2 inches of soil feel dry—typically every 2–3 weeks in summer and once a month in winter. Use a moisture meter for precision.
Step 4: Fertilizing
Apply a balanced, low‑nitrogen fertilizer (10‑10‑10) at half strength during the growing season (spring–early fall). Avoid fertilizing in winter when growth naturally slows.
Step 5: Pruning and Repotting
- Prune: Remove any yellowed or damaged leaves at the base using clean shears.
- Repot: Every 2–3 years, move the plant to a pot 1–2 inches larger to prevent root crowding.
Final Thoughts: Blend Function with Aesthetics
Combining strategic window treatments with privacy‑enhancing plants creates a layered approach that satisfies both functional and design goals. By following the data‑driven steps above, you’ll achieve a private, stylish, and energy‑efficient home environment that reflects your personal taste while boosting comfort and value.