Style Spotlights have become the go‑to accessory for interior designers, boutique owners, and DIY enthusiasts who want to showcase a favorite piece of décor, artwork, or collectible with a professional finish. Whether you’re assembling a new spotlight, restoring a vintage model, or customizing it to match a specific aesthetic, the process can be straightforward when you follow a data‑driven, step‑by‑step approach. Below is a comprehensive guide that walks you through every stage—from unboxing to final polish—so you can achieve a flawless result every time.
Understanding the Components
Before you begin, familiarize yourself with the core parts of a typical Style Spotlight kit. Knowing each piece’s function helps you troubleshoot quickly and ensures you have all the tools you need on hand.
1. Base Plate
The sturdy foundation that anchors the spotlight to a wall or ceiling. Most models feature pre‑drilled mounting holes that correspond to standard ¼‑in. or ½‑in. screws.
2. Adjustable Arm
A telescoping arm that lets you change the height and angle. Look for a smooth‑turn tension knob that locks the arm in place without wobble.
3. Light Housing
The enclosure for the LED or bulb module. It often includes a diffuser panel to soften glare and a removable grille for easy cleaning.
4. Wiring Harness
A pre‑wired connector that links the power source to the light housing. Modern kits use low‑voltage (12 V) adapters for safety.
5. Decorative Accents
Optional trim rings, color‑matched caps, or interchangeable lenses that let you tailor the spotlight’s look to your décor style.
Tools and Materials You’ll Need
- Phillips‑head screwdriver (size #2)
- Power drill with ¼‑in. and ½‑in. drill bits
- Level (magnetic or bubble)
- Stud finder (for wall mounting)
- Measuring tape
- Silicone sealant (optional, for moisture‑prone areas)
- Microfiber cleaning cloth
- Soft‑bristle brush (for dust removal)
- Safety glasses and dust mask
Step‑by‑Step Assembly Guide
Follow these steps in order to ensure a secure, aesthetically pleasing installation.
Step 1 – Plan Your Layout
- Measure the distance between the intended mounting point and the nearest power outlet. Record the length to verify that the supplied wiring harness will reach without tension.
- Use a stud finder to locate wall studs or ceiling joists. Mark the exact points where the base plate will be anchored.
- Check the lighting angle you desire. Position the arm’s pivot point so the light will illuminate the focal area without casting unwanted shadows.
Tip: If you’re mounting in a high‑traffic area, aim for a height of 7–8 feet to balance visibility and safety.
Step 2 – Prepare the Mounting Surface
- Drill pilot holes at the marked stud locations using a ¼‑in. drill bit. For drywall without studs, insert wall anchors rated for at least 5 lb load.
- Insert the anchors and tap them flush with the surface.
- Place the base plate over the holes and align the mounting screws.
Tip: Use a level to confirm the base plate is perfectly horizontal before tightening the screws.
Step 3 – Attach the Adjustable Arm
- Slide the arm’s mounting bracket into the base plate’s designated slot.
- Secure the bracket with the provided set screw, tightening it just enough to prevent movement but still allowing smooth rotation.
- Extend the arm to the desired length, then lock the tension knob. Test the arm’s stability by gently applying pressure at the tip.
Tip: If the arm feels loose, increase the tension knob incrementally; overtightening can damage the internal gear.
Step 4 – Install the Light Housing
- Insert the LED module into the housing, ensuring the contacts align with the wiring harness.
- Secure the housing with the snap‑fit clips on either side. You should hear a firm click when the housing is locked in place.
- Attach the diffuser panel by sliding it into the groove; this reduces glare and spreads light evenly.
Tip: For a brighter effect, clean the diffuser with a microfiber cloth before installation to remove any manufacturing residue.
Step 5 – Connect Power
- Plug the wiring harness into the adapter, then connect the adapter to a grounded outlet.
- Turn on the switch (if applicable) and verify that the light illuminates evenly.
- If the light flickers, double‑check the connector’s seating and ensure the power cable isn’t pinched.
Tip: Use a low‑voltage LED driver for energy efficiency and longer bulb life.
Step 6 – Add Decorative Accents
- Choose a trim ring that matches your interior palette. Slide it onto the base plate, then tighten the retaining screw.
- If you’re using interchangeable lenses, snap the desired lens into the housing’s front slot.
- Step back and assess the overall look; adjust the arm angle if needed to highlight the spotlight’s decorative elements.
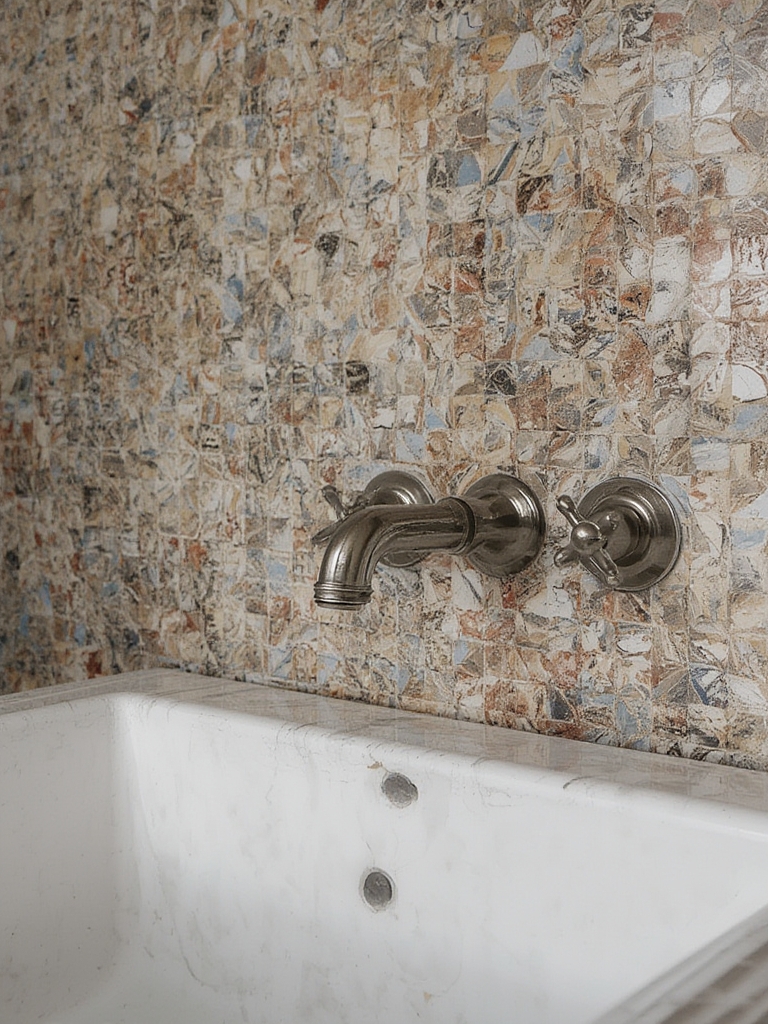
Tip: For a vintage vibe, consider a brushed‑nickel trim paired with a frosted amber lens.
Restoration: Reviving a Vintage Style Spotlight
Older spotlights often suffer from tarnished metal, faded paint, or dimming LEDs. Follow this data‑driven restoration workflow to bring them back to life.
1. Disassembly
- Remove the base plate by unscrewing all mounting hardware.
- Detach the arm and housing, labeling each screw with masking tape to avoid confusion during reassembly.
2. Cleaning Metal Surfaces
- Mix a solution of warm water and a few drops of mild dish soap.
- Dip a soft‑bristle brush into the solution and gently scrub the metal, focusing on crevices where dust accumulates.
- Rinse with a damp cloth and dry thoroughly with a lint‑free towel.
Tip: For stubborn oxidation, apply a thin layer of white vinegar, let sit for 5 minutes, then wipe clean.
3. Repainting (Optional)
- Lightly sand the surface with 220‑grit sandpaper to promote adhesion.
- Apply a primer suitable for metal, allowing 15 minutes to dry.
- Finish with a spray paint in the desired hue; apply 2–3 thin coats, waiting 10 minutes between each.
Tip: Use a matte finish for a modern look or a semi‑gloss for a classic appearance.
4. LED Replacement
- Check the voltage rating on the original LED. Purchase a compatible 12 V LED strip with the same wattage (e.g., 5 W).
- Remove the old LED module by releasing the clip and disconnecting the wiring harness.
- Insert the new LED, ensuring the polarity matches (positive to positive, negative to negative).
- Test the light before reassembly.
Tip: Choose a high‑CRI LED (≥90) for accurate color rendering, especially important when highlighting artwork.
5. Reassembly and Final Checks
- Reattach the housing, arm, and base plate using the labeled screws.
- Secure all connections, then perform a full power‑on test.
- Inspect for any wobble or uneven lighting; adjust tension or angle as needed.
Styling Tips: Making the Spotlight a Focal Point
Beyond assembly, the way you position and accessorize the Style Spotlight can dramatically influence a room’s ambience.
Strategic Placement
- Artwork Highlight: Position the light 12–18 in. above the top edge of a painting, angling it downward at 30° to avoid glare.
- Shelf Accent: Mount the spotlight on the back wall of a floating shelf, directing light upward to create a halo effect.
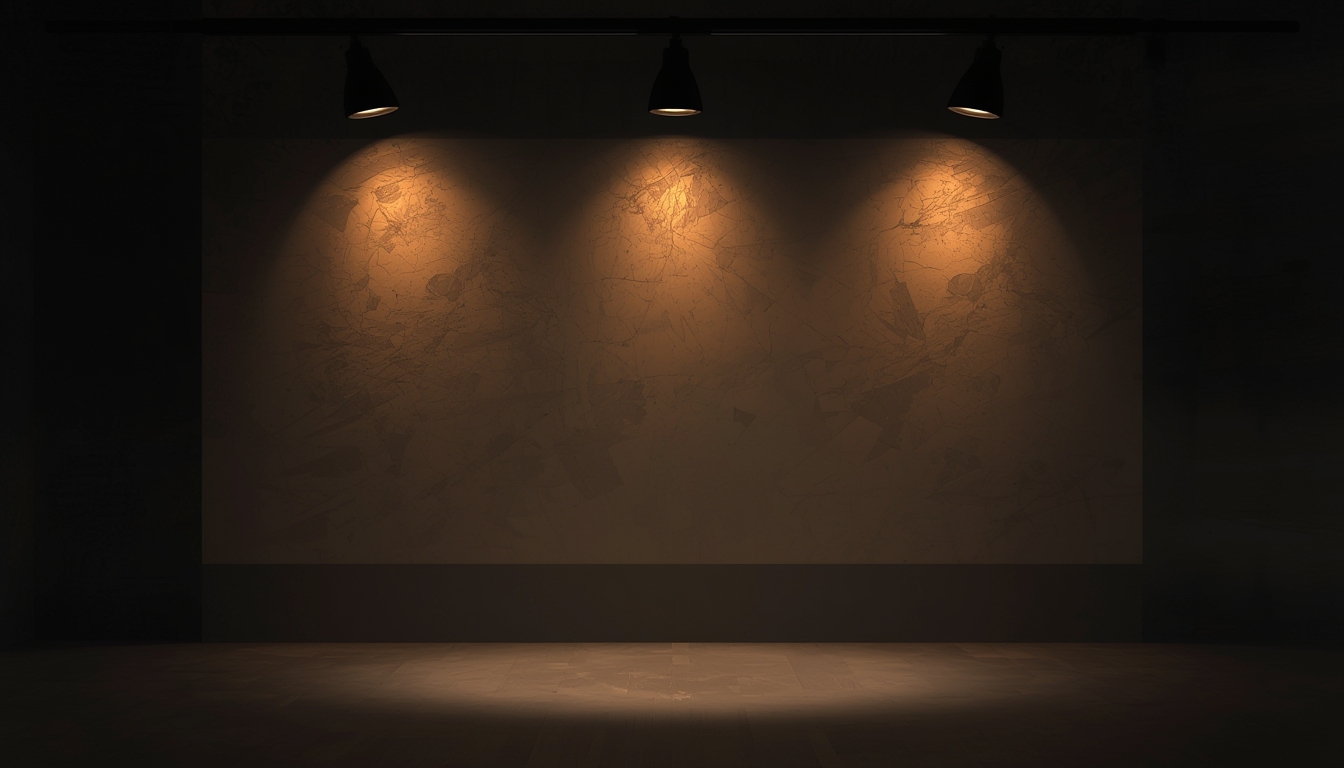
- Architectural Feature: Use a series of three spotlights in a triangular arrangement to emphasize a textured wall or niche.
Layered Lighting
Combine the Style Spotlight with ambient ceiling fixtures and low‑profile floor lamps. This three‑point lighting approach adds depth and reduces harsh shadows.
Color Temperature Matching
Match the LED’s color temperature (measured in Kelvin) to the room’s existing lighting. Warm white (2700 K) works well in living rooms, while cool white (4000 K) suits kitchens and workspaces.
Seasonal Adjustments
Swap diffuser panels for colored gels during holidays—amber for autumn, deep red for winter—to create a festive mood without changing the hardware.
Maintenance Checklist
Regular upkeep extends the lifespan of your Style Spotlight and keeps it looking fresh.
- Monthly: Dust the diffuser and housing with a microfiber cloth.
- Quarterly: Inspect the wiring harness for signs of wear; tighten any loose screws.
- Annually: Clean metal components with a mild cleaner and reapply protective polish if the finish appears dull.
- Every 2 Years: Replace the LED module to maintain optimal brightness and color accuracy.
Conclusion
Style Spotlights are versatile tools that blend function with design. By following the data‑driven steps outlined above—whether you’re assembling a brand‑new unit, restoring a vintage piece, or customizing the look—you can achieve a polished, professional result with minimal hassle. The combination of proper tools, precise measurements, and thoughtful styling ensures that each spotlight not only illuminates but also elevates the space it inhabits.