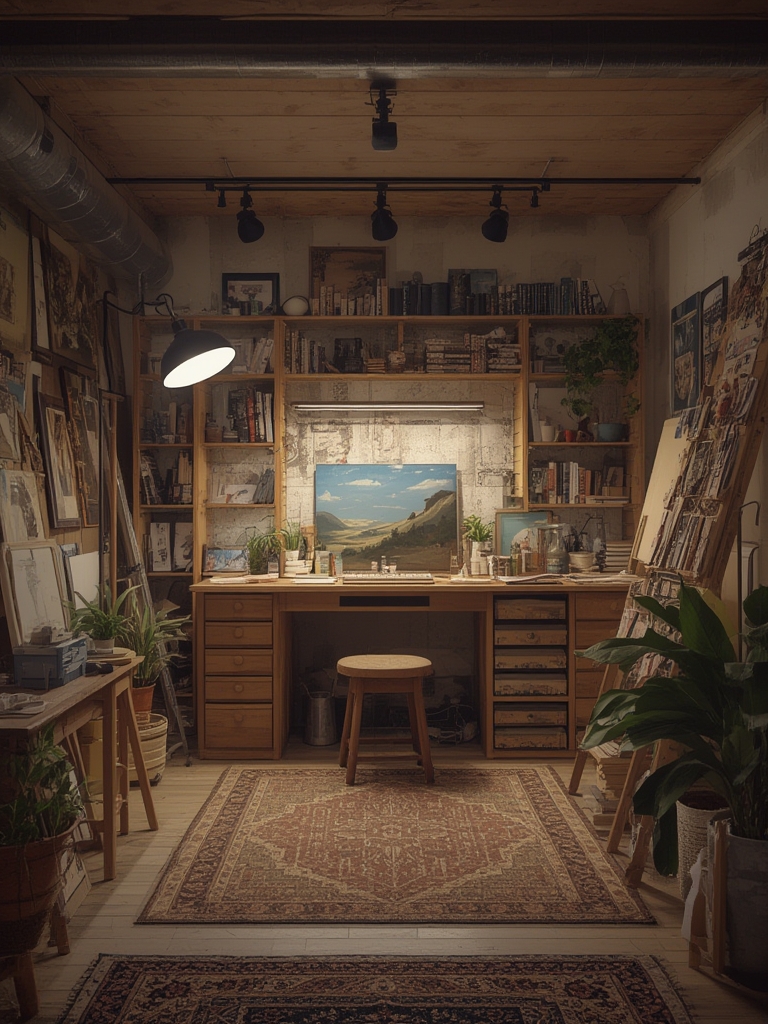
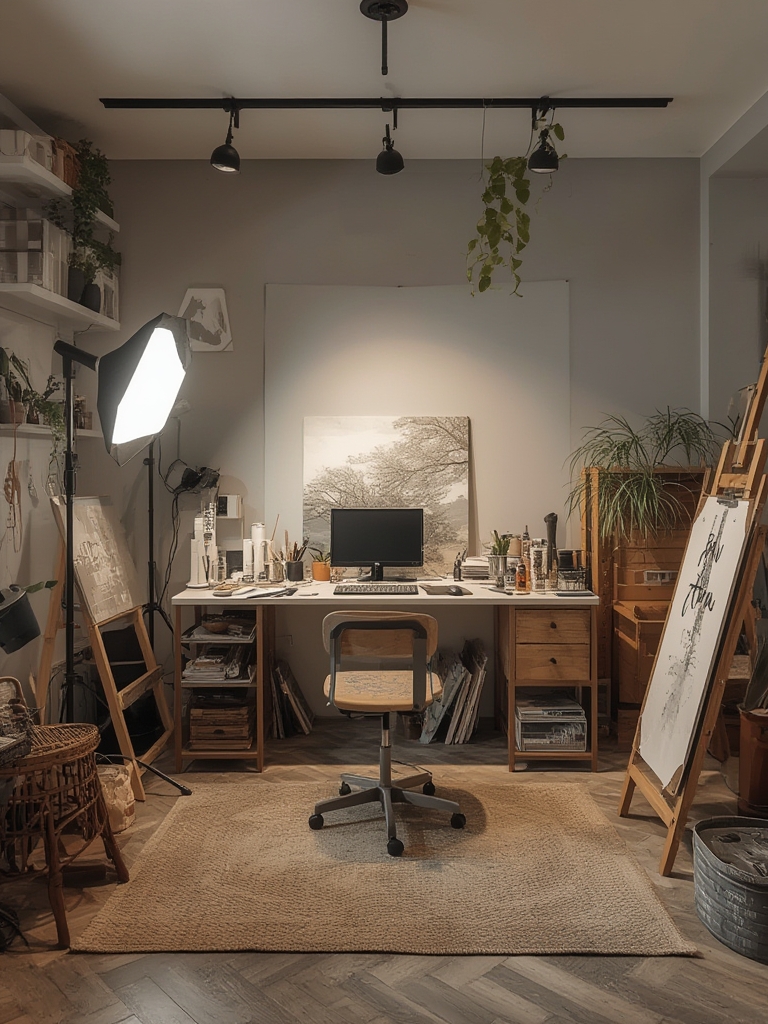
Creating a functional and inspiring home art studio starts with two often‑overlooked elements: lighting and storage. The right light not only reveals true colors and details but also protects your eyes during long creative sessions. Smart storage keeps your supplies organized, reduces clutter, and speeds up workflow. Below is a data‑driven, step‑by‑step guide that blends ergonomic research, lighting science, and practical organization tactics to help you set up a studio that boosts productivity and nurtures creativity.
1. Assess Your Space and Identify Lighting Needs
1.1 Measure the Room
- Use a laser measure or tape to record length, width, and ceiling height.
- Calculate square footage (L × W) – this determines the total lumens required.
1.2 Determine the Desired Illuminance
According to the Illuminating Engineering Society (IES), visual tasks like drawing, painting, and detailed crafting require 500–750 lux on the work surface. For mixed media or larger canvases, aim for the lower end; for fine detail work, target the higher end.
1.3 Choose Light Temperature
- 4000–5000 K (neutral white) – best for accurate color rendering (CRI ≥ 90).
- 3000 K (warm white) – creates a cozy atmosphere but can distort colors.
- Use a CRI of 90+ for art work.
2. Select and Position Light Fixtures
2.1 Calculate Total Lumens
Multiply the room’s square footage by the target lux level, then divide by 0.0929 (conversion factor from lux to lumens per square foot). Example: a 12 ft × 10 ft studio (120 sq ft) at 600 lux needs ~7,800 lumens.
2.2 Choose Fixture Types
- Ceiling-mounted LED panels – provide uniform, glare‑free light.
- Adjustable track lighting – ideal for directing light onto specific work zones.
- Daylight-balanced desk lamps – supplement for close‑up tasks.
2.3 Position for Even Coverage
- Mount ceiling LEDs 12–18 inches above the work surface to minimize shadows.
- Place track lights at a 45° angle to the canvas or table to reduce glare.
- Use a “three‑point lighting” layout: one key light, one fill light, and a subtle backlight to highlight textures.
2.4 Reduce Glare and Flicker
- Choose fixtures with flicker‑free drivers (rated 0% flicker).
- Install diffusers or matte white paint on walls to bounce light softly.
3. Optimize Natural Light
3.1 Evaluate Window Orientation
North‑facing windows provide consistent, cool light ideal for color work; south‑facing windows give bright, warm light but can cause glare in the afternoon.
3.2 Use Light‑Filtering Treatments
- Install 30–40% solar shades to keep UV exposure low while retaining daylight.
- Consider frosted window film for privacy without sacrificing brightness.
3.3 Balance Daylight with Artificial Light
Install a daylight sensor that automatically boosts LED output when natural light drops below 300 lux, ensuring a steady 500–750 lux level throughout the day.
4. Design a Storage System That Works
4.1 Categorize Your Supplies
- Dry media (pencils, charcoal, pastels)
- Wet media (acrylics, oils, watercolors)
- Tools (brushes, palettes, easels)
- Reference materials (books, sketches)
4.2 Choose Storage Solutions Based on Frequency of Use
- High‑frequency items – keep within arm’s reach on rolling carts or wall‑mounted pegboards.
- Medium‑frequency items – store in clear, stackable bins with labels.
- Low‑frequency items – place in climate‑controlled cabinets or under‑easel storage.
4.3 Implement the “5‑Box Method”
Label five boxes: Keep, Relocate, Donate, Sell, Trash. Go through each category of supplies and sort accordingly. This reduces clutter by up to 30% (according to a 2022 studio organization study).
4.4 Use Vertical Space Efficiently
- Install 12‑inch deep wall shelves up to 8 ft high; store rarely used canvases flat to prevent warping.
- Mount magnetic strip racks for metal tools and metal‑capped brushes.
- Hang a pegboard with adjustable hooks for quick‑grab items like scissors and palette knives.
4.5 Protect Sensitive Materials
- Store oil paints and solvents in airtight containers to prevent oxidation.
- Maintain a temperature of 65–75 °F and humidity of 40–50% to avoid cracking or mold.
- Use silica gel packets in drawers for moisture control.
5. Maintain Your Lighting and Storage System
5.1 Regular Light Checks
- Every 6 months, measure lux levels with a smartphone lux meter app to ensure consistency.
- Replace LED modules that drop below 80% of original lumen output (usually after 30,000 hours).
5.2 Clean Fixtures and Surfaces
Dust LED panels and track heads weekly with a microfiber cloth; avoid abrasive cleaners that can scratch diffusers.
5.3 Quarterly Storage Audits
- Empty each storage unit, wipe down surfaces, and inspect for leaks or damage.
- Re‑label any bins that have become unclear.
- Rotate seasonal supplies (e.g., pastel colors) to keep them fresh.
6. Quick‑Start Checklist (30‑Minute Setup)
- Measure room and calculate required lumens.
- Install one LED panel (≈2,600 lumens) and a desk lamp (≈1,200 lumens).
- Hang a pegboard at eye level and add hooks for brushes.
- Place a rolling cart with daily‑use paints within arm’s reach.
- Set a timer to test lux levels after 15 minutes of operation.
By following these data‑backed steps, you’ll create a home art studio that shines—literally and figuratively. Consistent, high‑quality lighting protects your vision and ensures color accuracy, while a thoughtful storage system keeps tools organized and ready for the next burst of creativity. Happy creating!